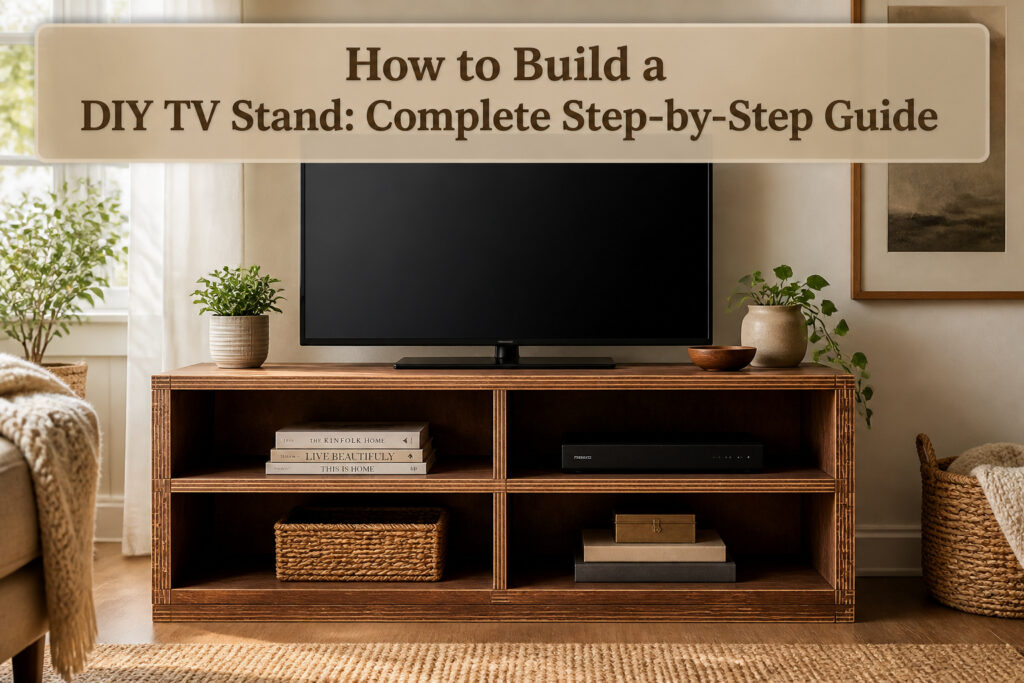
A DIY TV stand is a rectangular plywood box you build yourself to hold a television and whatever gear connects to it. The part that ruins most first builds is not the cutting but the square: one corner half an inch off, and the thing wobbles on carpet for three years. A carpenter’s square pressed into each inside corner while the glue sets fixes this, or you spend the life of the piece shimming legs and cursing the gap where the top meets the wall. The 3/4 inch plywood matters too; anything thinner sags by spring.
Measure and Cut Wood to Size
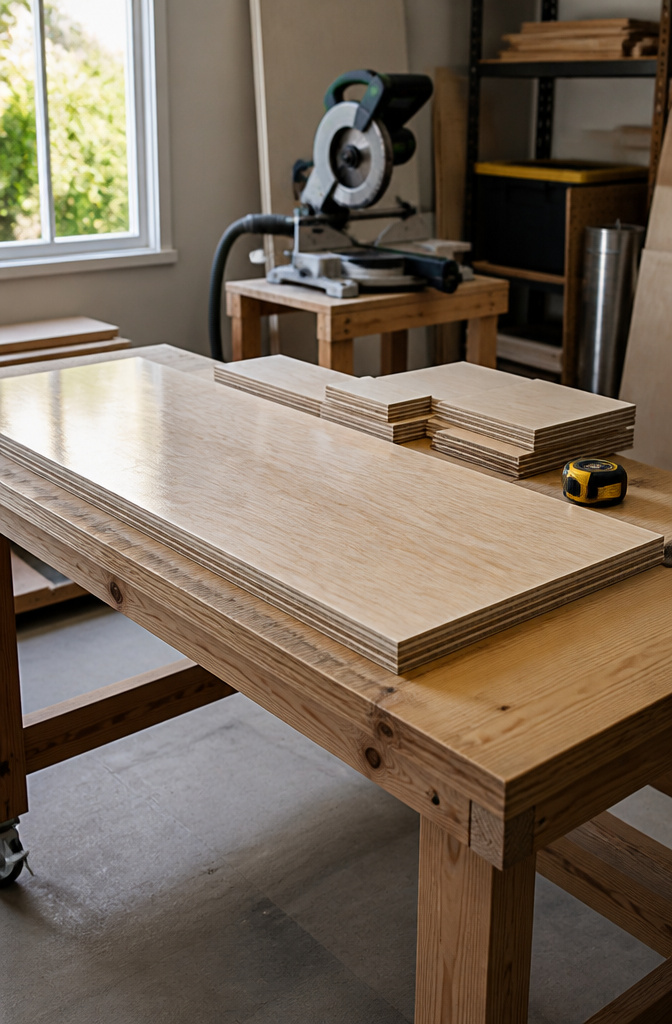
The plywood for a stand this size needs to be 3/4 inch thick; anything thinner will sag under the weight of a TV, and the savings aren’t worth the bow you’ll see by spring. A 48-inch width by 18-inch depth is the common starting point for most living rooms, though the exact width should match whatever your TV actually needs rather than forcing a fit.
Most hardware stores will run the cuts for you if you don’t own a table saw. I watched a panel get broken down at my local store once and the math was straightforward: two pieces at 48 by 18 for the top and bottom, two pieces at 22 7/8 by 18 for the sides, and three at 22 1/2 by 18 for the internal shelves and dividers. The store’s panel saw gives you straight edges; a circular saw with a guide does the same if you’re cutting at home, but the store route saves you from discovering your garage floor isn’t as level as you thought.

Premium Quality Baltic Birch Plywood: Made from high-quality B/BB grade Baltic Birch, offering superior strength, durability, and a smooth surface for all your crafting needs.

STRONG, DURABLE, HEAVY-DUTY - These craft wood pieces of multi-coated Baltic Birch plywood offer exceptional durability, rigidity, and stability for all your woodworking needs. The surfaces provide excellent holding power for glue and screws and the birch edges create cleaner joinery.

Not treated against toy and decay like pressure-treated plywood
Assemble the Frame
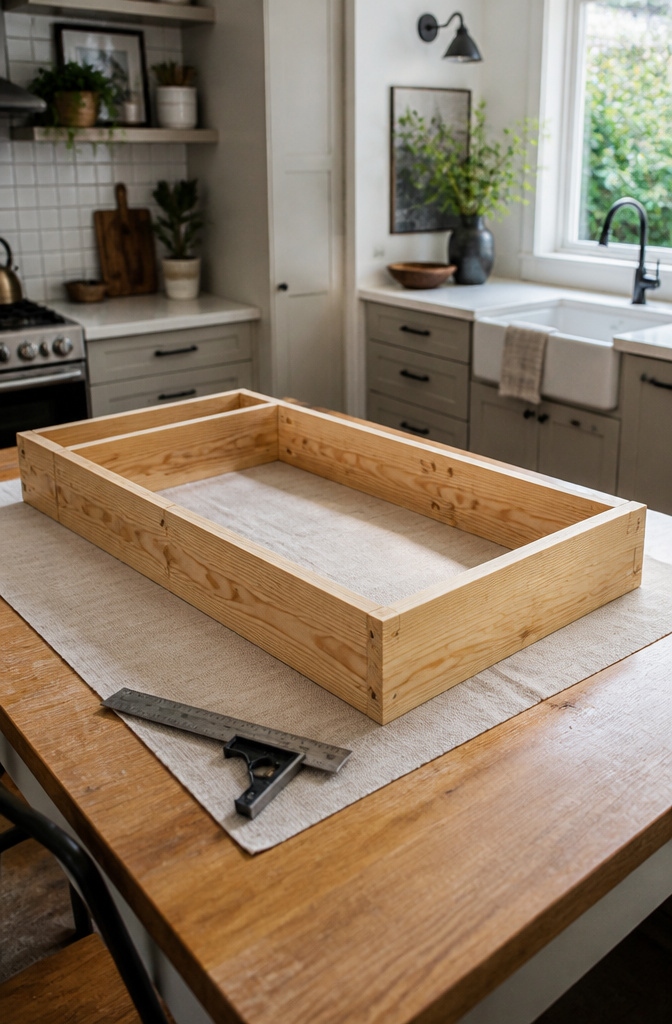
A rectangular box sounds simple until one corner sits half an inch off and the whole stand wobbles on carpet for the next three years. Checking each corner with a carpenter’s square as you go is what separates furniture from firewood.
Wood glue does the actual holding; screws mostly keep things clamped while it cures. I used Gorilla Glue on my own build, the clear kind that dries without the frothing, and that stand survived a move from a second-floor apartment to a house with a truck ramp and a flight of stairs. The bond held where fasteners alone would have loosened from the vibration.
Start with the four sides of your box, running a thin bead of glue along each joint before driving screws through pre-drilled holes. A carpenter’s square pressed into each inside corner catches the twist before the glue sets. Fix it now, or spend the life of the stand shimming legs and cursing the gap where the top meets the wall. Level the assembly on the flattest surface you own, a garage floor or kitchen table, and trust the square over your eye. The eye lies; the square does not.

[Double-sided Design]:This L-shaped ruler is made of high-quality stainless steel, has a double-sided scale design to ensure accurate measurement and layout for various tasks.

【Double-sided Scale Design】This 90-degree framing square has a double-sided scale design to ensure accurate measurement and layout for various tasks
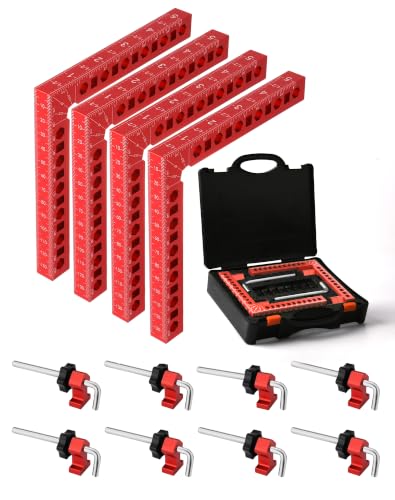
【Widespread Application of corner clamps】The corner clamps set is perfect for aligning, nailing, welding, screwing, woodworking. It's the ideal partner for making cabinets, picture frames, boxes, or any wooden DIY projects for your family.90 degree square clamps will be the best gift for woodworkers,carpenter or any Handyman
Attach Shelves
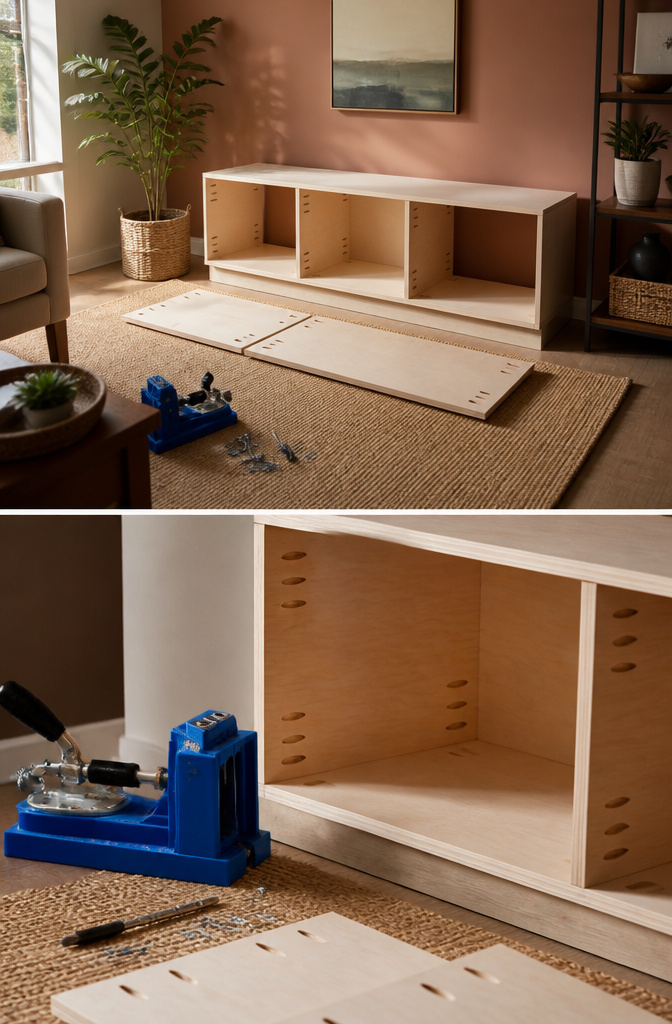
Pocket holes keep the outside face clean, which matters when the stand sits open to the room. A Kreg Jig drills the angled holes; the screw sits inside and pulls the shelf tight to the vertical piece without breaking the surface. Leave the shelf pin holes farther apart than the jig suggests, especially if you are only adding one middle shelf. On my first cabinet I drilled every inch and ended up with a peppered strip of plywood no one sees but me.
The height of that middle shelf should be determined by what is already sitting on your floor, not by what looks balanced in the drawing. A cable box needs seven inches of clearance; a game console with a disc slot needs more. Baskets for remotes and controllers are forgiving, but if you own a receiver with a tall heat sink, the shelf above it needs to breathe. Measure the actual stack, add an inch, and mark from the bottom up. The top shelf can sit closer to the top panel if all it holds is a streaming stick and a slim soundbar.
The sources split on centering. One builder made the top compartment an inch shorter than the bottom to fit a taller router and a shorter modem side by side. That asymmetry looks fine once components fill the spaces; symmetry with a half-empty shelf looks like a mistake.
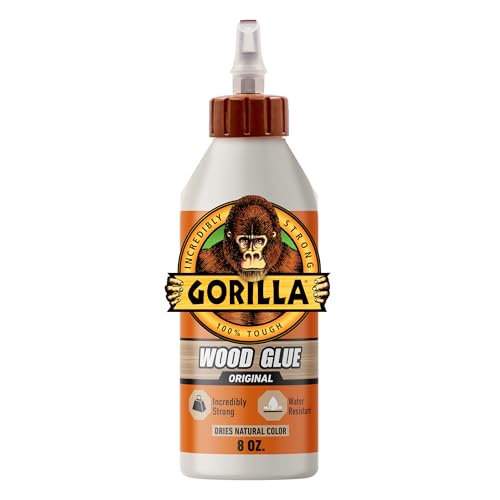
FAST CLAMP TIME: Bonds strong and fast with a clamp time of just 20–30 minutes; fully cured in 24 hours to keep your projects moving on schedule

Use indoors or outdoors: Give your indoor or outdoor projects a Gorilla Tough bond with waterproof Ultimate Gorilla Wood Glue (passes ANSI/HPVA Type I), our most durable wood glue

【BRAND GUARANTEE】- GSCIT Club is a company specialized in Edge banding.
Add Legs or Base
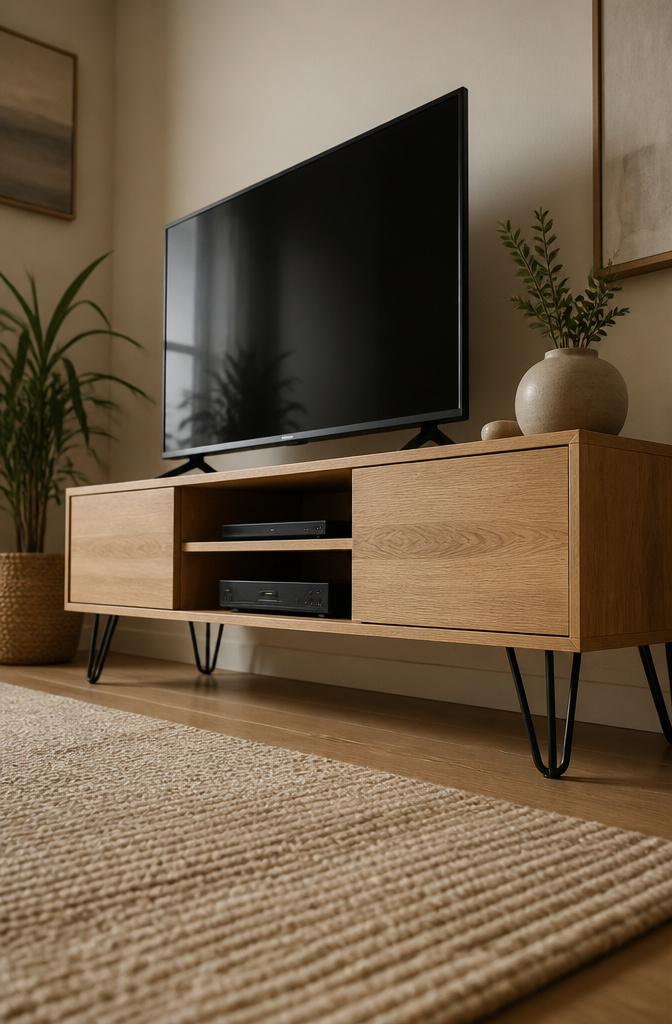
Six-inch legs are the usual choice for a DIY TV stand, landing the finished piece right around 30 inches total height. That clears most sofa arms and keeps the screen at a comfortable viewing level without any math.
The bracket-and-screw method is straightforward: leg plates bolt to the underside of your box frame, usually at the four corners, and the legs thread in from there. Four screws per leg is typical, which sounds excessive until you remember this thing is holding a television.
What changes the whole personality of the piece is the leg style itself. Hairpin legs read mid-century and keep the visual weight low, which helps in smaller rooms. Tapered wood legs feel warmer and more traditional. A simple plinth base, basically a solid box or frame sitting directly on the floor, hides cables better but costs you that airy gap underneath. For renters who might want to stash a basket or two, the clearance matters. For a cleaner line against a wall, the plinth wins.
I have seen builds where the legs were an afterthought and the stand looked like a storage crate on stilts. Pick them before you cut your final height, not after the box is already built.
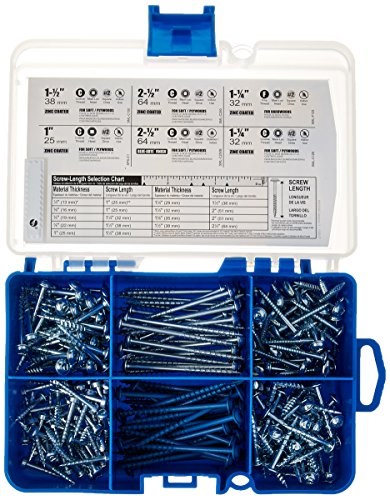
Home Improvement Screw Assortment: These premium Kreg screws are compatible with all Kreg pocket-hole jigs

Reliable Kreg Pocket-Hole Jig: The Pocket-Hole Jig 720 PRO is the easiest to use, most innovative jig for lightning fast, surefire pocket holes

100 Count Pack: Includes 100 Blue-Kote pocket-hole screws for woodworking, cabinetry, and furniture assembly projects
Attach Backing
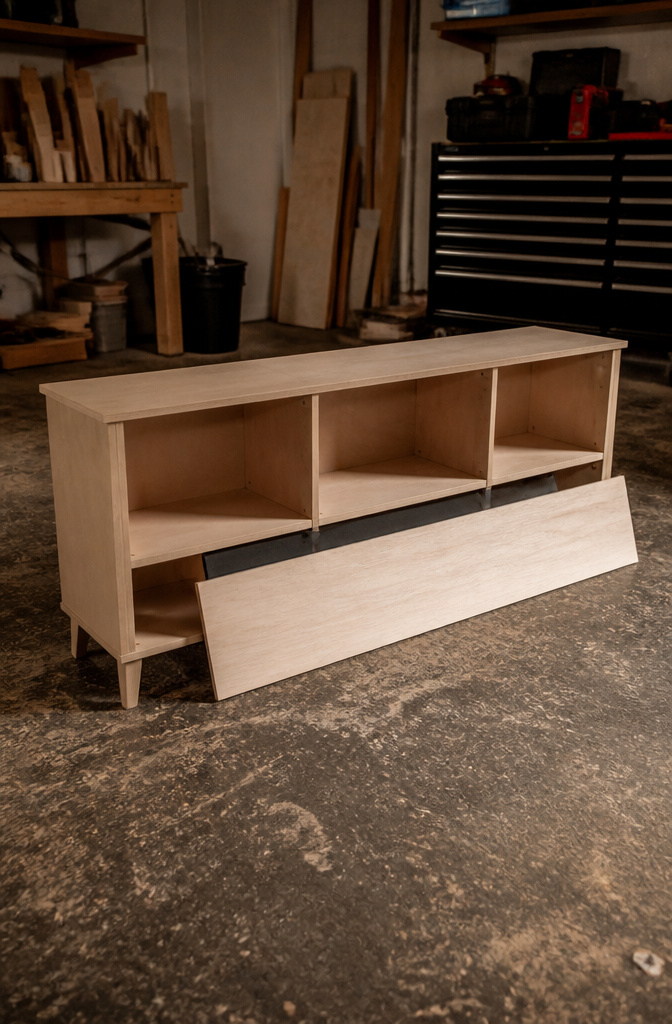
Backing is the part nobody sees but everybody should care about. A flimsy rear panel, usually thin plywood or underlayment, gets tacked to the frame after assembly and stops the whole stand from racking sideways the first time you bump it moving the couch. Without it, the rectangle you built slowly becomes a parallelogram; drawers jam, doors hang crooked, and the whole thing feels cheap when you open it.
The same sheet gives you solid material to screw into later. Cable clips, power-strip brackets, even a small mounted surge protector all need something behind the frame to bite. Drywall anchors in plaster do not hold the way a wood screw into plywood does, and crawling back to add backing after the stand is finished means disassembling half your work.
Most first builds skip this or use the thinnest scrap on hand. The regret shows up months later, when the stand wobbles and every cord dangles loose. I would rather spend the extra few dollars here than on any visible surface.

✅ ADJUSTABLE STACKABLE DESIGN - Raise your TV higher or lower with stackable risers(1/2" Inch Height), creating the perfect viewing angle and extra space underneath.

Adjustable TV Height Lift – TV stand riser blocks help raise your television or stand to a comfortable viewing height, improving screen visibility and creating a more enjoyable home entertainment setup.

Durable & Effective: This 8 pack table wedges are made of environmentally friendly rubber, waterproof and odorless. Ideal for leveling furniture while soft enough to protect floor and furniture from damage.
Finish the Stand
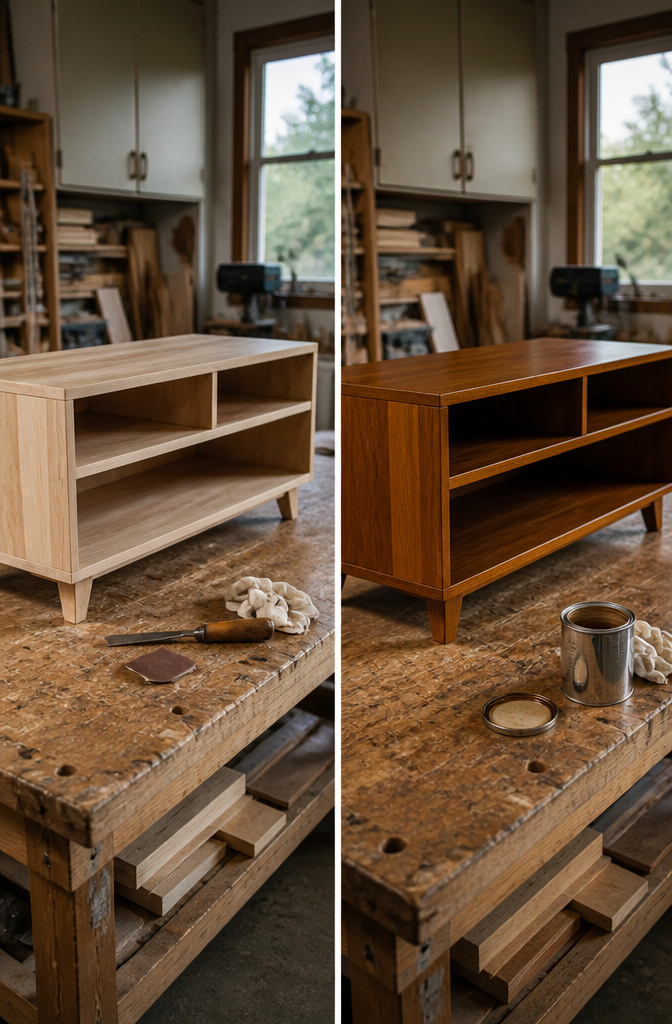
220-grit sandpaper removes the last of the saw marks and raised grain without cutting so deep you have to start over. I sand the whole frame, shelves, and legs, then vacuum off the dust and tack-cloth what remains. Any grit left behind locks into the finish and shows up under a lamp once the stand is in your living room.
Stain goes on with a rag, not a brush, so you control how much pigment the wood drinks in. Birch or maple will shift honey-amber under oil-based stain and sealer; water-based polyurethane stays water-white and keeps that pale plywood look intact. Let the stain dry until the surface no longer feels cool against your cheek, which in August humidity might mean moving the piece indoors even if the house smells like a woodshop for a day.
Two thin coats of poly beat one thick coat every time. Thick drips sag, trap bubbles, and cure soft enough that a cable box leaves a ring. I brush on a coat, let it dry, sand lightly with 220 again, clean the dust, and repeat. Rushing this stage ruins hours of earlier work; the stand looks handmade in the wrong way if the finish is lumpy or still tacky when you load it.
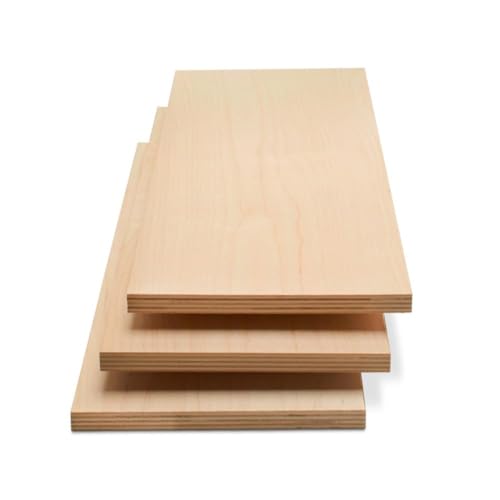
STRONG, DURABLE, HEAVY-DUTY - These craft wood pieces of multi-coated Baltic Birch plywood offer exceptional durability, rigidity, and stability for all your woodworking needs. The surfaces provide excellent holding power for glue and screws and the birch edges create cleaner joinery.

Plywood Sheet Package: You will receive 5 pieces unfinished plywood sheets, measuring 12" x 12" with a thickness of 1/16"; please contact us for new replacement if the wood sheet is warped due to Transport
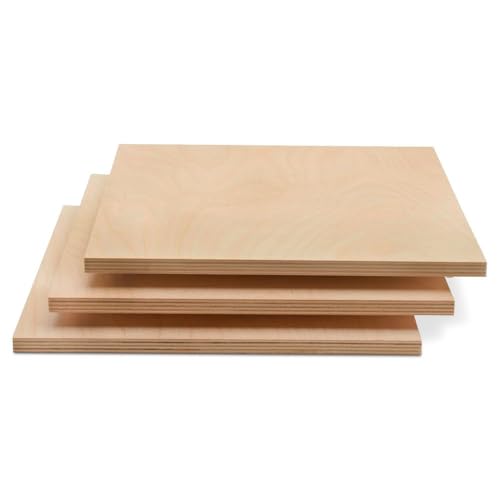
STRONG, DURABLE, HEAVY-DUTY - These craft wood pieces of multi-coated Baltic Birch plywood offer exceptional durability, rigidity, and stability for all your woodworking needs. The surfaces provide excellent holding power for glue and screws and the birch edges create cleaner joinery.
Plywood and Materials
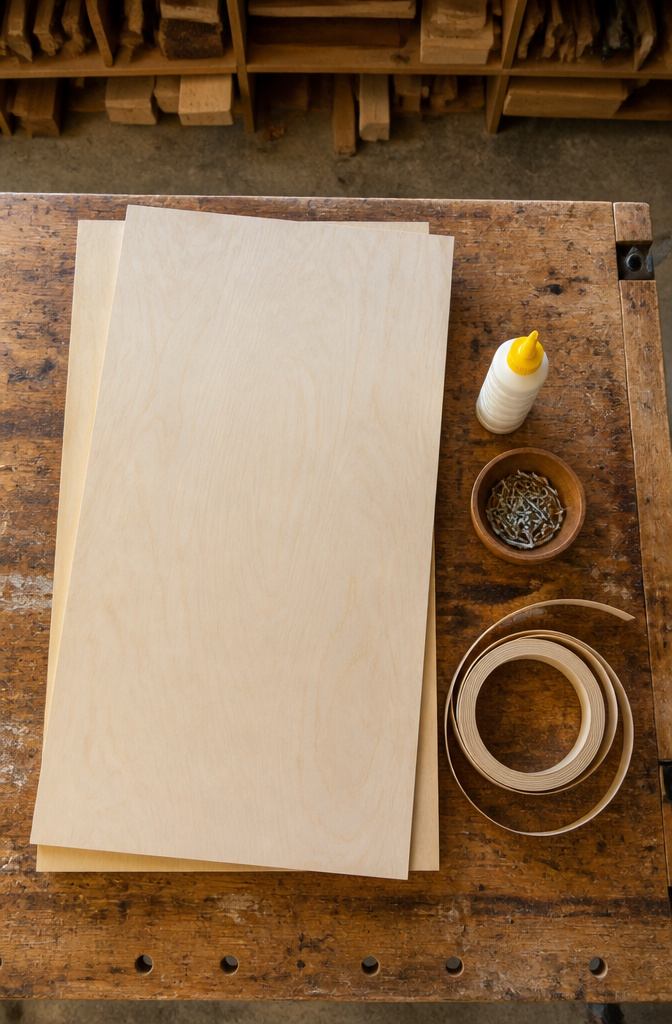
The right plywood makes or breaks how this thing looks a year from now. I learned that the hard way on a desk that warped because I grabbed the cheapest 1/2 inch stuff on the pile.
3/4 inch plywood is the stock to start with. It holds screws without stripping, sits flat under weight, and the edge looks like actual layers rather than pressed fuzz. Baltic Birch costs more but finishes cleaner if you are staining; MDF saves money and paints dead smooth, though a single splash of water swells it like a sponge. Two 4×8 sheets will cover most stand designs with room to miscut once.
For the rest:
- Wood glue plus screws, not screws alone. Glue fills the gap between butt joints and keeps the thing square after the third time you move it.
- 1 1/4 inch pocket screws or 75mm construction screws. Pocket holes hide on the inside; face screws are faster and fine if you are painting.
- Leg brackets and four 6 inch legs. Brackets beat screwing straight into end grain, which strips out by February.
- 3/4 inch iron-on edge banding if the plywood edges show. The raw strip looks like a stack of glued cereal boxes otherwise.
- Underlayment or MDF backing at 1/4 inch. Nails flat, keeps dust from drifting through to the wall.

【Material】: Made of high quality aluminium alloy with anodized surface to insures optimal durability and lightweight usability
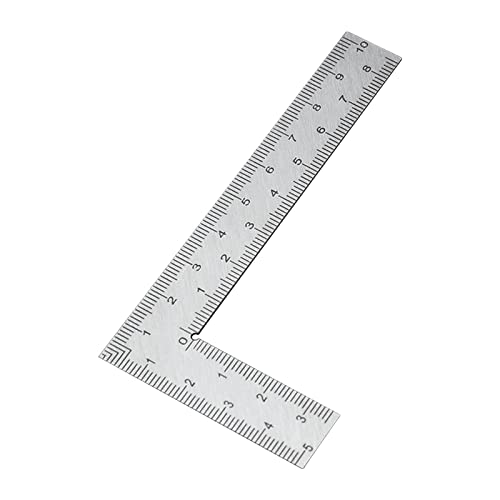
With double scales for easy reading.

【14 TYES OF HOLES】Involves positioning holes in 14 sizes, ranging from 3mm to 15mm, this combination square can match all major screw sizes. This combination square can match all major screw sizes. Find the right hole in a second and set the screw for drilling.
Tools That Make It Possible
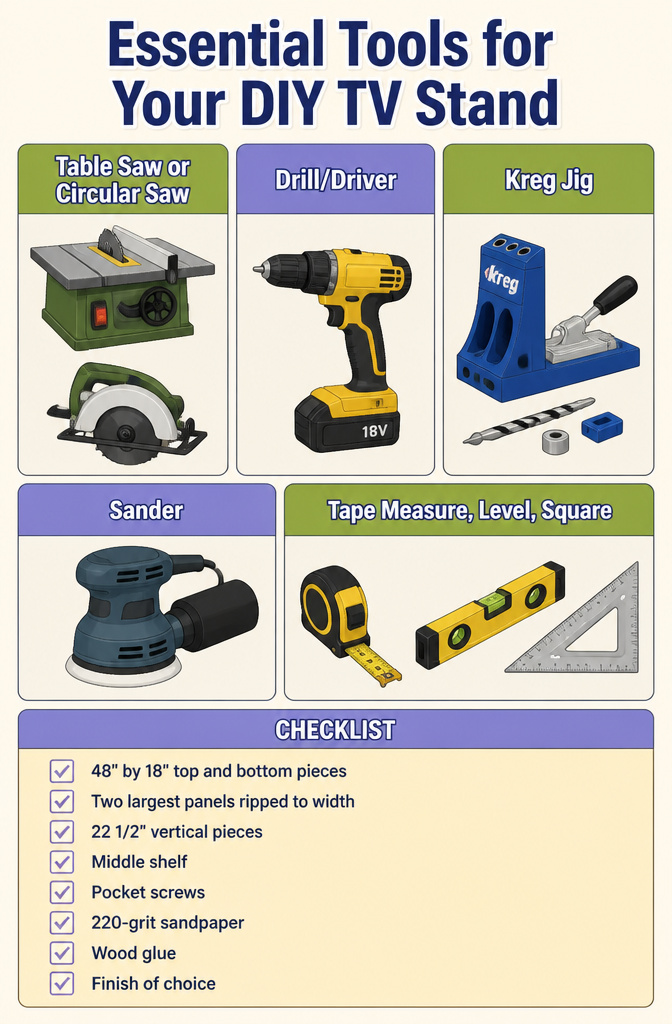
A table saw makes the rips for the 48" top and bottom pieces clean, but a circular saw with a straightedge guide gets there too. I borrowed the table saw from a neighbor for this build; the hardware store will cut sheet goods to width if you ask, though they usually won’t do the 22 7/8" or 22 1/2" shelf pieces to exact length.
The drill you already own. A Kreg Jig is worth buying even for this single project, and it earns its keep the moment you build a second thing. I rented the random-orbit sander for $18 for the day; hand-sanding the 220-grit finish step with a block works, but the machine saves an hour and your wrist.
Tools for this build:
- Table saw or circular saw for ripping the 48" by 18" top and bottom pieces and the shelf widths. Hardware store can rip the two largest panels if you lack the saw yourself.
- Drill/driver for driving the pocket screws; a basic 18V model handles this fine.
- Kreg Jig for the pocket holes that join the three 22 1/2" vertical pieces to the top and bottom, and for the middle shelf. The R3 model is enough; the hardware store does not rent these.
- Sander for the 220-grit pass before stain and between poly coats. Rent it, or use a sanding block and more patience than I had.
A tape measure, level, and square keep the box square during assembly. I already owned those three; they live in the junk drawer and come out for every project.

Complete projects fast: Our wood glue only requires 20-30 minutes of clamp time and is fully cured in 24 hours

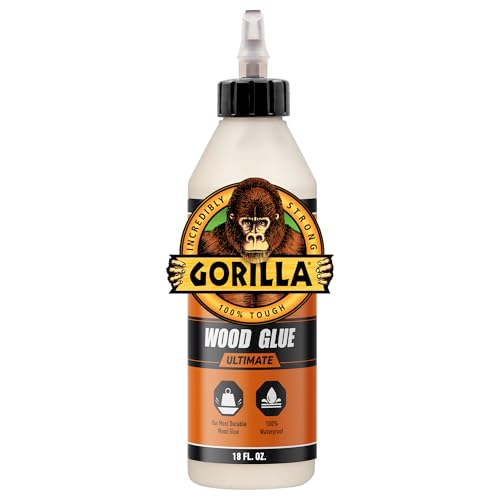
MOST DURABLE WOOD GLUE: 100% waterproof Ultimate formula bonds hardwoods, softwoods, and natural wood composites and withstands exposure to water, sun, and extreme temperatures
Modern, Rustic, and Floating Designs
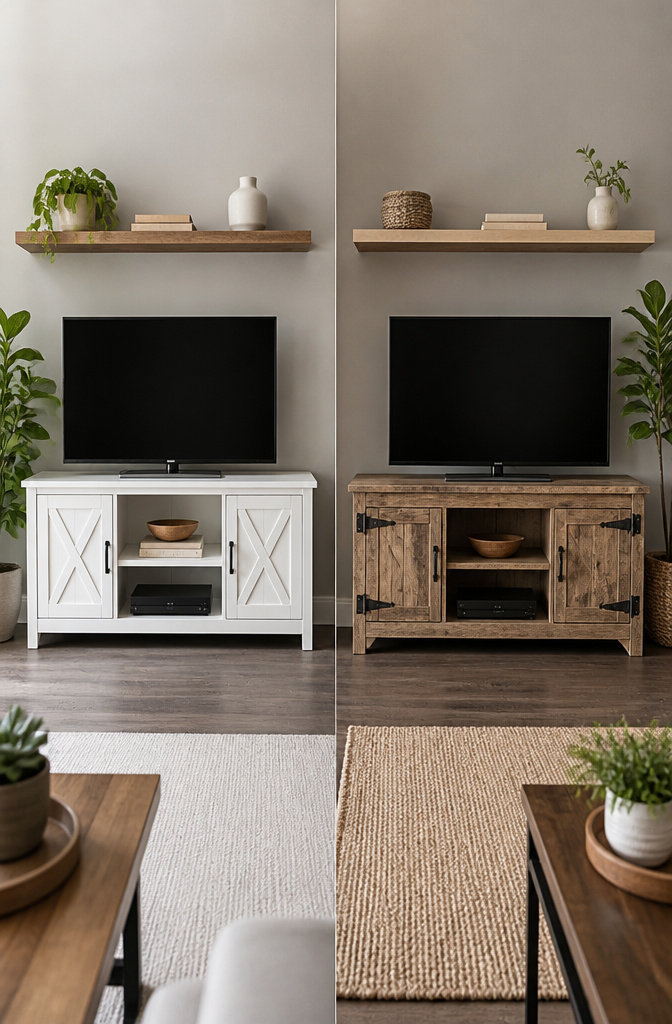
The same bones can read three ways depending on the finish you choose. A modern version hides every fastener: pocket holes face inward, edges get a rub with fine grit until they feel like satin, and legs finish flush so the box seems to hover. Paint reads cleaner than stain here; even brush marks disappear behind a single color.
For rustic, the opposite move works better. Distress the boards before assembly, hammering edges and rubbing dark wax into the dents. Black pipe legs thread straight into flanges bolted to the underside, and the hardware stays visible on purpose. The weight alone keeps it steady, which matters if you ever load the lower shelf with books.
A floating build is a different project entirely. The cabinet hangs from a cleat or French cleat system screwed to studs, and the wall behind it needs to be opened for cable channels. Stud spacing determines where the unit can sit, not the other way around, and finding every stud before you cut the back panel saves a morning of patching surprise holes. The look is worth the trouble in a small room where floor space already feels tight, but the hardware runs higher and the install takes steadier hands.

Premium Material: All the screws are made of alloy steel coated with blue and galvanized layers,strong and durable and will not easy to break.There is a strong resistance to oxidation that will keep your wood building indoors for many years

100 Count Pack: Includes 100 Blue-Kote pocket-hole screws for woodworking, cabinetry, and furniture assembly projects
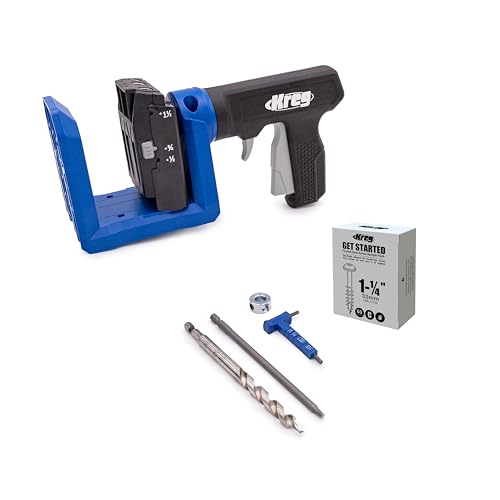
Craftsman Tools: The Kreg Pocket-Hole Jig is ideal for versatile DIY wood projects with materials from 1/2" to 1 1/2" thick
Size, Color, and Cable Management
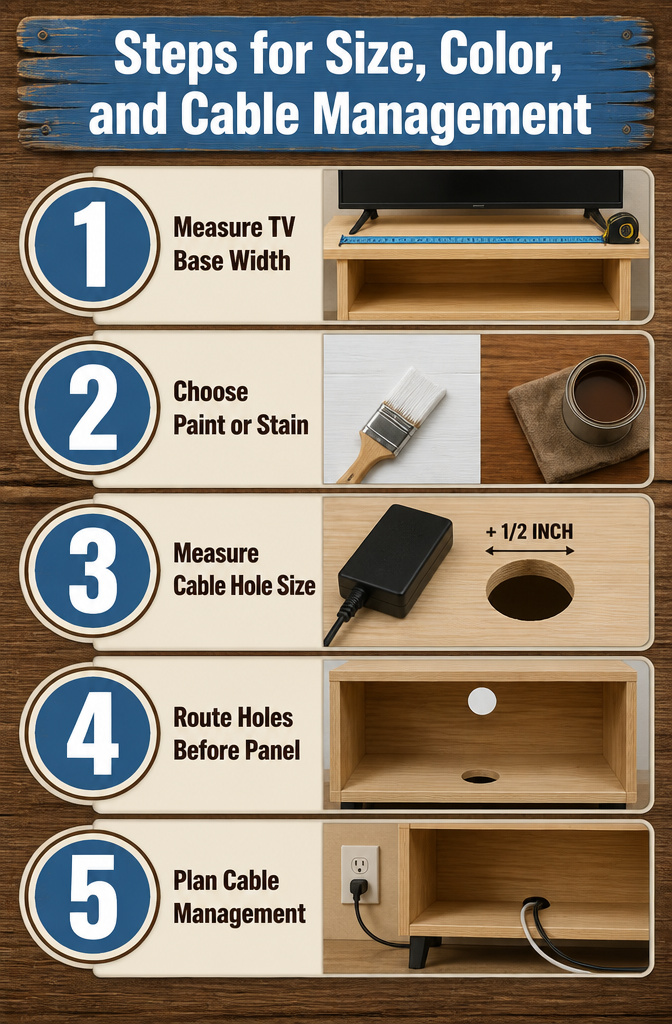
A DIY TV stand only works if it actually fits the room and the gear you already own. The width should clear your TV’s feet or leave room for a wall mount to swing, so measure the full span of the base plus a couple of inches on each side before you lock in your cuts. Paint reads cleaner in a small rental where the stand needs to disappear; stain holds up better if you want it to read as furniture against other wood pieces you already have. Measure your fattest plug, add half an inch, and cut your cable hole that size — no one agrees on a standard diameter because everyone’s power brick is different. Route those holes before you nail the back panel on, since drilling through a finished box means sawdust in every shelf and a hole that splinters out the face. I learned that routing cables through the bottom works cleaner than the top if your outlet sits low, but that only helps if you planned for it before the back went on.

Features a threaded adjustment mechanism that rotates to change height from 2.4 to, allowing precise leveling on uneven floors without shims.

Features a threaded adjustment mechanism that rotates to change height from 2.4 to, allowing precise leveling on uneven floors without shims.

Features a threaded adjustment mechanism that rotates to change height from 2.4 to, allowing precise leveling on uneven floors without shims.
Frequently Asked Questions
What type of wood is best for a DIY TV stand?
Three-quarter inch plywood is the stock to start with. It holds screws without stripping, sits flat under weight, and the edge looks like actual layers rather than pressed fuzz. Baltic Birch costs more but finishes cleaner if you are staining; MDF saves money and paints dead smooth, though a single splash of water swells it like a sponge.
How much does it cost to build a DIY TV stand?
Building your own stand runs cheaper than buying one, especially since store-bought options in the same price range tend to be cheap fake wood that will not hold up. Plywood prices have risen in recent years, but the material still beats retail for a piece that survives actual use.
What tools do I need to build a TV stand?
A table saw or circular saw with a straightedge guide handles the rips, a drill drives the screws, and a Kreg Jig drills the pocket holes that keep the outside face clean. A sander, rented or owned, saves time on the 220-grit finish passes; a tape measure, level, and carpenter’s square keep the box square during assembly.