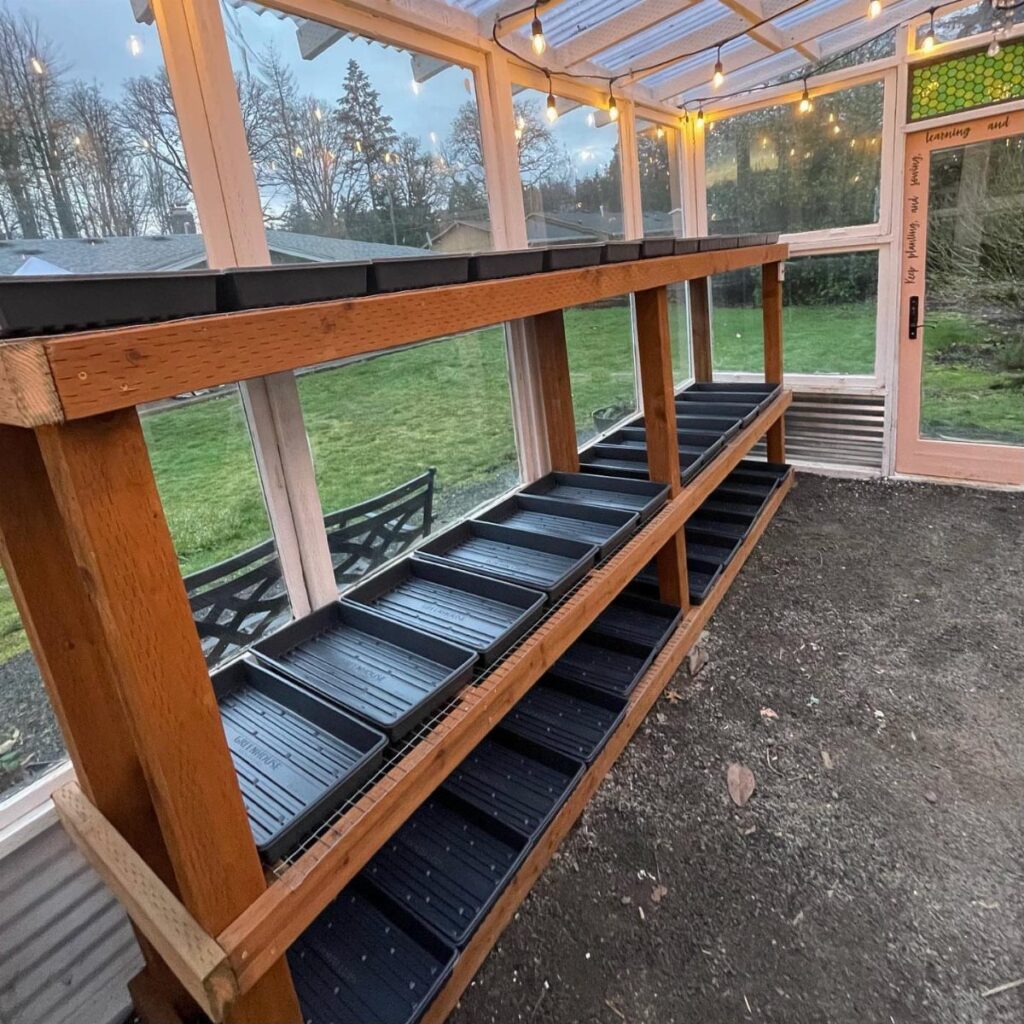
Costs run from a set of wall hooks and some black plant trays up to a sink station and climate control, so the price depends mostly on how much plumbing, wiring or lumber you add.
Greenhouse size is what decides which ones are yours: a 6×8 foot space suits seed starting and a few shelves, while 12×16 feet or more has room to grow, pot, store tools and sit down.
Choose the ideas that fit your footprint, because a layout planned before you build beats any single purchase.
1. Install Shelving
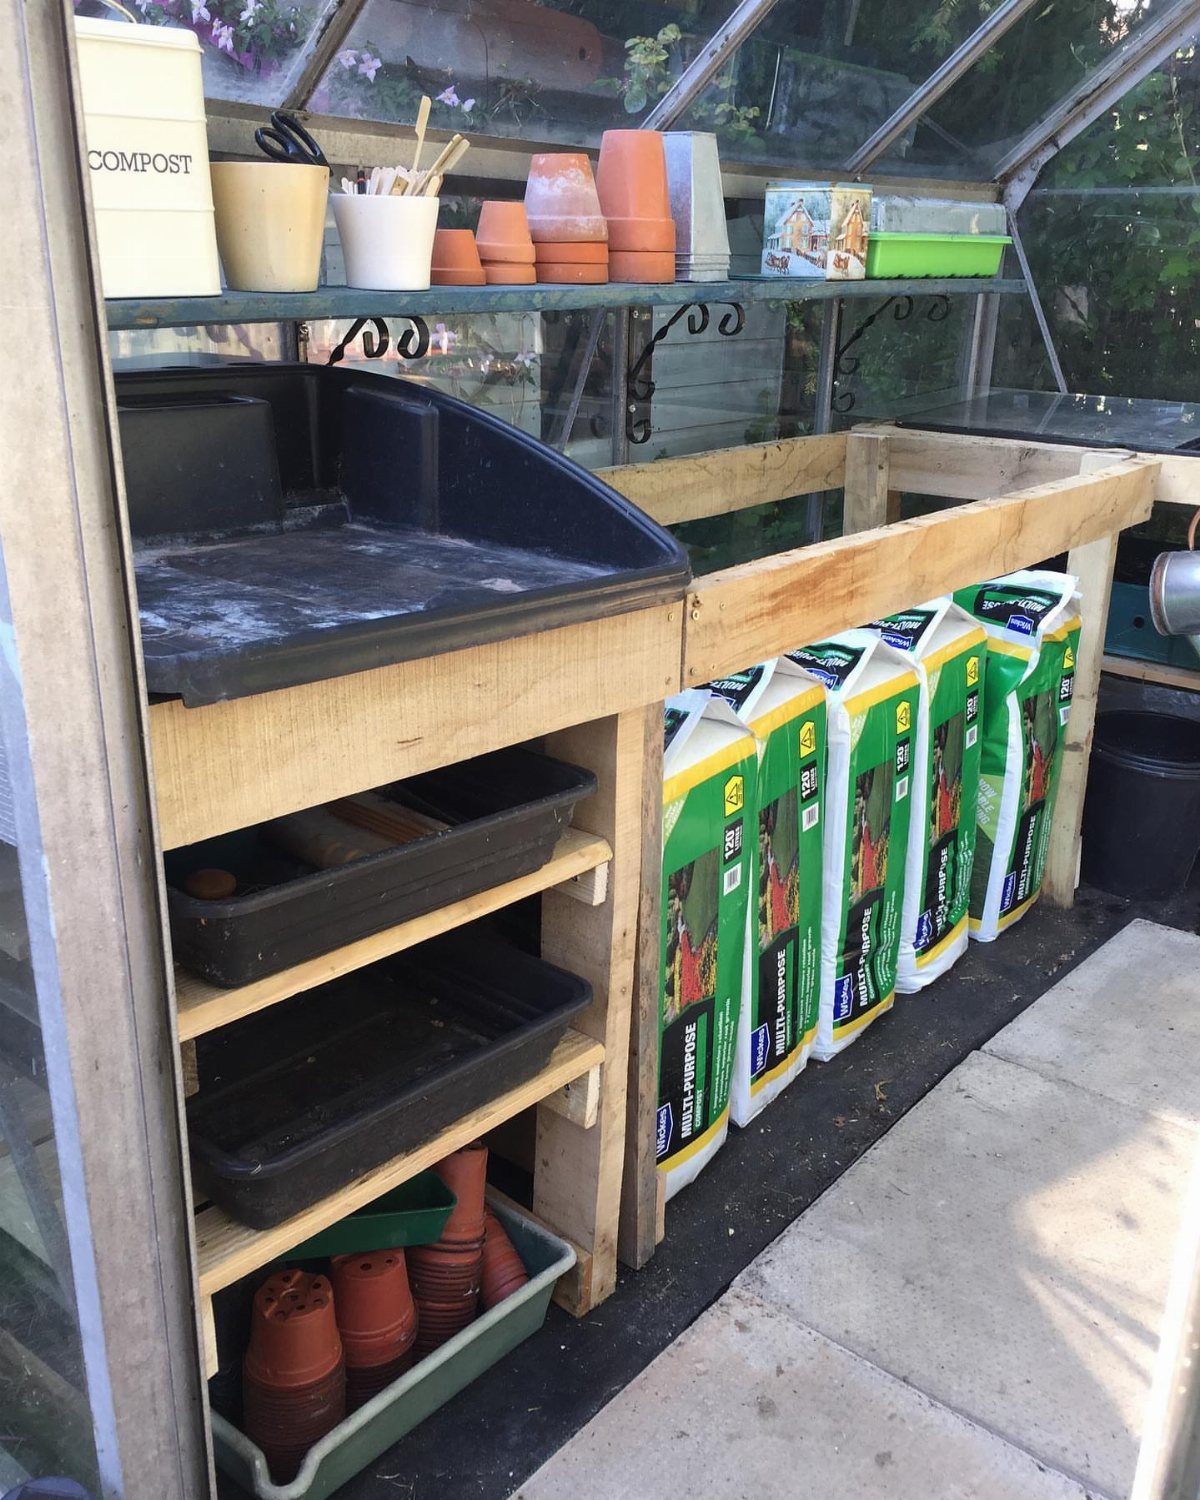
Open shelving along a greenhouse wall gives soil bags, trays and pots a home off the floor, and it keeps the bench free for actual potting.
I like sturdy wood here, since the unit will hold heavy bags and damp pots.
Put the heaviest items, like soil, on the lowest shelf.
Keep trays and everyday pots at arm height so you grab them without bending. A labeled container for compost scraps beside the shelves saves a trip across the space.
Shelves cost far less than a bigger greenhouse, and they add more usable room per dollar than any other fix I know.
2. Choose Greenhouse Flooring
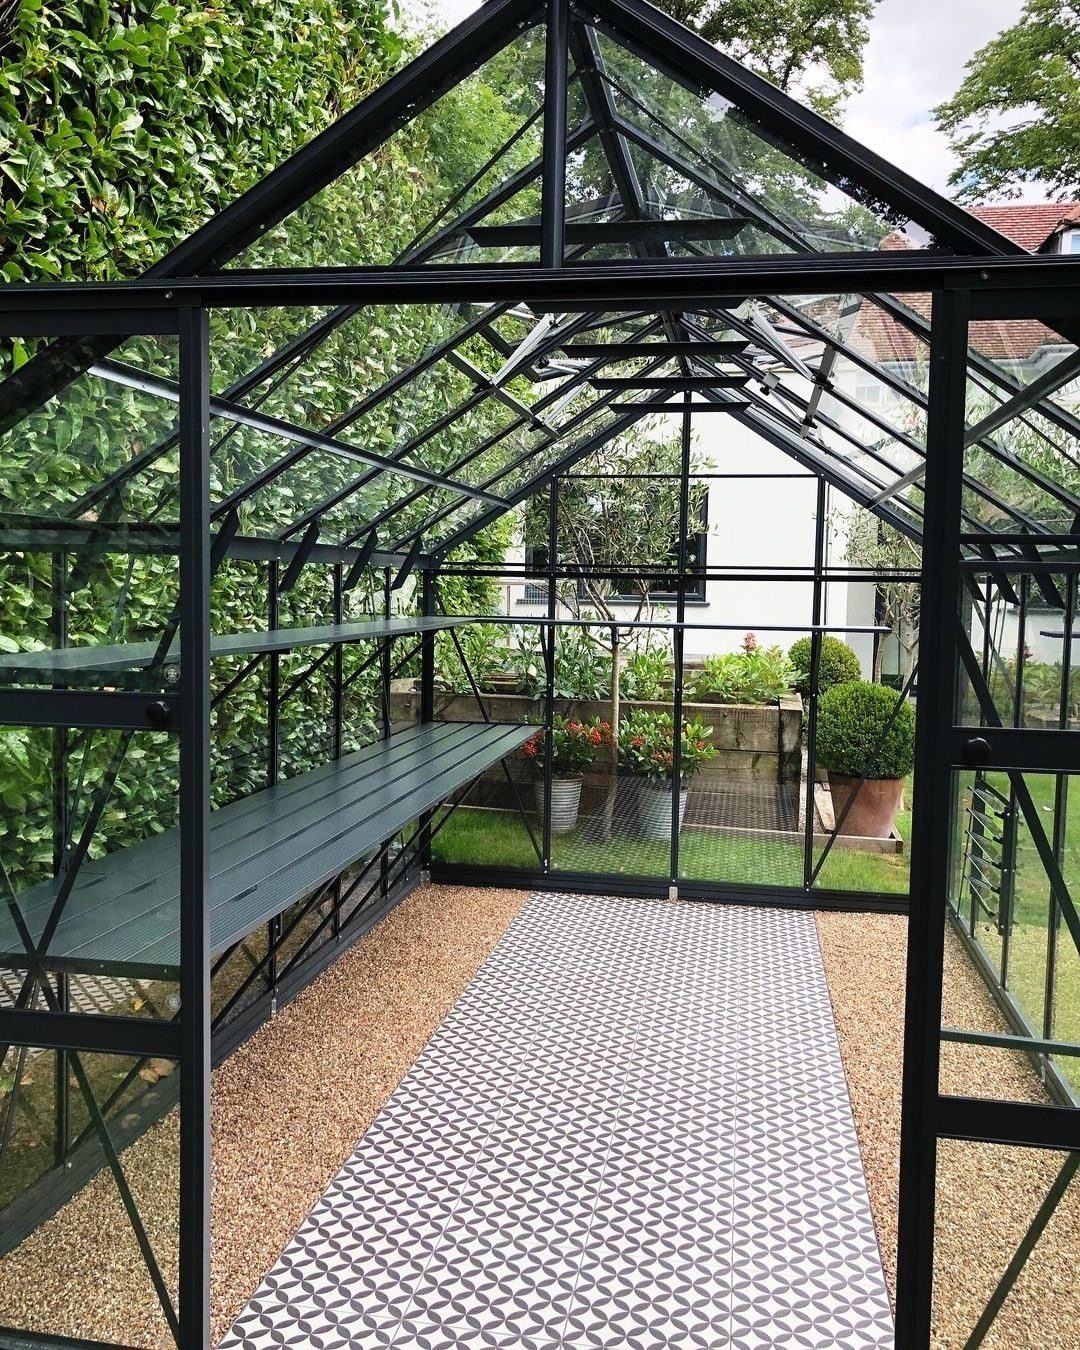
Flooring decides how the greenhouse feels underfoot, and gravel with a runner down the middle is a combination I’d pick for a small space. Gravel lets water drain away and is easy to spread yourself over a weekend.
The runner marks the walking path and gives your feet a flat, steady surface where you stand most. Choose one that tolerates splashes, such as a tile-patterned style, so watering doesn’t ruin it.
Whatever you pick, match it to how you use the space: wet growing wants drainage, while a sitting-and-relaxing corner wants something softer.
3. Potting Workbench
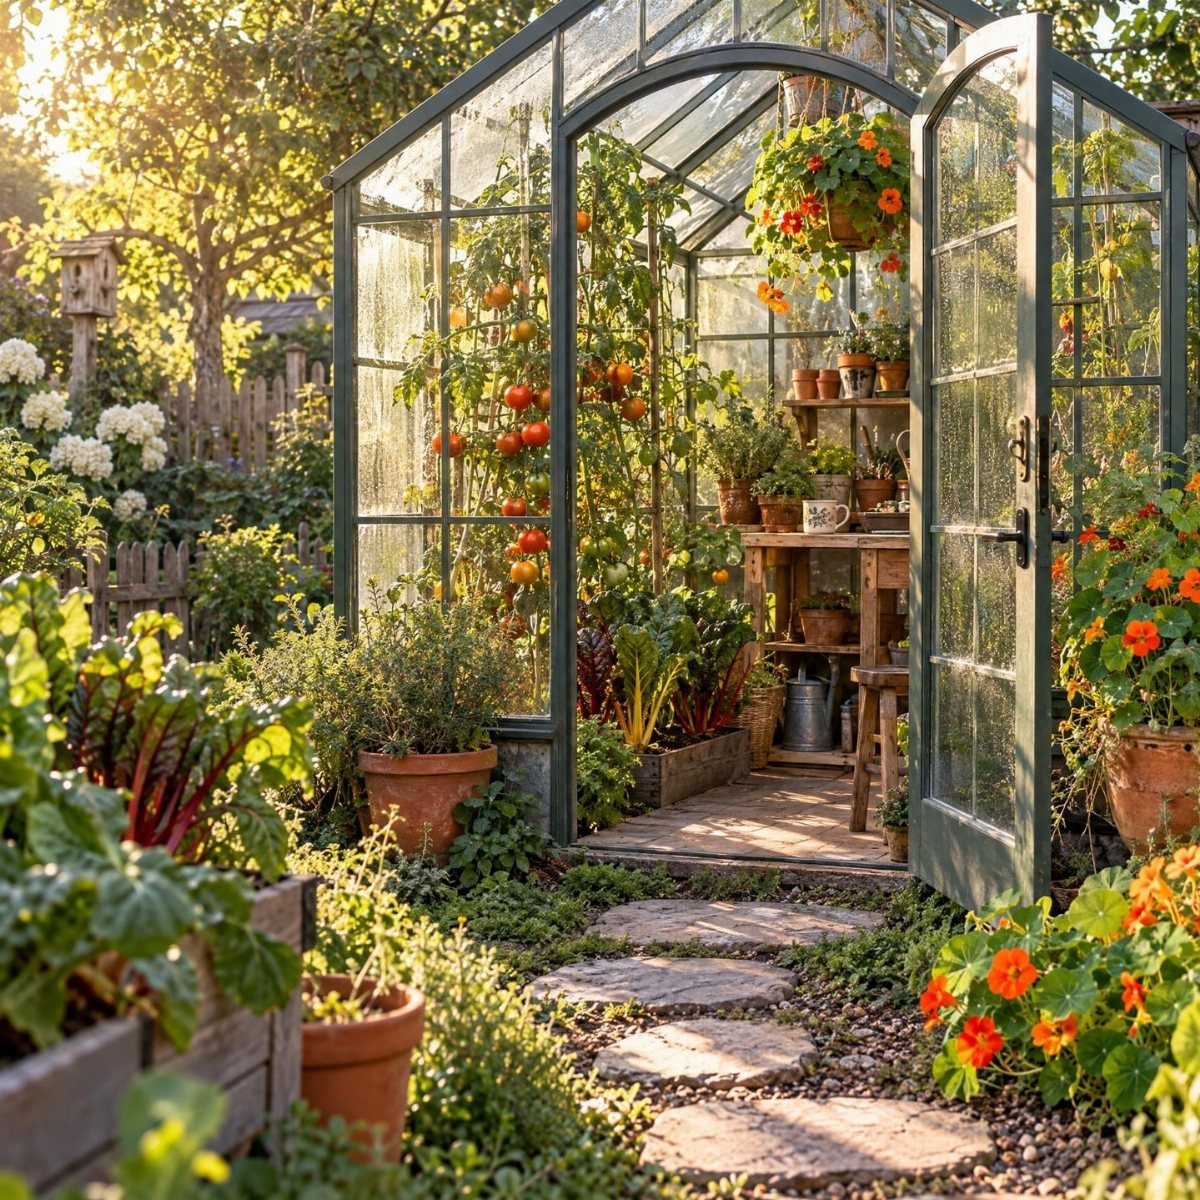
A potting workbench is the one piece I’d build or buy before any other, because it gives repotting, seed sowing and tool sorting a single dedicated spot.
Wood suits a greenhouse well and is simple to cut to your own width.
Set it where light is good and the walkway stays clear. Keep pots stacked at one end and hand tools within reach so you don’t leave the bench mid-task.
A bench that matches your height spares your back, so stand at the surface and test it before you settle on a size.
4. Vertical Hydroponic Systems
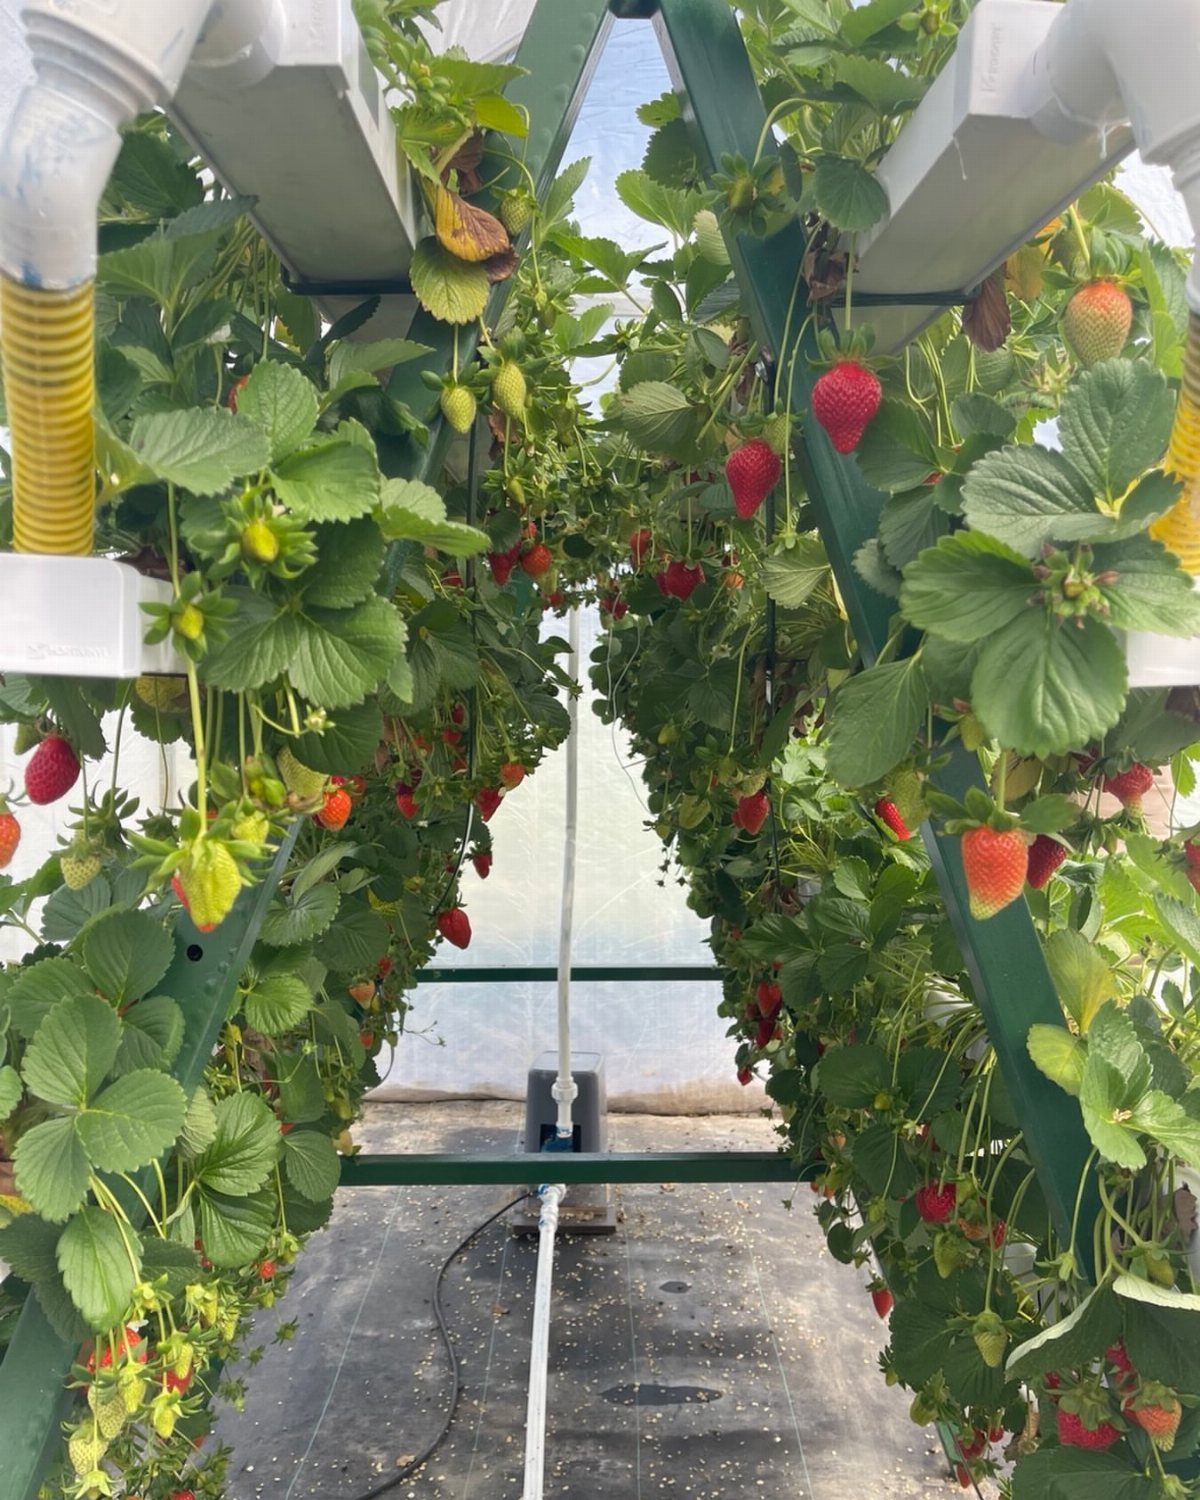
Strawberries grown in white gutters stacked above one another turn a narrow greenhouse wall into a full crop. A vertical hydroponic setup uses PVC piping and supports, so it’s plain plumbing parts rather than special equipment.
Build upward, not outward, and the floor stays open for walking. Vertical systems suit small greenhouses best, where every square foot counts.
Setup takes the most effort here: water has to reach every level, so plan the pipe run before you mount anything.
5. Add Plant Trays
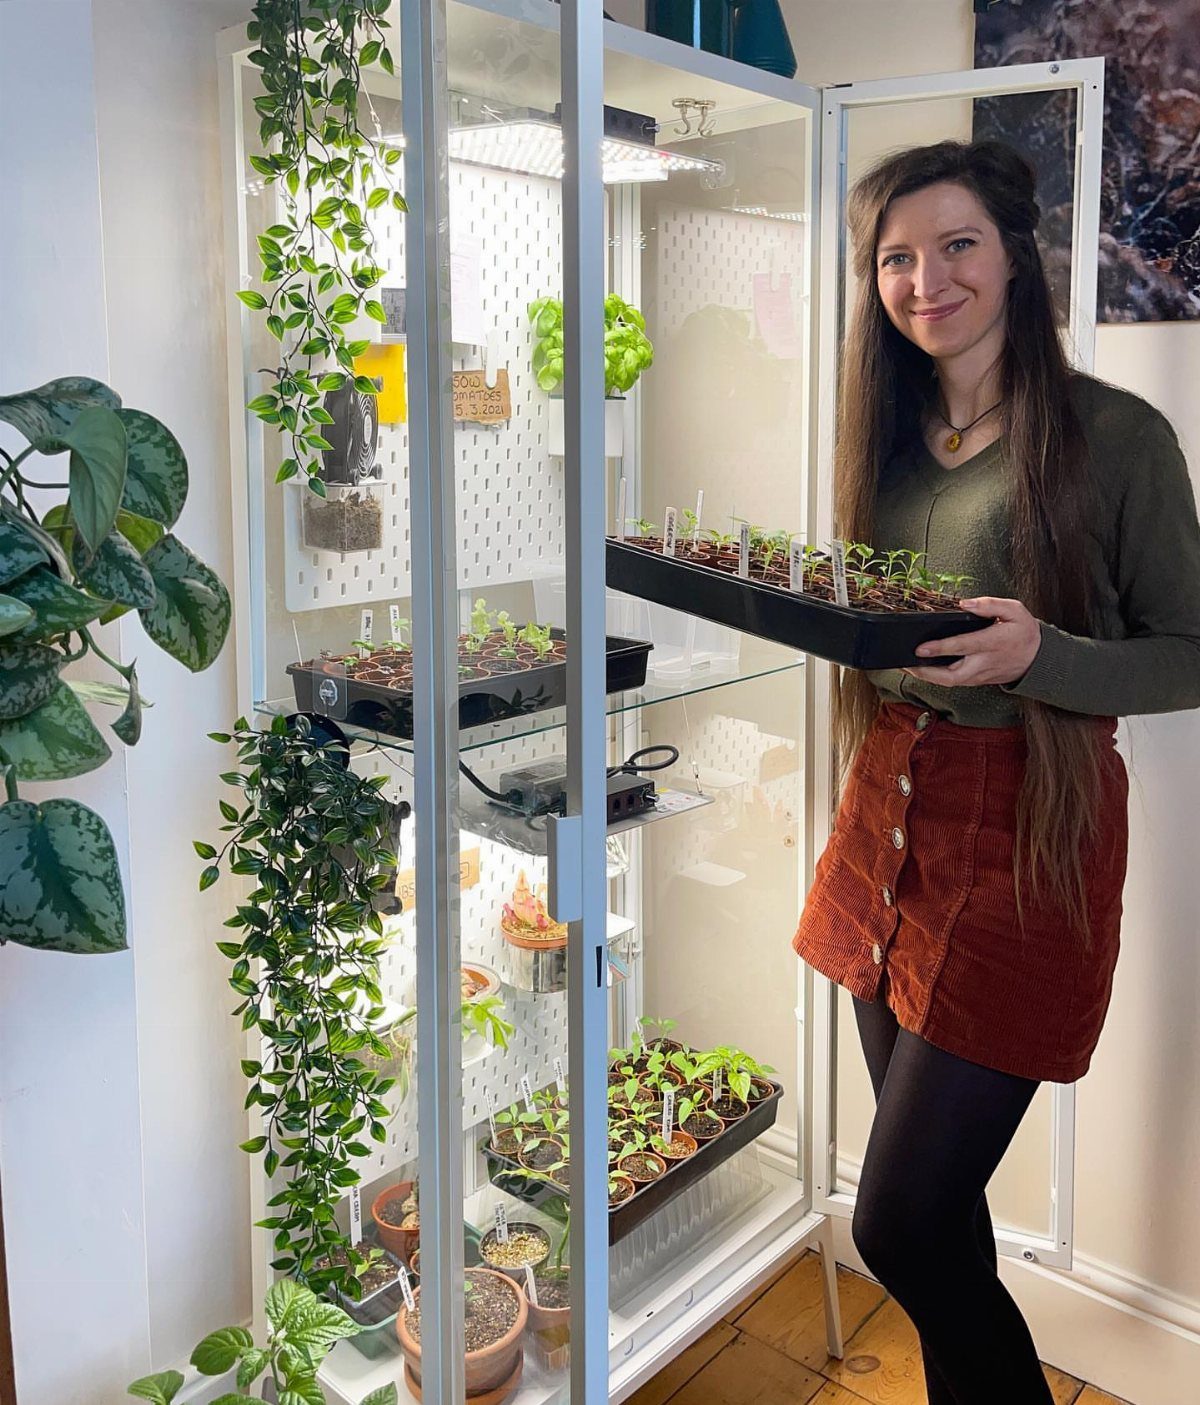
Plant trays make plants portable. Fill one with seedlings or small pots and you can carry the whole group to the bench, rinse them in one go, or slide them back into a cabinet.
Black trays hold a lot of small pots and are easy to wipe clean. I’d buy several of the same size so they stack and fit your shelves without gaps.
Moving plants as a batch beats handling them one at a time, especially when space is tight.
6. Greenhouse Layout
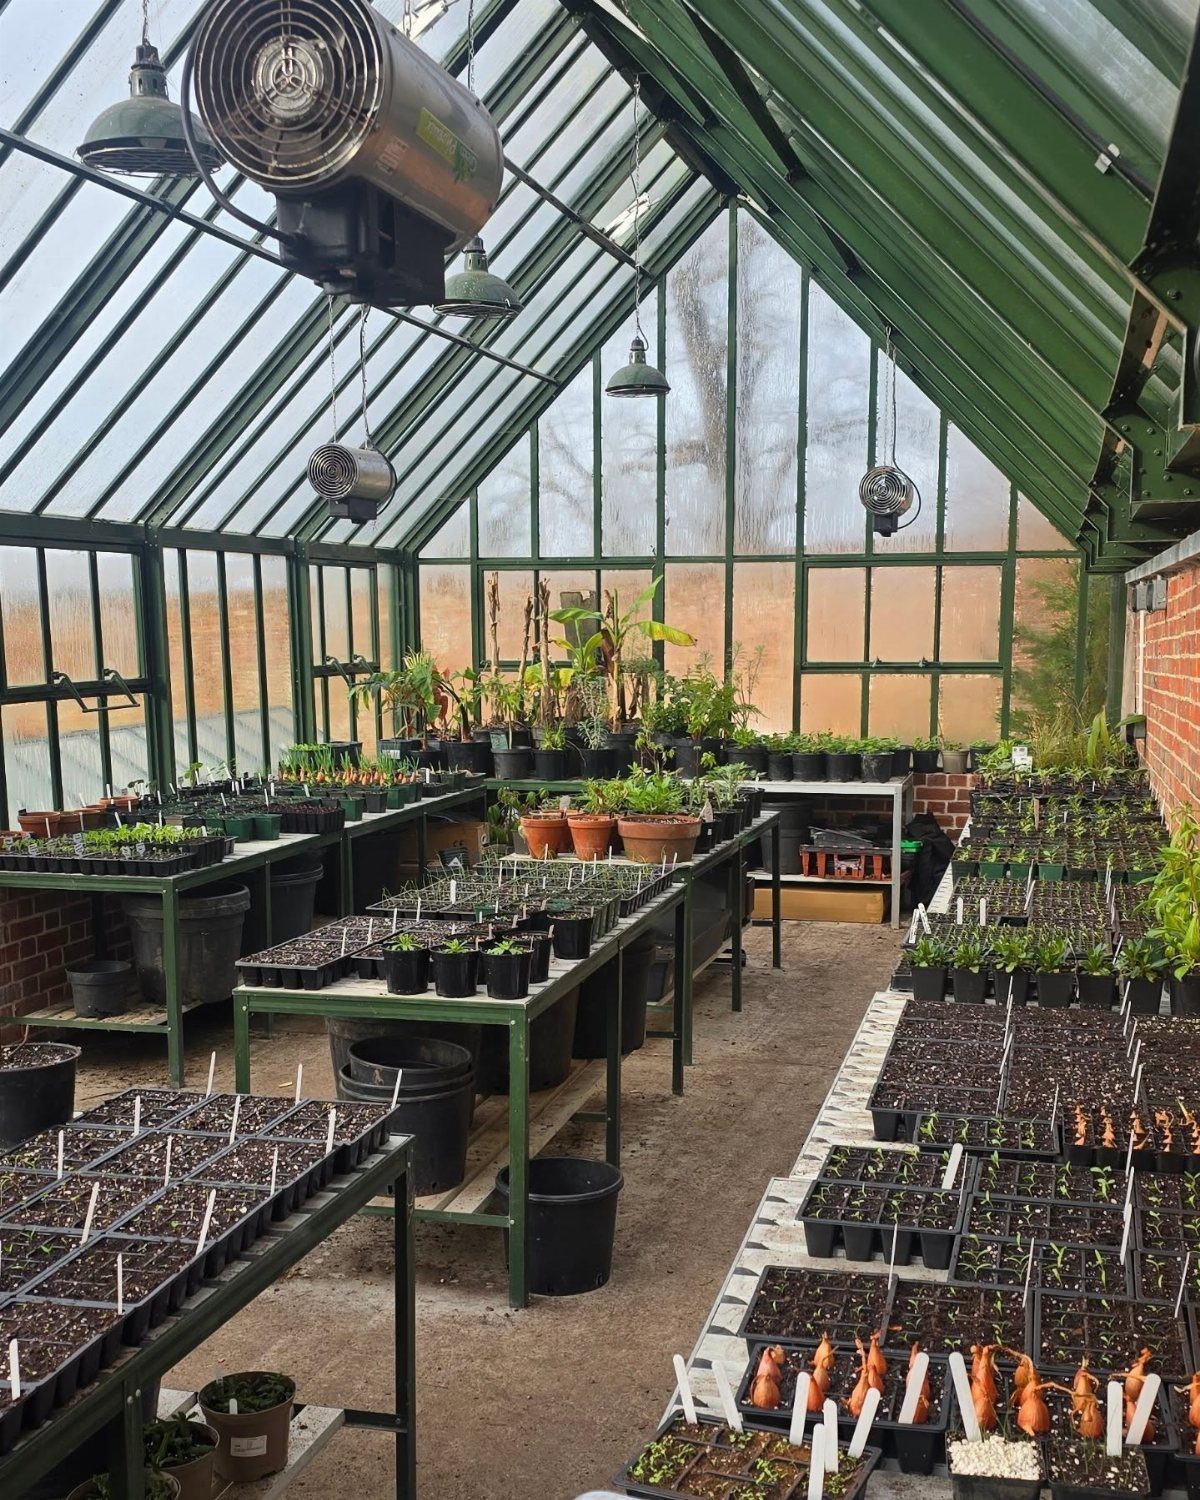
Sketch a layout first, with a clear central walkway and tables along each side, and hold off on buying anything until it works on paper. Rows of metal tables holding seed trays make every plant reachable without stepping on anything.
Leave enough aisle to turn around with a full tray in your hands. Overhead fans and hanging lights are worth planning for now, since they are easier to place before the tables fill up.
Group similar plants together on the same table so watering and checking become one pass instead of several.
7. Wall Rack for Hand Tools
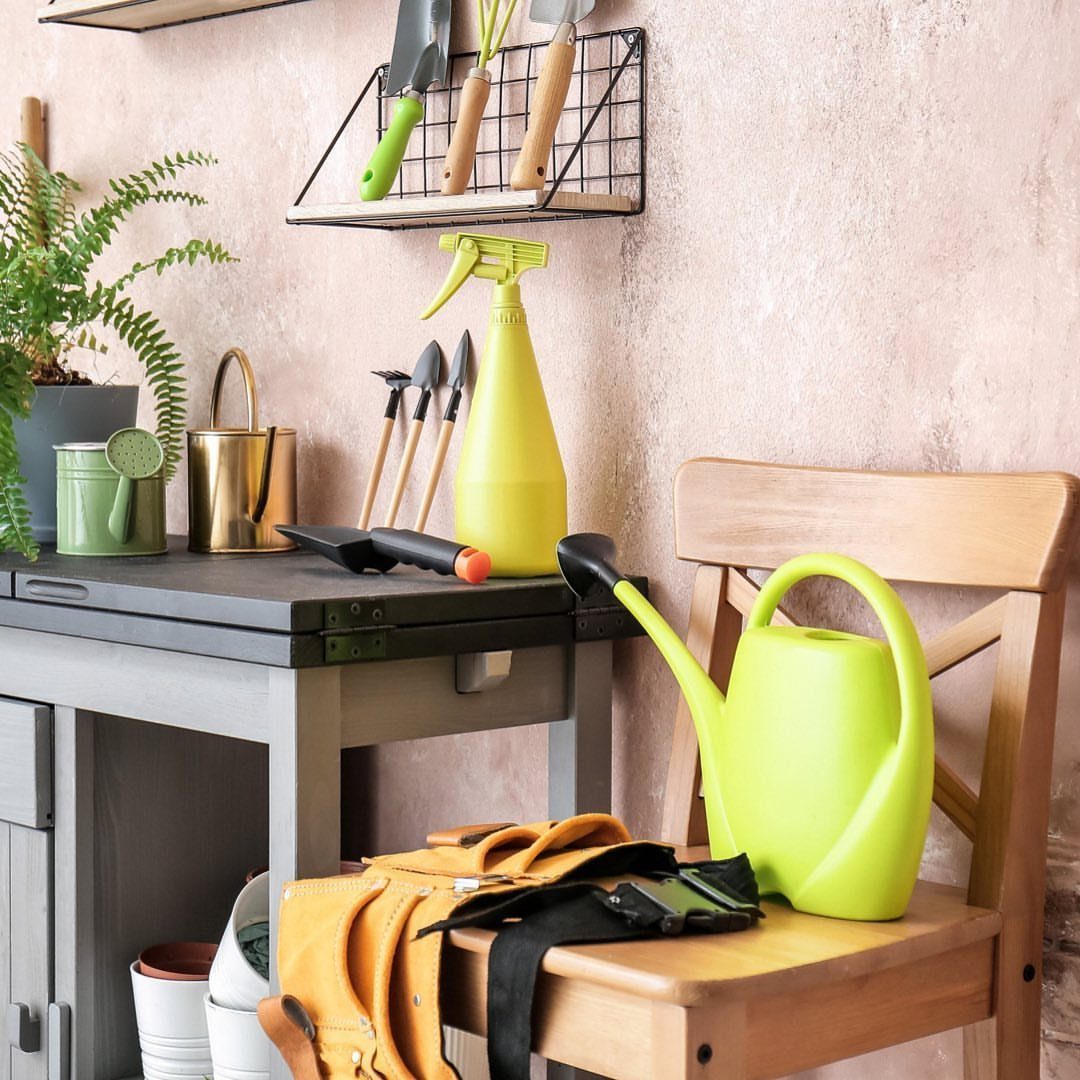
Hooks or a wire rack on the wall keep the tools you grab most within one arm’s reach of the potting table.
Mounting them above the bench uses wall space that would otherwise sit empty, and it leaves the tabletop free for pots and soil.
Hang trowels and hand forks by their handles so you can see each one at a glance. A black wire rack lets water drip through, which suits tools that come in damp.
I’d keep only the everyday tools there. Anything used a few times a season can live in a drawer or on a shelf.
8. Long-handled Tool Stand
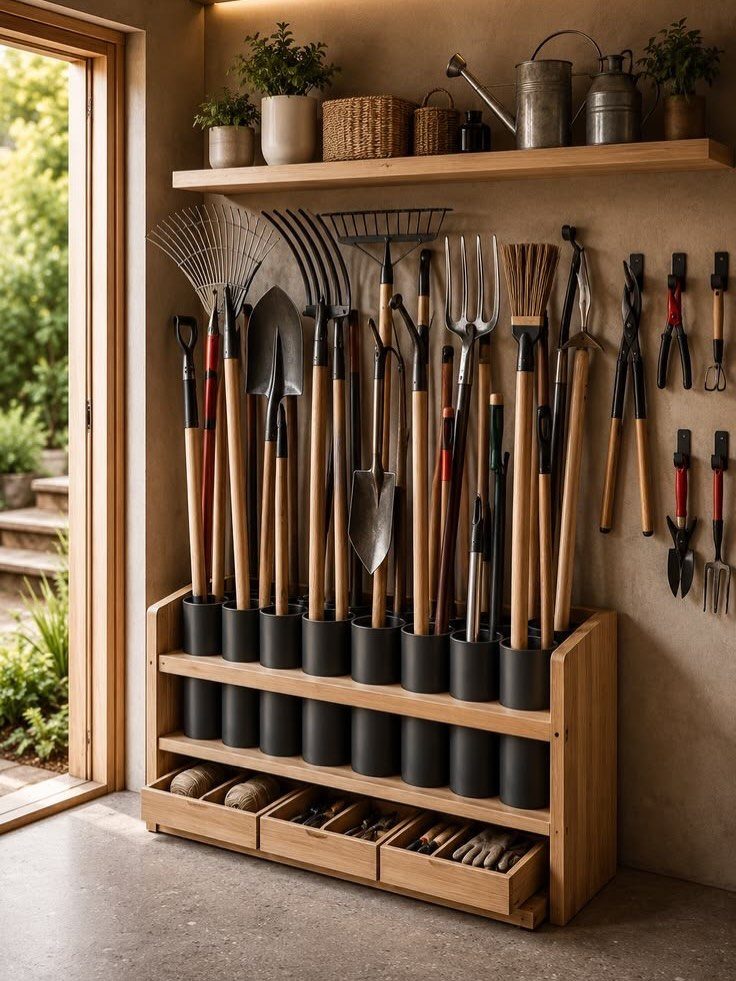
Rakes and shovels lean, slide and fall when they share a corner, so a wooden organizer with cylindrical slots gives each long-handled tool its own upright spot. The shelf overhead holds small items, and drawers underneath take gloves or twine.
I like this setup because it packs the tall tools, the loose small ones and the storage into one footprint. That matters in a small greenhouse.
Place it near the door, where long tools are used first and put away last. Slot each handle in head-up or head-down consistently, so you can reach any one without pulling out the rest.
9. Greenhouse Sink Station
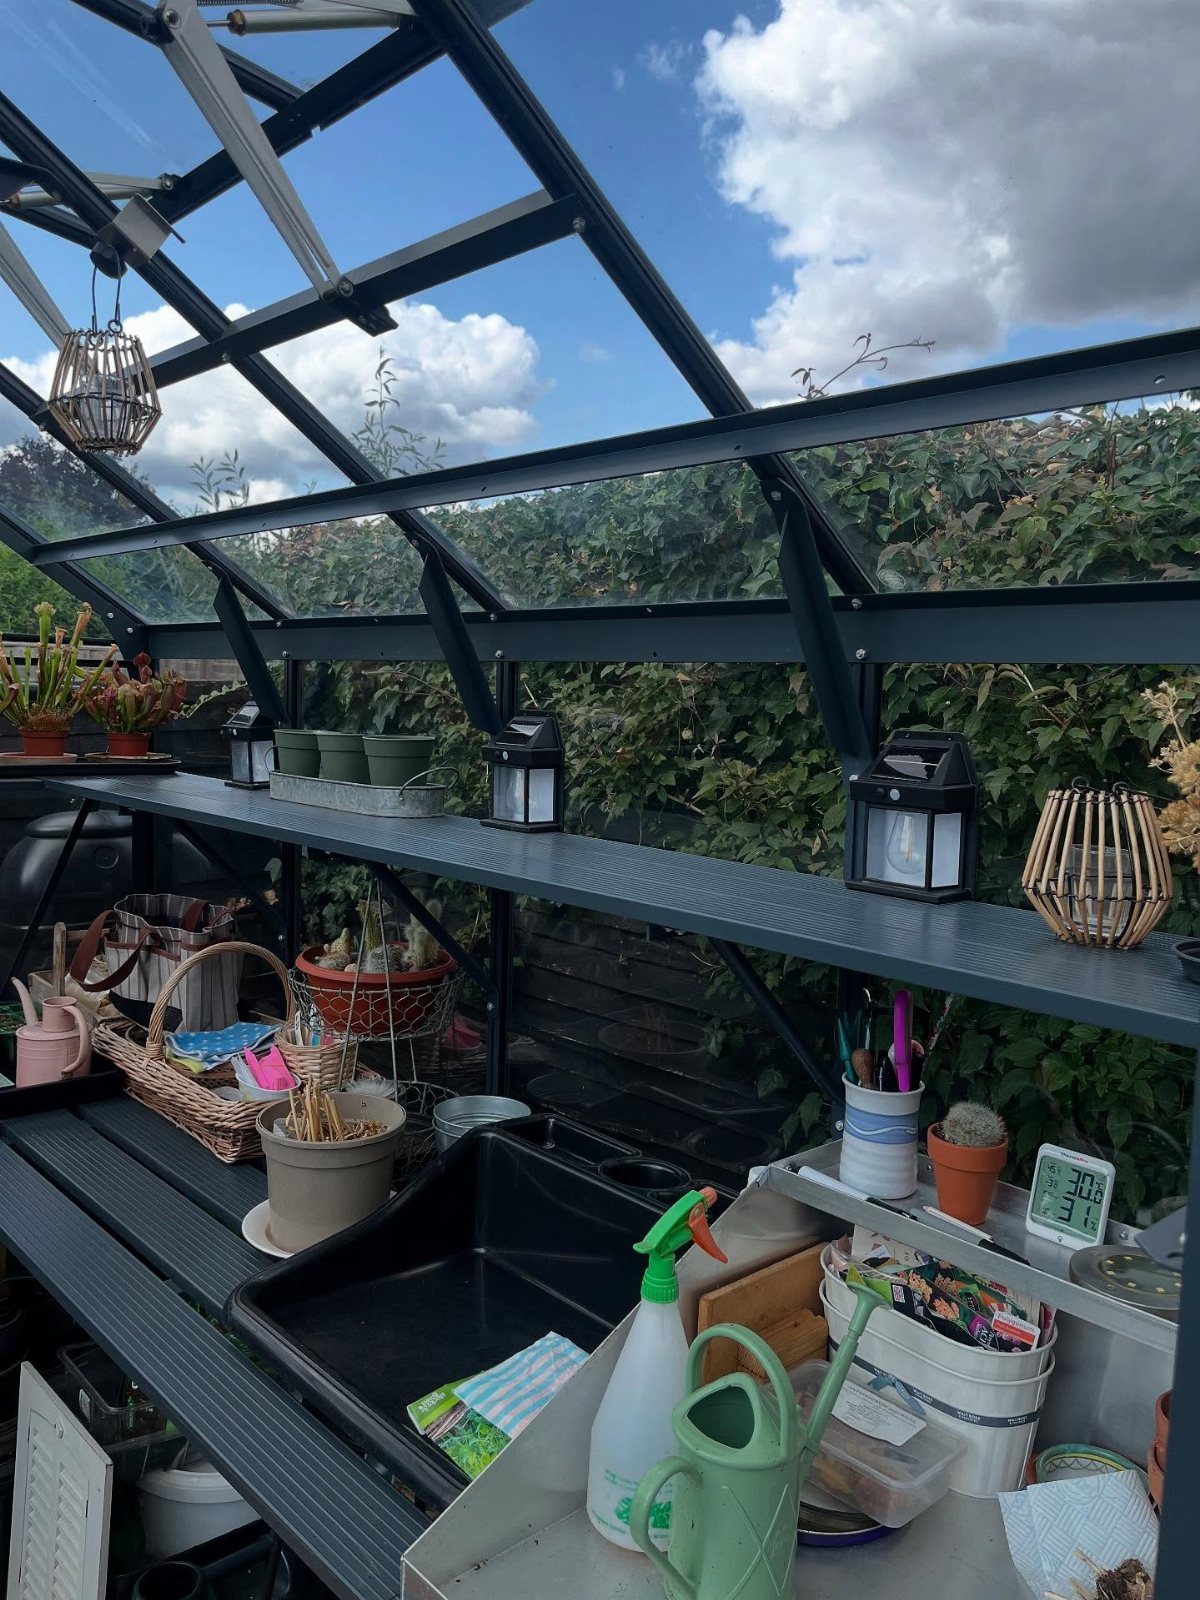
A sink in the greenhouse saves the trips to the house with a watering can in each hand. Pair it with an organizer beside it, and watering cans and spray bottles stay next to the water they need.
A black sink and organizer hide splashes and soil better than white would. Keep the tool shelves right beside it so rinsing a trowel takes one step.
Plumbing is the real cost here, and it swings with the length of the water line you have to run, so get that price in hand first and pick the sink second.
If a line isn’t practical, a basin with a filled can still gives you the station layout.
10. Indoor Greenhouse Cabinet
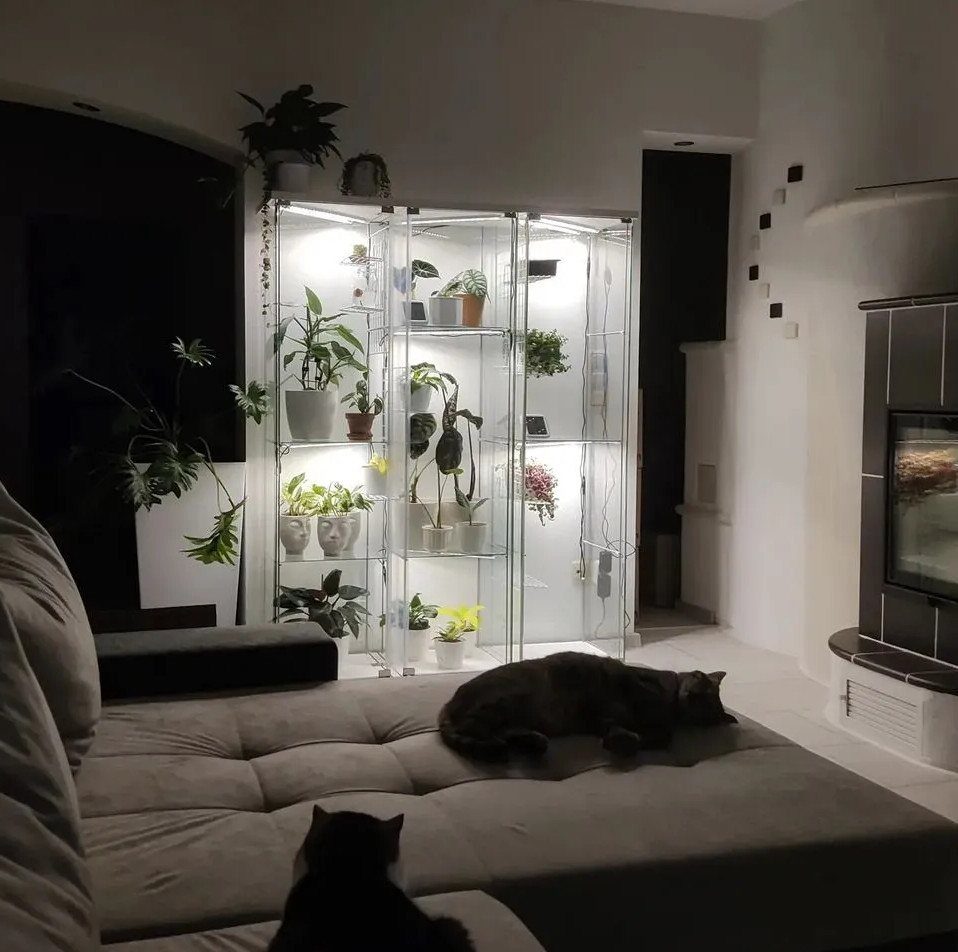
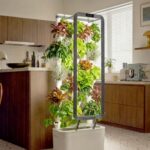
A glass cabinet fitted with grow lights is a greenhouse that fits in a living room. Shelves inside hold potted plants, and the glass doors keep them in their own small space.
I’d choose this over a windowsill if your home gets little natural light, since the lights do the work the sun can’t.
Pick a cabinet with several shelves so each level holds a different plant, and place it where you can see it from the sofa.
It costs more than a bare shelf because you’re paying for the cabinet and the lighting. In return, the display looks tidy.
Plan the Greenhouse Site
Light decides the site before anything else does. A south-facing spot usually collects the most sun across the year in most of the US, and winter is when that extra light counts, since the days get short and weak.
Check what you plan to grow first: leafy greens and herbs generally want 12–14 hours of light a day.
Full sun is the better starting point. Shade cloth can cool a bright site later, but adding light to a dim one is much harder.
A steady wind strips heat out of a greenhouse quickly, and over the years it works the frame loose.
A fence or row of shrubs can break it up without blocking light, and 20 mph is the wind speed to stay under.
Pick ground that drains well and stays dry after a heavy rain, which heads off flooding and root rot.
A site close to a hose bib or rain barrel saves you a lot of carrying, so I would pick one if the yard allows.
Allow Room for Plants
Crowded plants stay damp, and damp air invites pests and disease.
Leave room around each one so air can move and fruit can ripen. Count grow bags too, since vegetables grown in them need their own footprint.
Size follows purpose. A 6×8 foot greenhouse suits seed starting or a compact garden.
If you want to grow some vegetables and also keep a potting bench, I would go bigger, somewhere between 8×12 and 10×16 feet. If you want to grow, pot, store tools and sit down, plan on 12×16 feet or more.
Build 25% to 50% larger than your first estimate. Most people add plants within a season or two, and an oversized greenhouse is easier to live with than one you outgrow.
If space is tight, start salad crops like lettuce in seed trays, then move them on once they have grown.
Maintain Greenhouse Climate
An unmonitored greenhouse swings hot, cold and humid, and pests and disease follow. A thermometer you check daily is the cheapest fix I know.
In summer and during heat waves, overheating can kill plants, tender ones first. Ventilate, and add shade cloth when the sun gets harsh.
In a mild zone an unheated greenhouse can do plenty.
Colder climates usually need some heat. Every degree you add costs money, so heat only as much as the plants need, from light frost protection up to constant warmth.
Heat can come from electricity, paraffin or bottled gas. For a small greenhouse, a thermostat-controlled heater is the right choice.
In a bigger greenhouse, I like wall-mounted tubular heaters with a built-in thermostat, set low under the benches, because they warm the pots and trays from below so seeds don’t sit in cold, frozen soil and fail.
Frequently Asked Questions
How do you organize a greenhouse?
Start with a sketch: a clear central walkway, tables down each side, and zones for potting, growing and storage. Shelves keep soil bags and pots off the floor, and wall hooks hold the everyday hand tools.
How to maintain a greenhouse during winter?
Check a thermometer daily and heat only as much as the plants need, since every degree added costs money.
What do you want to put or grow inside your greenhouse?
Settle this first, since what you plan to grow decides the layout of everything else. Shelves and tables suit seedlings and smaller potted plants, while raised beds or in-ground planting suit crops, and the two can be combined.