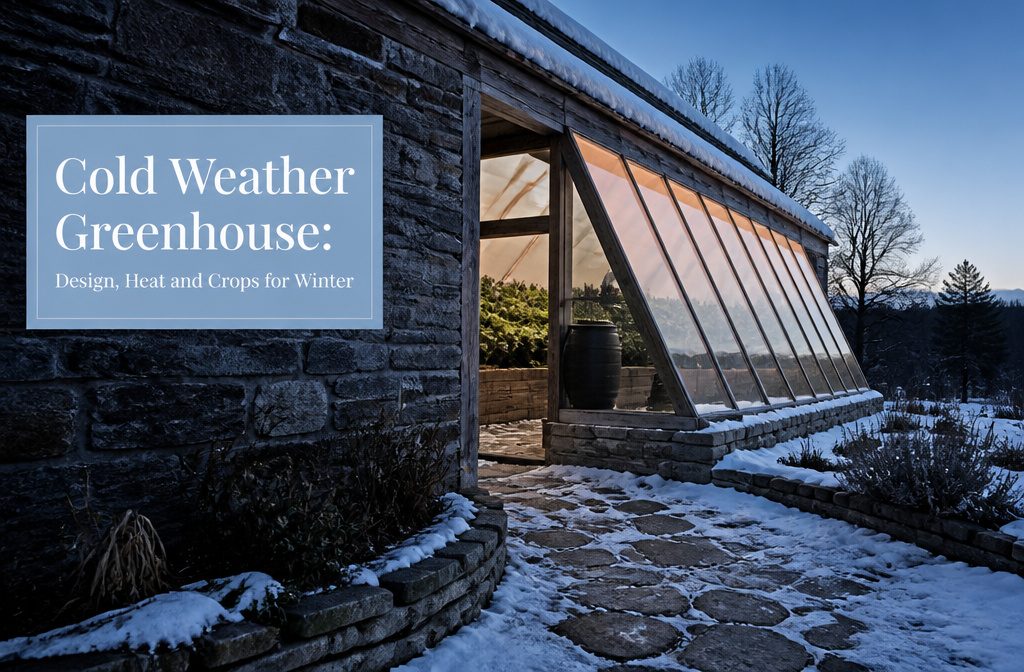
A cold weather greenhouse is a growing structure built to hold heat through freezing winters, and the design decides whether it works.
A hoop house is cheapest but fails first in severe cold and heavy snow. Deep winter designs pitch a south glass wall at 60° and insulate every other side.
Greenhouse Type and Site
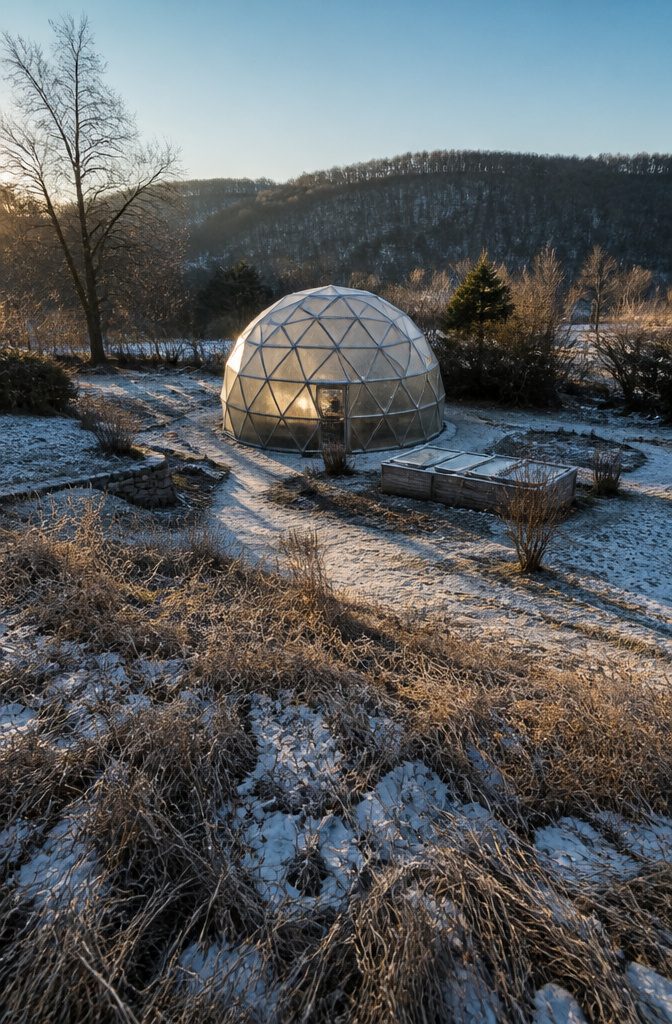
A hoop house is the cheapest way into a cold weather greenhouse, and the first to fail where winters turn severe.
Thin plastic over bent pipe loses heat fast, and heavy snow can collapse the arches. I would only pick one for mild winters or for cold frame-style season stretching.
Insulated kits and passive-solar deep winter designs hold heat far better.
A geodesic dome sheds snow well and, going by what builders report, runs 20–30°F warmer inside than outdoors. A DIY lean-to costs the least of the sturdy options because it borrows a house wall for shelter and stored warmth.
Before choosing, watch where sun and shade fall across all seasons, not just today. A spot that is bright in July can sit in shadow by December, and winter light is the only light that counts here.
Design for Winter Sun
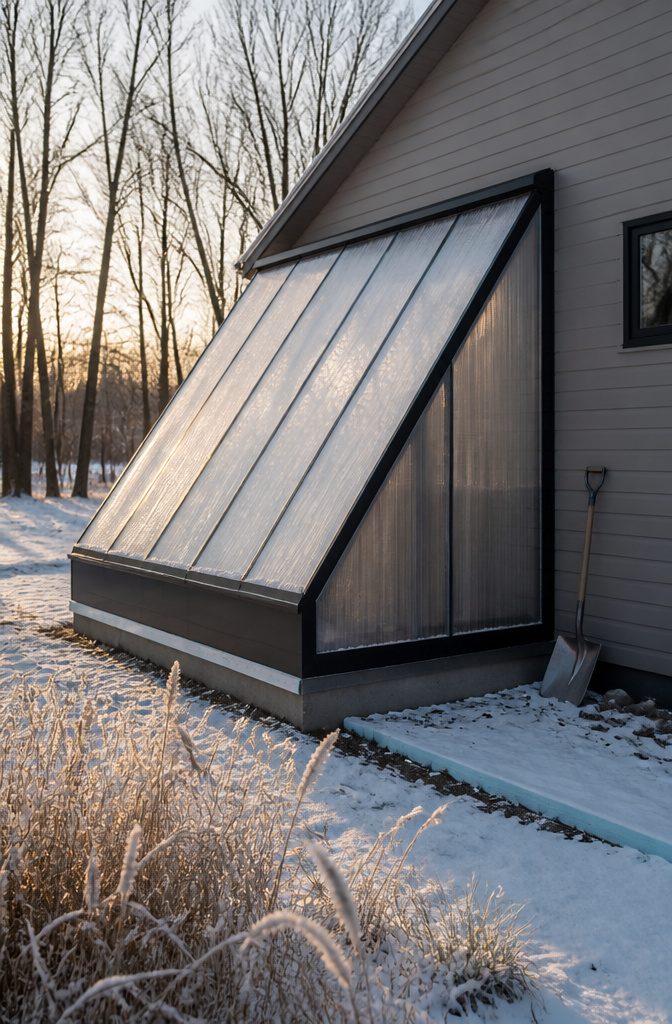
A cold weather greenhouse works best with its glass on one side only. Put a long glazed wall on the south face and build the structure on an east-west axis, so the most surface faces the low winter sun.
The deep winter designs pitch that south wall at 60°, steep enough to catch sunlight on the coldest days.
Insulate the north, east and west walls and the roof, and skip glass there.
Attaching the north wall to the south side of a house is free insulation. Otherwise, 10 mm polycarbonate is the heavy-duty choice for extreme cold.
Choose glazing that passes at least 70% of light. Higher transmission lowers the R value, and better materials cost more.
At night, close thermal screens or removable shades over the glass.
Bubble wrap on the inside of the frame is the cheap fix. Bury rigid foam a couple of feet deep around the foundation so heat doesn’t drain into the ground.
Thermal Mass and Backup Heat
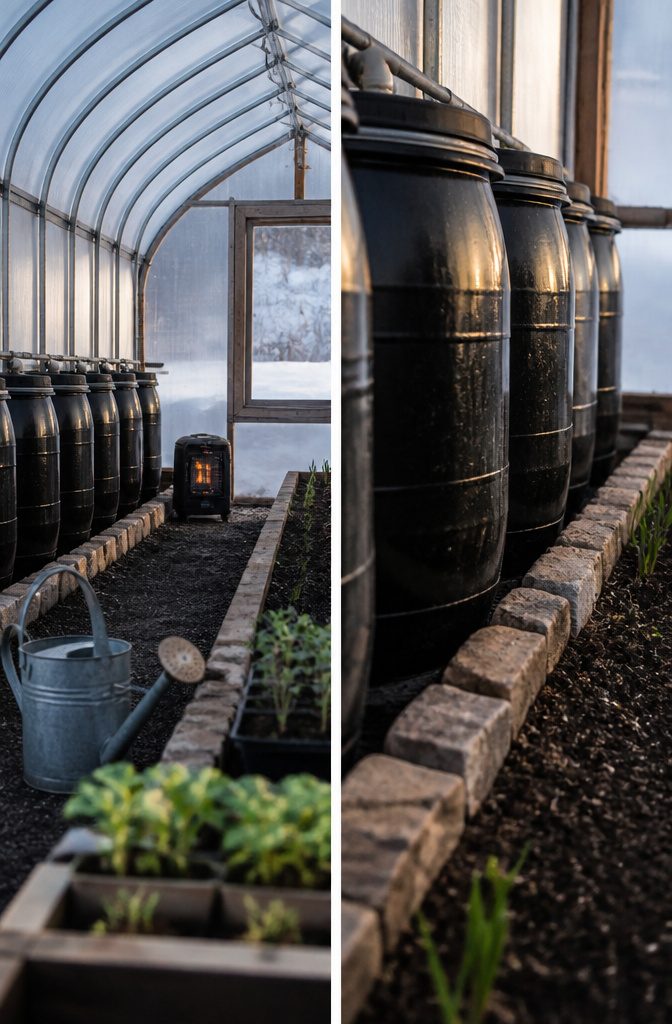
Water is the cheapest heat storage a cold weather greenhouse can have, and 55-gallon barrels painted black and stacked along the north wall work best.
They soak up sun all day and release it after dark, without shading the plants. Plan on roughly 8–12 liters of water per square foot of glazing.
Stone and soil store heat too, but slowly. For a bigger build, a GAHT or climate battery pulls warm air through buried pipes and holds the soil around 50–60°F.
Mass only evens out swings.
When nights keep air below 50°F, add backup heat: electric is simplest, gas or wood heats harder, and solar suits a small setup. Keep the water in those barrels from freezing.
Light, Airflow and Humidity
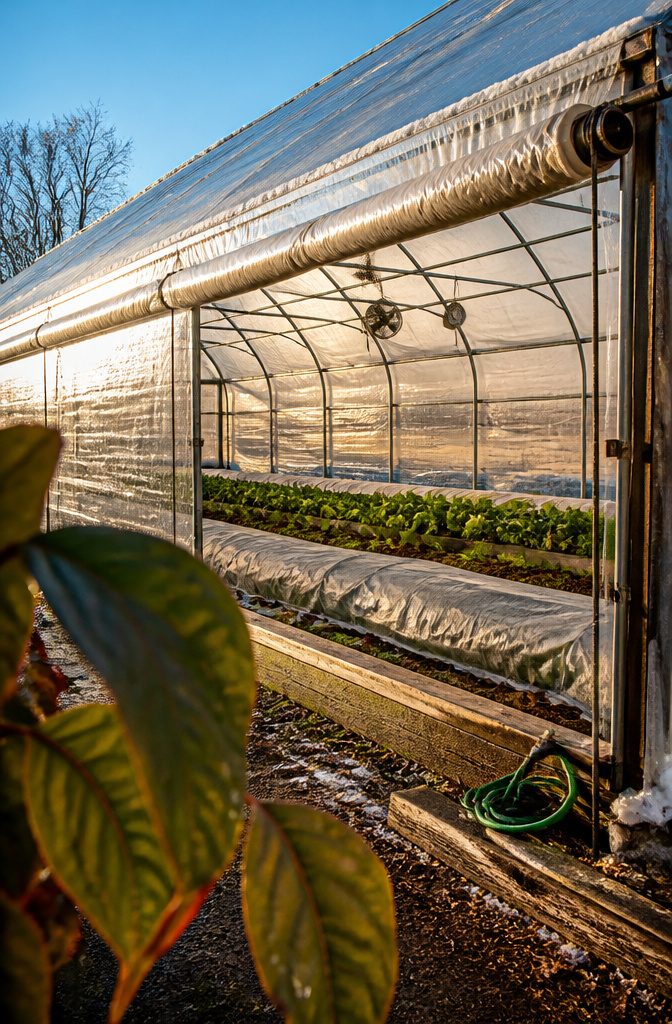
Winter humidity is what grows mold in a cold weather greenhouse, and sealing the structure tight makes it worse.
Open the vents on sunny afternoons and close them before the temperature drops, so you swap the damp air without dumping stored heat. Roll-up side walls handle this with no electricity.
Size the openings at about 30% of the glazing area, a common rule of thumb. Row covers over the beds hold warmth at night.
A second film layer inflated by a small fan (about 1 amp) creates a dead air space that insulates and keeps the roof drier. For short days, I would add grow lights to stretch the day by two hours.
Brush snow off the roof so light still reaches the plants, and keep a thermometer and humidity gauge inside to catch trouble early.
Cold-Hardy Crops and Timing
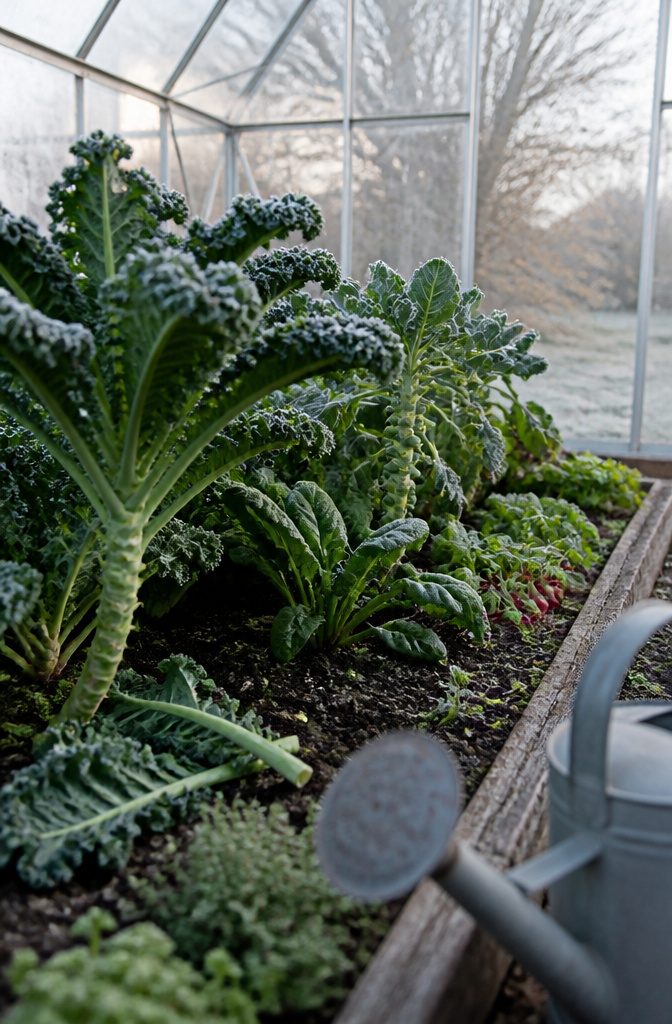
Kale and Brussels sprouts are the toughest brassicas I’d plant, and both hold up to 20°F. Spinach and turnips follow at 25°F. Cabbage, broccoli, collards and bok choy fill out the family, and kale keeps producing through winter, so you can cut it again and again.
Time matters more than variety.
Start cold-hardy crops in late August or early September so they reach mature size before the days get short and cold. Radishes are the exception: at about 30 days, they can go in later and still pay off.
Carrots, beets and parsnips sweeten after a light frost. Parsley, thyme and chives handle winter with little care.
Tomatoes, peppers and citrus are different. They need added heat, so I’d leave them out unless you’re ready to run a heater.
Winter Maintenance
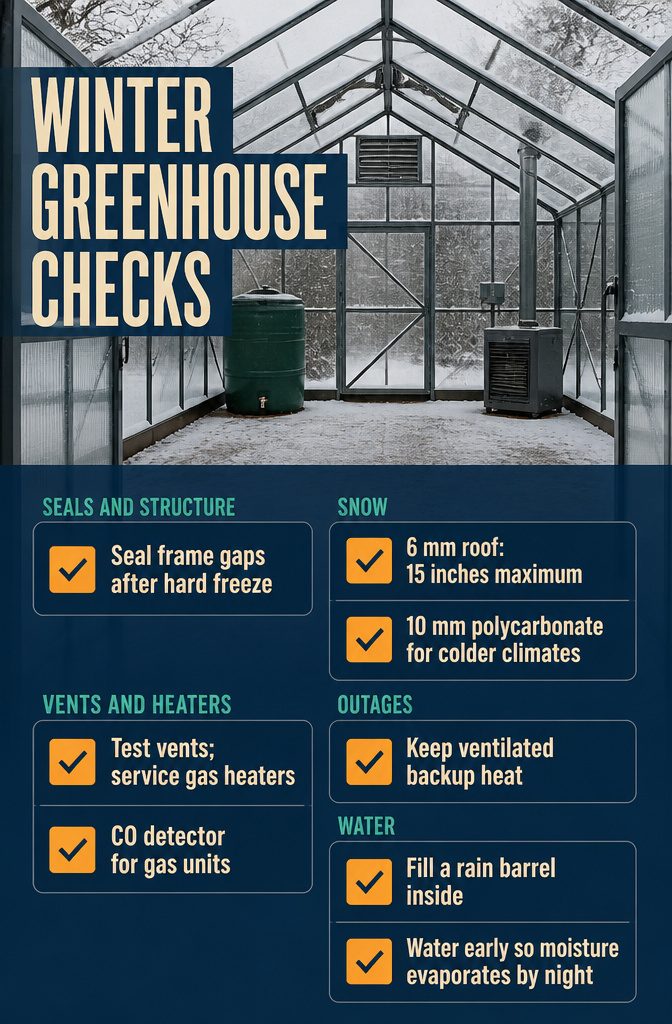
Winter checks go faster as a short routine, so here is the order I’d run them in:
- Seals and structure: Walk the frame after the first hard freeze and close any gaps at vents, doors and panel joints. Insulate vents you won’t open until spring.
- Snow: Clear the roof often. A 6 mm polycarbonate roof handles up to 15 inches, and 10 mm is the better pick for colder climates.
- Vents and heaters: Test vent openers and clean the heater and fan before the cold arrives. Gas units need a carbon monoxide detector and regular servicing.
- Outages: Keep a backup generator for heaters and fans, plus a propane heater or wood stove with real ventilation. Hang spare insulation to close off a corner.
- Water: Fill a rain barrel inside when spigots freeze. Water early so moisture evaporates by night.
Heat Retention Numbers
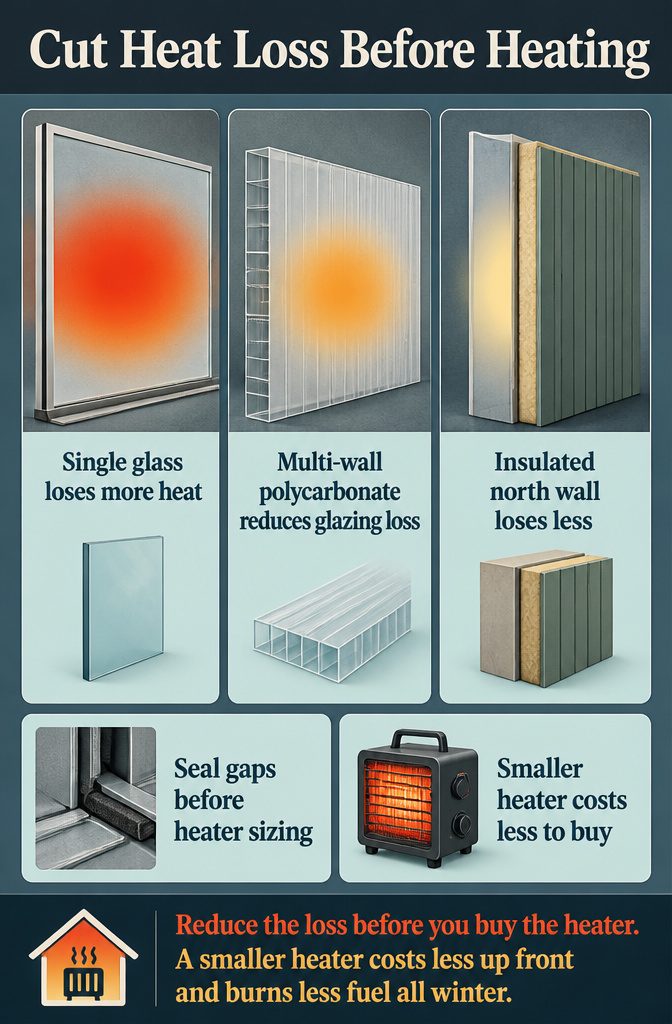
Heat loss through the glazing sets how big your heater has to be, so the covering is the first place to spend money.
Cutting that loss by even a modest amount shrinks the fuel bill every night, not just on the coldest ones.
I won’t hand you R-values or percentages here, because the figures depend on the panel, the climate and how tight the structure is.
What holds across builds is the order of the work: seal gaps and upgrade the covering first, then size the heater to the smaller load that remains.
A multi-wall polycarbonate panel loses far less than single glass or thin film, and an insulated solid wall on the north side loses less still.
Reduce the loss before you buy the heater. A smaller heater costs less up front and burns less fuel all winter.
Solar Gain and Orientation
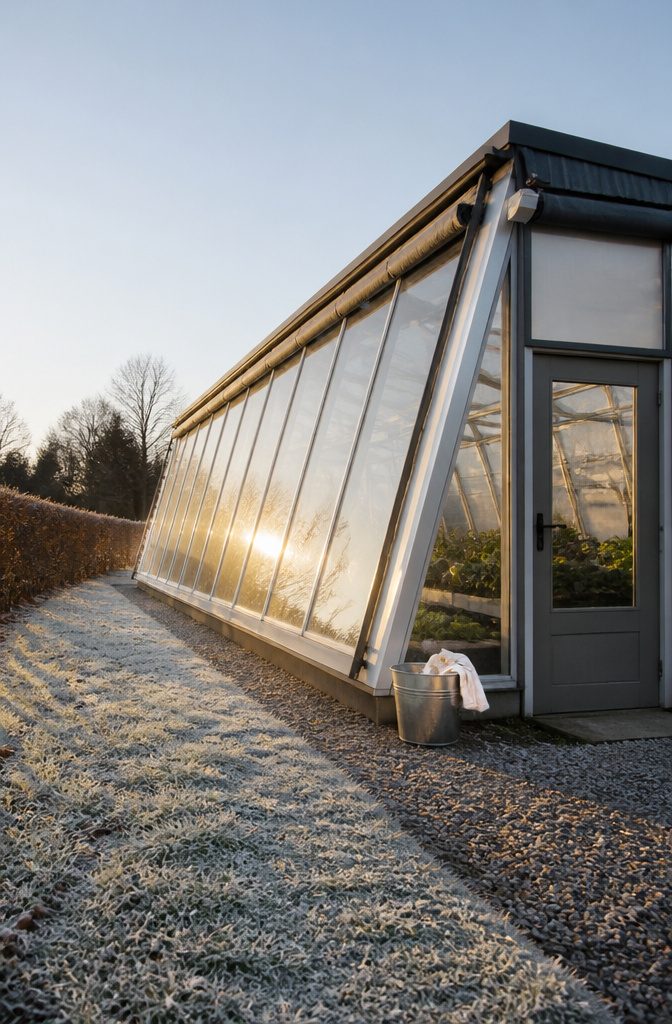
Winter sun sits low, so the glass has to face it. A south-facing wall of glazing does nearly all the work in a cold weather greenhouse, and the other walls matter mainly for what they keep in.
Clean the glass before the dark months start; every film of dust costs light you can’t spare.
Here the advice splits.
General guides say to run the long side east-west and trim anything that shades the glass. Deep winter designs go further: a steep south wall pitched at 60°, with the north, east and west sides insulated and often opaque.
I’d choose the deep winter version for a hard-freeze climate, and the simple one where a few cloudy weeks won’t kill anything.
White paint or reflective foil on the inside walls bounces light back to the corners. Night shades hold that heat in.
Snow and Wind Loads
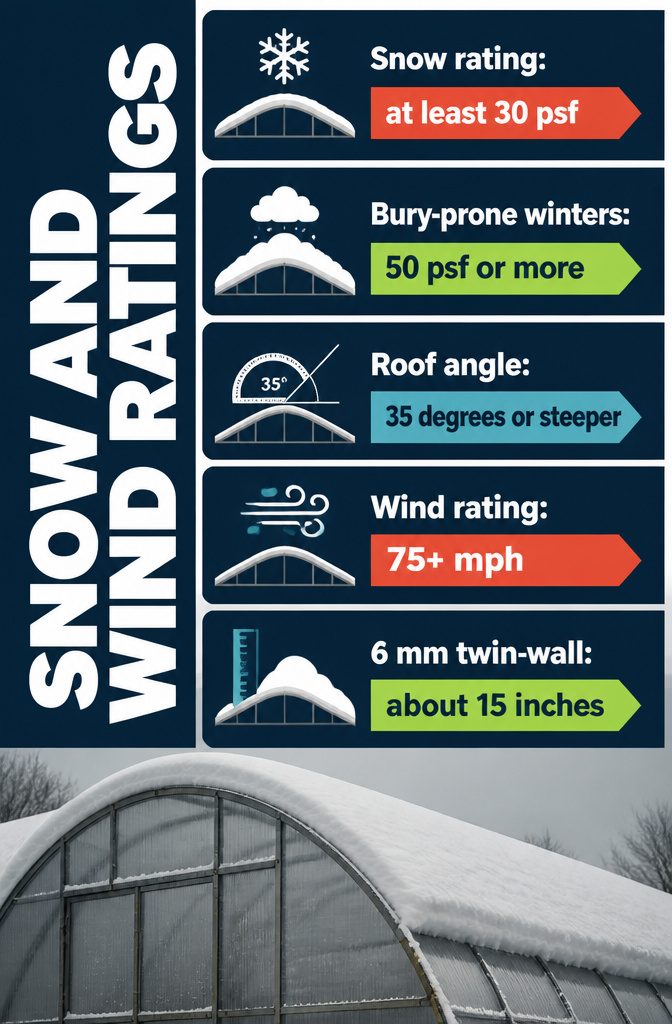
Look for a snow rating of at least 30 psf, and 50 psf or more if your winters bury things. Manufacturers list it, so check the spec sheet before the photos.
Pair that with a roof angle of 35 degrees or steeper, since a flat or gentle roof lets snow pile up and add weight fast. Gothic arch and dome shapes shed snow well for the same reason.
Frame material matters as much as the number.
Galvanized steel or heavy-duty aluminum holds up; a hoop house works as a season extender in mild regions but needs real reinforcement to survive Midwest snow and wind. For wind, look for ratings of 75+ mph.
Twin-wall 6 mm polycarbonate handles about 15 inches of snow, so I would still clear the roof after big storms.
Ventilation Tradeoffs
Every vent you open lets out heat you paid for, and every vent you keep shut lets humidity climb.
In winter the damp is the bigger danger, since mold, mildew and disease settle in where the air sits still. I would rather lose a little warmth than grow a fuzzy gray crop.
The compromise is timing.
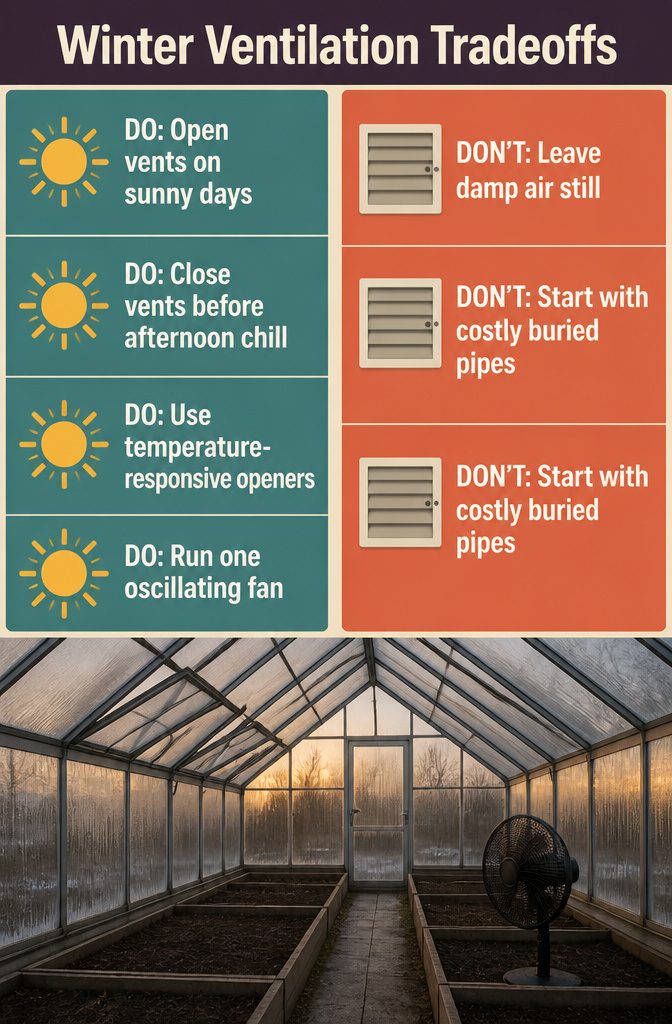
Open the vents on sunny winter days, then close them before the late-afternoon temperature drop. Automatic openers that respond to inside temperature do this without you, and a small oscillating fan keeps cold, damp pockets from forming.
Fans can also move heat instead of dumping it. Some deep winter designs pull warm, moist air from the roof peak down through pipes buried under the beds, then reverse the fans at night.
It works, but fans, pipes and controls add cost and upkeep. For a first greenhouse, I’d start with vents and one fan.
A DIY Lean-To Example
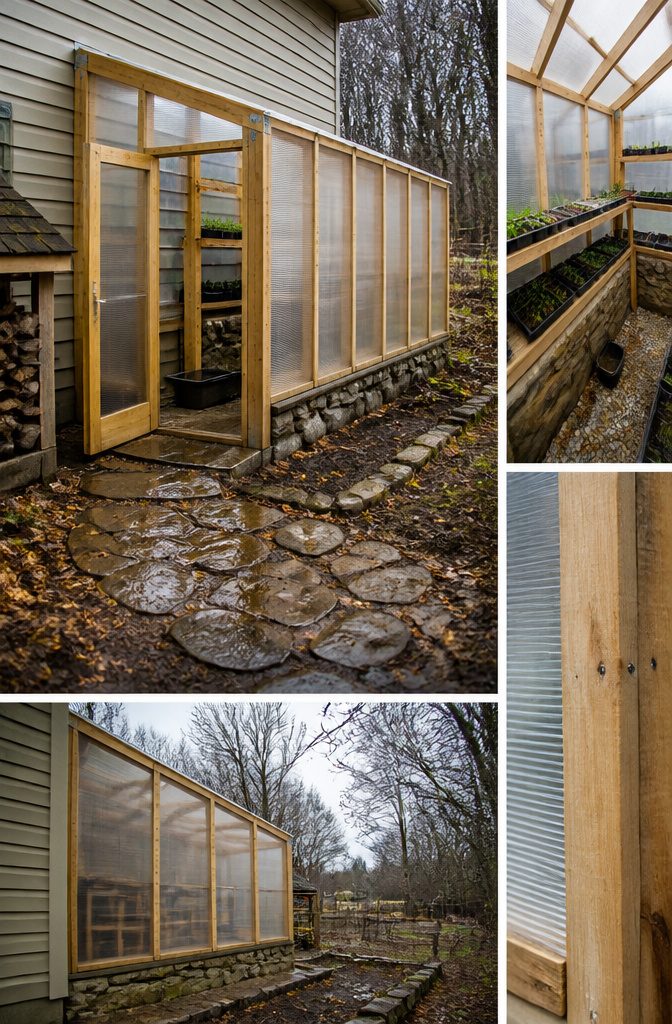
A 9×16 foot lean-to is a good template for a cold weather greenhouse because every part of it is plain lumber and panels.
The frame is 2x4s on 2-foot centers, glazed in 4×8 foot double-wall poly panels, so four full panels cover the 16-foot front.
Hobby Farms lays out the dimensions that matter:
9-by-16-foot footprint, 3-foot flat roof extending from back wall, 8-foot sloped boards for glazing, 6-foot, 6-inch height overall, 5-foot-tall doorway
Height depends on your dig and foundation, so treat 6 feet 6 inches as a target.
Stone foundation, a 12–18 inch back bed and a dug pathway with drainage finish the build.
Frequently Asked Questions
What is the best type of greenhouse for cold weather?
For hard freezes, an insulated passive-solar deep winter design is the best pick.
It has a steep south wall of glazing pitched at 60° and insulated north, east and west walls. A hoop house is the cheapest option but suits only mild winters or season stretching.
How cold is too cold for a greenhouse?
It depends on the crops.
Do you need to heat a greenhouse in winter?
Not always.
A well-oriented passive-solar greenhouse with enough thermal mass can carry many cold-hardy crops without supplemental heat. Warm-season crops, single-digit nights and long stretches of cloud call for backup heat.
Will an unheated greenhouse keep plants from freezing?
Often, but only in a well-built one in a mild to moderate winter.
Thermal mass such as black-painted water barrels evens out temperature swings, but it can’t hold off a long hard freeze. Row covers over the beds add a little more protection at night.
How warm does a greenhouse stay in winter without heat?
A well-oriented dome in a sunny, cold climate can run 20–30°F warmer than the outdoor temperature, according to builder reports.
At 20°F outside, that means roughly 40–50°F inside. Results vary with sun exposure, insulation, wind and snow cover.