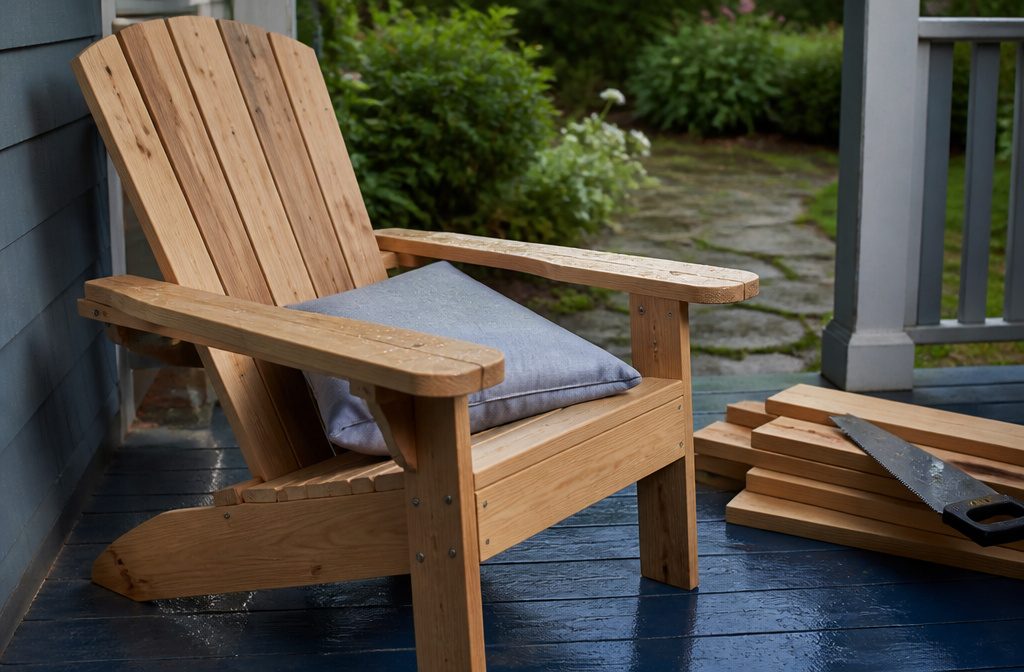
Adirondack chair plans are cut-and-assemble instructions that fix the lumber list, tools and skill level before you buy a board.
Your wood choice sets the wait: pressure-treated decking needs 3–6 months before it takes stain, while cedar can go bare. A first build can use Ana White’s 2×4 plan, with cedar pickets costing about $4 each.
Choose Your Plans and Materials
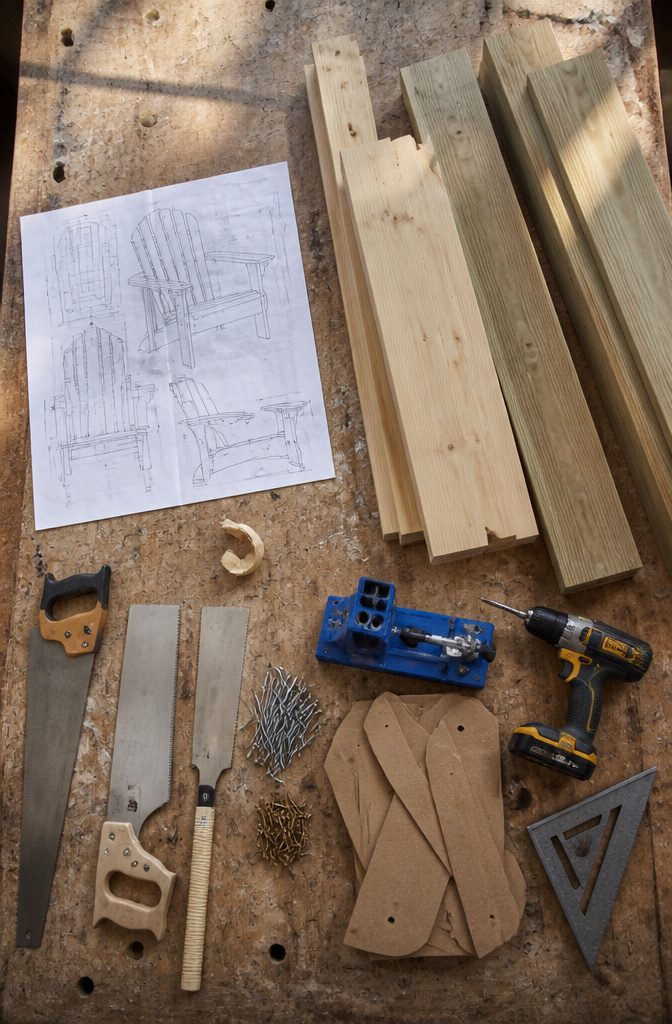
Pick the plan first, because it sets the lumber list, the tools and the skill level.
- Ana White’s 2×4 plan suits a first build. A Reddit beginner thread calls it doable, and one commenter says it was their first project with zero experience and it came out fine.
- The Rockler template and project plan is the one owners keep recommending. The cardboard templates handle the curved cuts, and commenters put the plan at about $30.
- Trace the cardboard onto 3/4-inch MDF if you might build more than one. Reusable templates are how one commenter turned out sets for two families.
- Lumber for the Rockler design is 5/4-inch by 6-foot pressure-treated decking. Any rot-resistant board works. For a budget build, pine is the pick among owners, since the chair sits in sun and rain anyway.
- Fasteners for that build are 1 5/8-inch and 2 1/2-inch number 8 stainless-steel deck screws.
- The pocket-hole version needs one 1x8x8, two 1x6x8, one 1x4x8 and two 1x3x8 boards. That list covers one chair, so multiply it for a pair.
- Hardware for that version is 1 ¼-inch exterior pocket hole screws, 1 ¼-inch exterior wood screws and wood glue.
- Tools for the pocket-hole version: miter saw, circular saw, drill/driver, pocket hole jig and speed square. Cutting guides help but are optional.
Cut the Parts
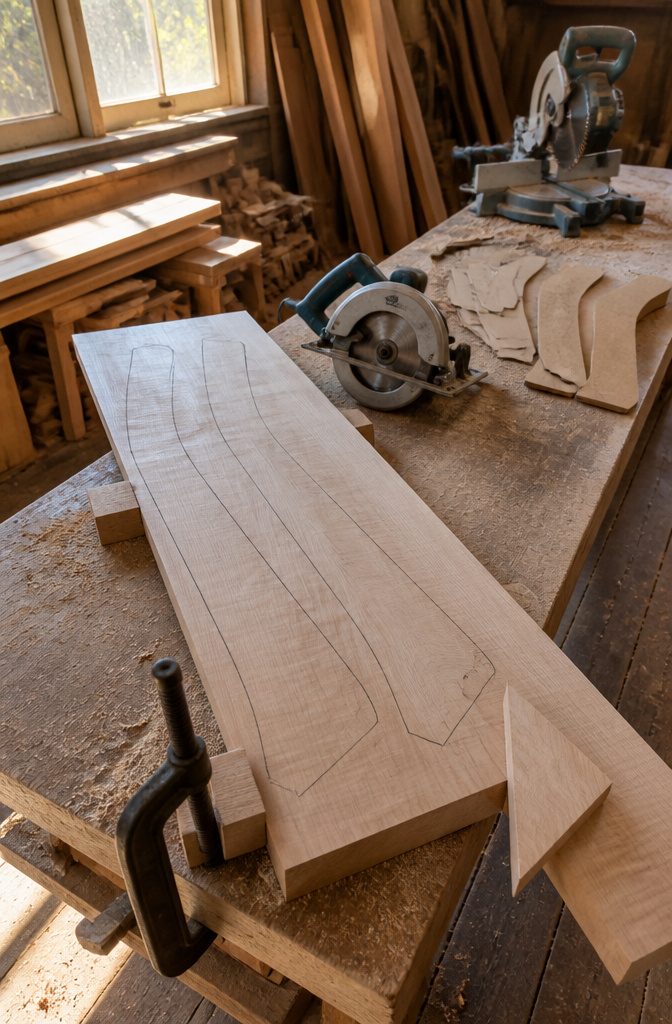
Cut the back legs first, since they are the hardest parts. From a 1×8, set the miter saw to 15 degrees and trim the front corner a little at a time until the cut edge is about 2½ inches long.
Then measure down the board the length of the seat, flip the saw to 58 degrees the opposite way, and cut across.
Square a 90-degree line off that 2½-inch edge, clamp the leg on scrap blocks, and run a circular saw along a guide.
Trace the first leg onto the board to cut a matching second one rather than measuring twice. Keep the offcut triangle; it gets used later.
Front legs are plain 1×4 pieces with mitered ends. For curved parts, cut full-size cardboard patterns into MDF with a jigsaw, sand the edges smooth, and screw the templates to the lumber to trace.
Sand and Shape Parts
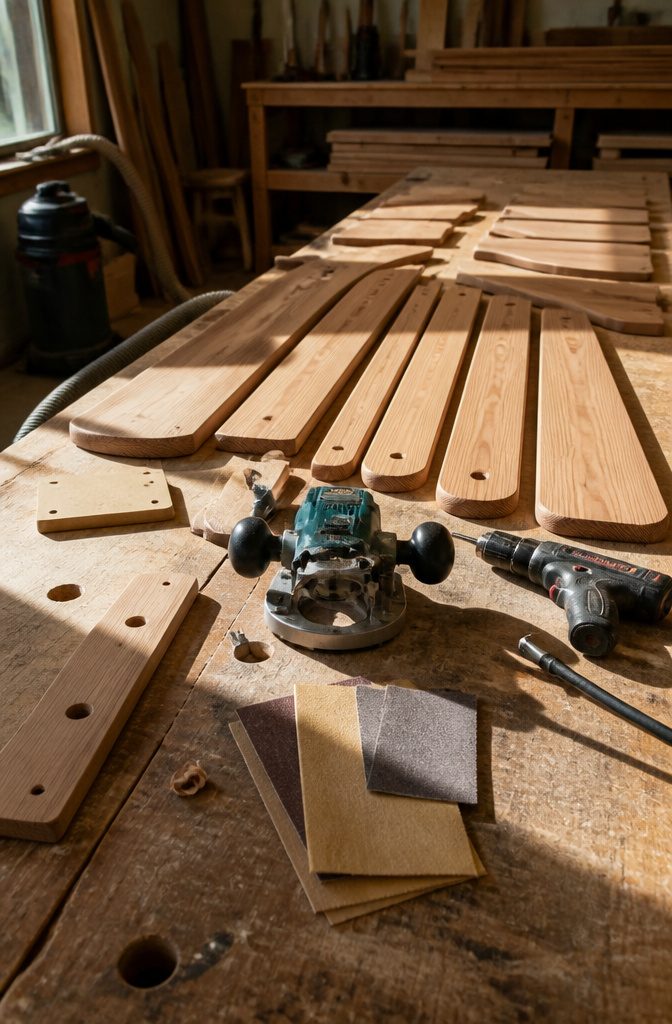
Fence pickets are the cheap route for slats, but they run rougher than full boards and vary in size.
They’re also ⅝″ thick against ¾″ for a true 1×6, so sand them well before a single screw goes in. Start at 80-grit, move to 120, and finish at 180.
Sand every other part the same way, and do it before assembly, when each board lies flat and you can reach every face and edge. Once the seat frame is built, the inside corners are nearly impossible to reach.
Rounding comes next. A router with a 1/4-inch roundover bit eases the top edges where your plans call for it, and that’s what makes the chair comfortable on bare forearms and thighs.
Drill 5⁄64-inch pilot holes through the template holes before you remove the templates. Predrill every screw location, because cedar splits easily near the ends.
Assemble the Legs and Sides
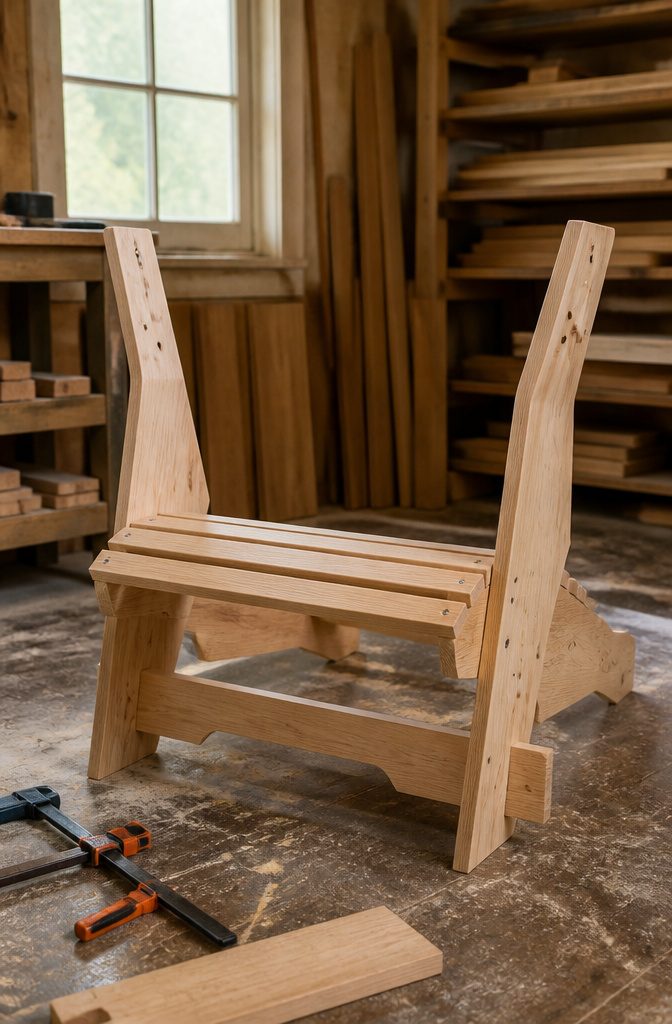
Predrill every screw hole before you add glue. Drilling first lets you slide the pieces apart, brush on the glue, and snap them back into line, so the screws pull the joint together instead of dragging it out of position.
Build the second side as a mirror of the first, not a copy.
Put the front leg on the opposite side of the back leg this time. When the two sides stand together, the back legs sit on the inside, and that gap is where the seat slats will rest.
Stand the main supports upright and fasten four seat slats across the front edges, letting each slat end run 1/2 inch past the supports.
The bottom stretcher goes into the notches in the main supports and also overhangs 1/2 inch on each end. Check both sides for matching heights before the screws go in all the way.
Join the Sides and Seat Frame
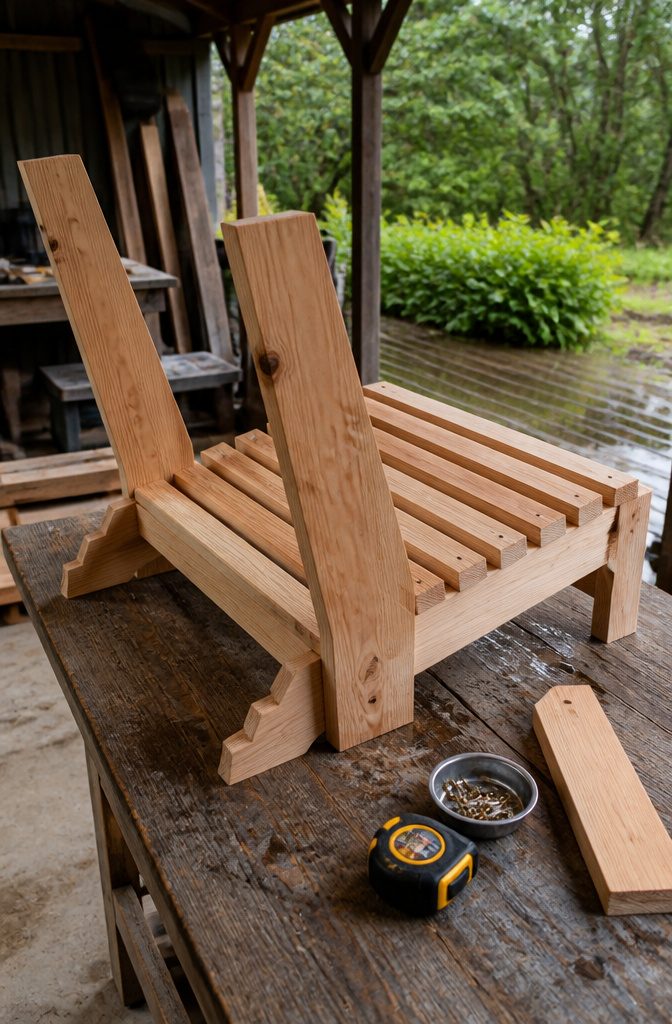
Stand the two side assemblies upright and tie them together with the front apron first.
Screw it to the front of each stretcher, then add a few screws from the outside of the chair for extra hold. Next come the seat slats, starting at the front.
Keep the back of the seat at the same width as the front, because the slats can push the frame wider as you go. I’d measure after every slat.
Leave a ½-inch gap between slats, which gives water a place to run off.
With 1×4 slats, glue plus 2-inch screws holds well. Let the front slat ends hang ½ inch past the supports, and mount a bottom stretcher in the notches with the same overhang.
If you’re on a budget, cedar fence pickets cost far less than 1×6 boards, but they run ⅝ inch thick and need a good sanding.
Build the Back
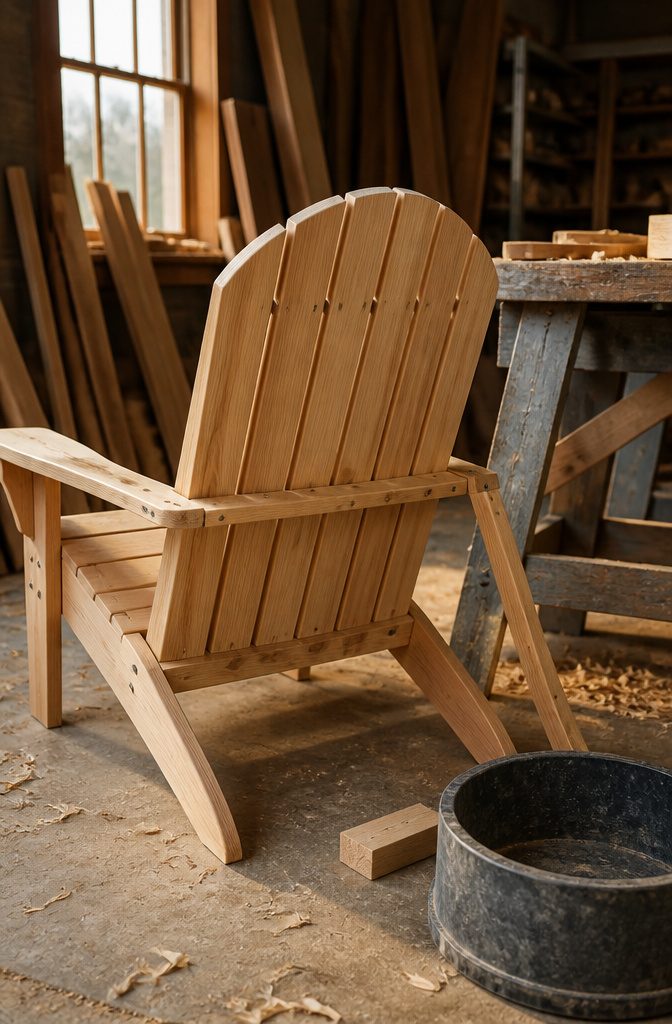
Set the slats on the back support with a gap of 3⁄8 to ½ inch between them; a scrap of wood cut to that width makes a spacer.
Start with the center slat and work outward, so the tops form a smooth arch from side to side. Fasten each slat with 1 ¼-inch to 1 5⁄8-inch screws, depending on your stock.
For the arch, trace around a large round object, like a bucket, and cut along the line.
Once the slats are on, screw the back into the chair with 2 ½-inch exterior screws and add the back support afterward, so you can check the angle.
I’d leave the support for last: a back fitted too early can force the width out of true.
Install the Arms
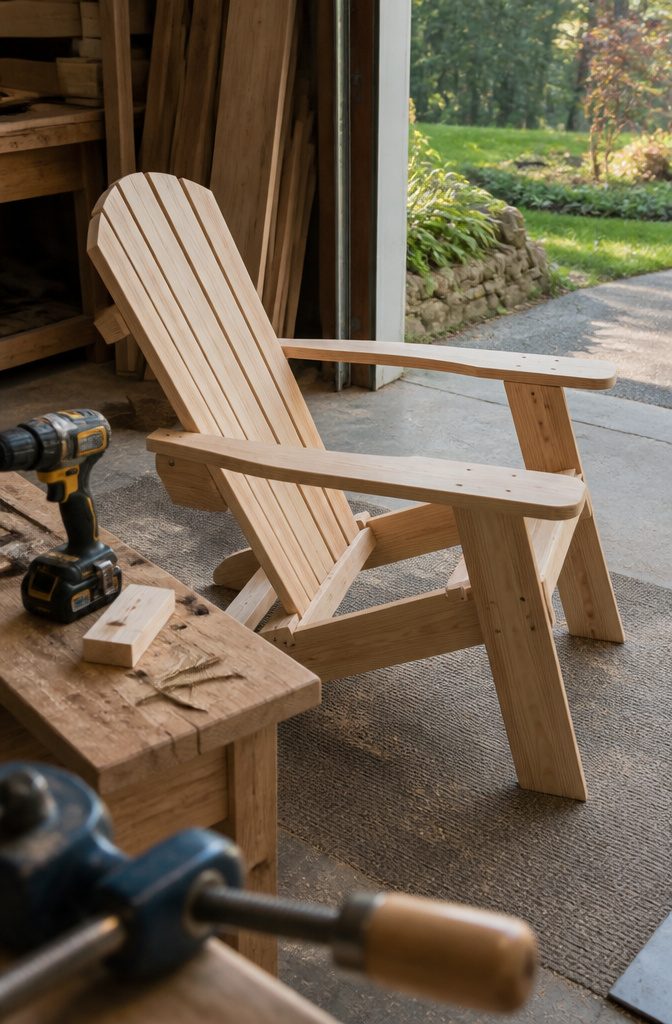
Each armrest sits flat on top of the front leg and the brackets behind it, so set it in place before you drive anything.
Line the pilot holes up with the top end of the leg and the top edges of the brackets, then secure each arm with four 2 1/2-inch screws.
Repeat on the opposite side, and check that the two arms mirror each other.
Triangular supports are the finishing touch I’d add.
Use the offcuts left from the back legs, mark where the triangle is 3 1/2 inches wide, and cut that line at a 20-degree bevel. Flip the bevel on the second piece so the pair mirror each other.
Fasten them under each arm into the front legs with 1 1/4-inch screws. The bevel lets each support sit flush against the underside of the arm.
Finish and Protect the Chair
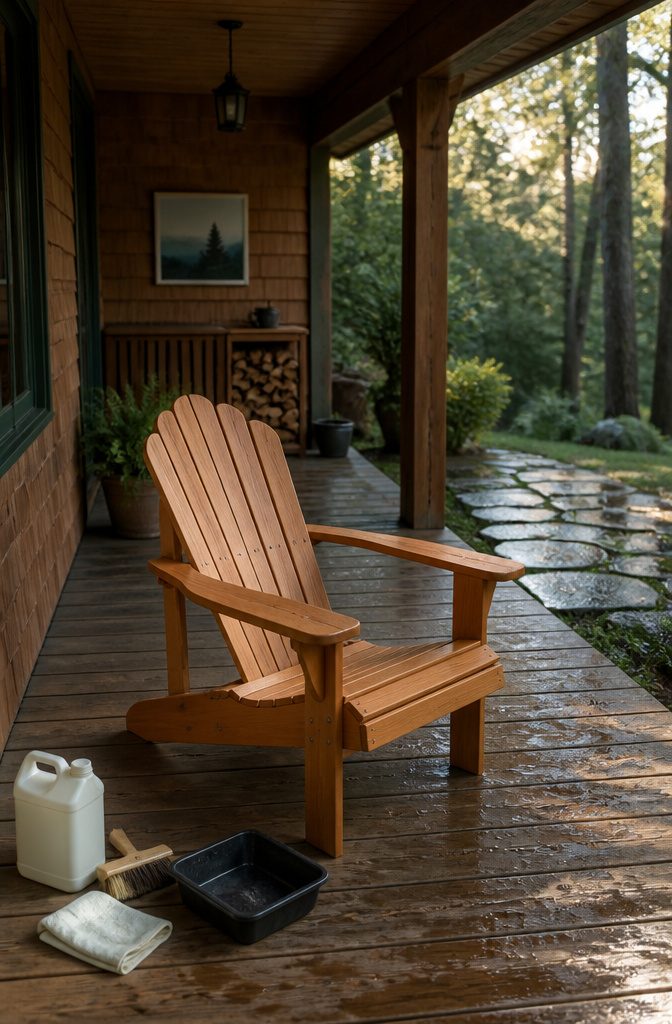
Fill every screw hole with exterior-rated wood filler, let it cure, then sand it flush before any finish goes on. Skip this and each hole shows through the coat as a dark dot.
Unsealed wood turns gray in the sun, and moisture leaves the surface rough.
Cedar and redwood will hold up bare, but a clear water-based coat keeps the color and makes cleanup easier. Use only finishes rated for exterior use, so they stand up to UV and moisture.
Pressure-treated lumber needs patience first:
Treated woods often have such a high moisture content that it takes three to six months to accept a finish. For kiln-dried wood stamped KDAT or KD19, the wait is one or two months.
Check the stamp before you buy. Then clean with a deck cleaner and brightener, and apply one coat of semitransparent or solid-color stain.
Best Wood for Outdoor Chairs
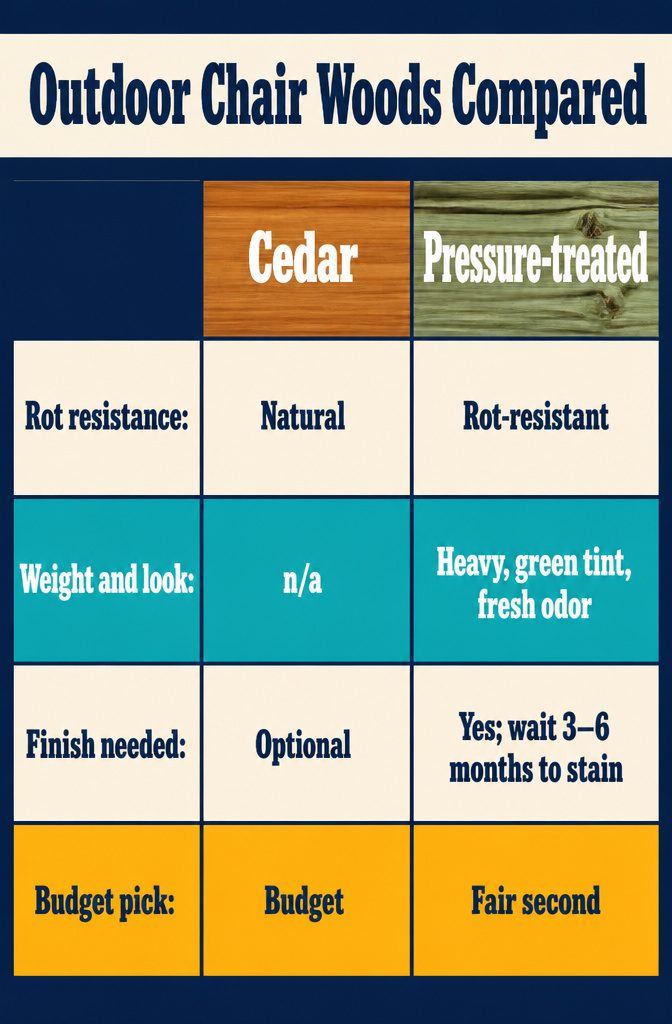
Cedar is the wood I’d buy first: it resists rot and moisture on its own, and it can go unsealed, though it will turn gray and feel rough over time.
Redwood, cypress and white oak also hold up outside, so pick whichever your local yard stocks.
| Wood | Rot resistance | Weight and look | Finish needed |
|---|---|---|---|
| Cedar | Natural | n/a | Optional |
| Redwood, cypress, white oak | Rot-resistant | n/a | Optional (redwood) |
| Pressure-treated | Rot-resistant | Heavy, green tint, odd smell when fresh | Yes; wait 3–6 months to stain |
| Pine | Low | n/a | Seal it fully |
Pine is the budget pick, and it lasts several seasons if sealed with outdoor paint. Treated decking is a fair second choice, but plan for the long wait before it takes a finish.
Time, Difficulty and Cost
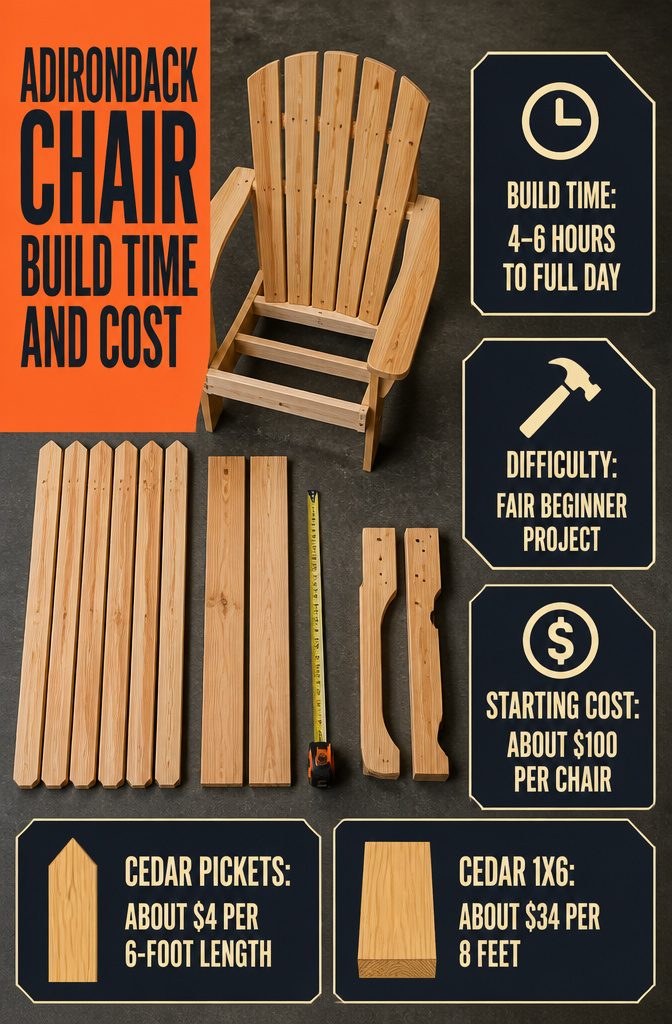
Plan on a weekend, not an afternoon. Estimates for one chair run from 4–6 hours for a moderate build to a full day for a simple plan, and a pair of chairs took about 10 hours.
Assembly itself can be an hour or two once the parts are cut and sanded, and that is why I call this a fair beginner project.
Cost starts around $100 for one chair. Cedar fence pickets run about $4 each for a 6-foot length, while a cedar 1×6 costs about $34 for 8 feet.
The pickets are ⅝″ thick instead of ¾″, rougher and less consistent, so sand them well. I’d use pickets on a tight budget and full boards if weight worries you.
Pressure-treated lumber is wet. Expect 3–6 months before it takes a finish, or 1–2 months for kiln-dried wood stamped KDAT or KD19.
Frequently Asked Questions
How difficult is it to build an Adirondack chair?
It’s a fair beginner project. Assembly takes an hour or two once the parts are cut and sanded, and a simple 2×4 plan has worked as a first build for people with zero experience.
The curved cuts are the hardest part, and cardboard templates make them manageable.
What type of wood is best for an outdoor Adirondack chair?
Cedar is the first pick, since it resists rot and moisture on its own.
Redwood, cypress and white oak also hold up outside, so buy whichever your local yard stocks. Pine is the budget choice and lasts several seasons if you seal it fully with outdoor paint.
Is the wood list enough to make one or two chairs?
The lumber list covers one chair.
For a pair, multiply every board in the list by 2. Reusable MDF templates help if you plan to build more than one.
How much does it cost to build an Adirondack chair?
Cost starts around $100 for one chair.
Cedar fence pickets run about $4 each for a 6-foot length, while a cedar 1×6 costs about $34 for 8 feet. Pickets are ⅝″ thick and rougher, so sand them well.
How could I adjust the plans to sit up straighter or higher?
For a straighter seat, use longer stringers set at a lesser angle, longer arm supports and a back support at a lesser angle.
For a higher seat, try longer legs and a less-angled back. Both are tweaks owners suggest rather than tested changes in these plans, so test-fit before final screwing.
Can an Adirondack chair be turned into a rocking chair?
Treat it as an experiment rather than a proven modification of these plans.