Your yard decides which of these layouts fits, because a lean-to against a house wall or a hinged-lid raised bed suits a tight lot, while a center aisle with benches on both sides needs room for a freestanding structure.
Some of these cost little, like the pallet wood shelf and the garden bed greenhouse, while curved stone planting beds, tubular heaters under benches and the A-frame hydroponic system take more money and planning.
1. Raised Beds
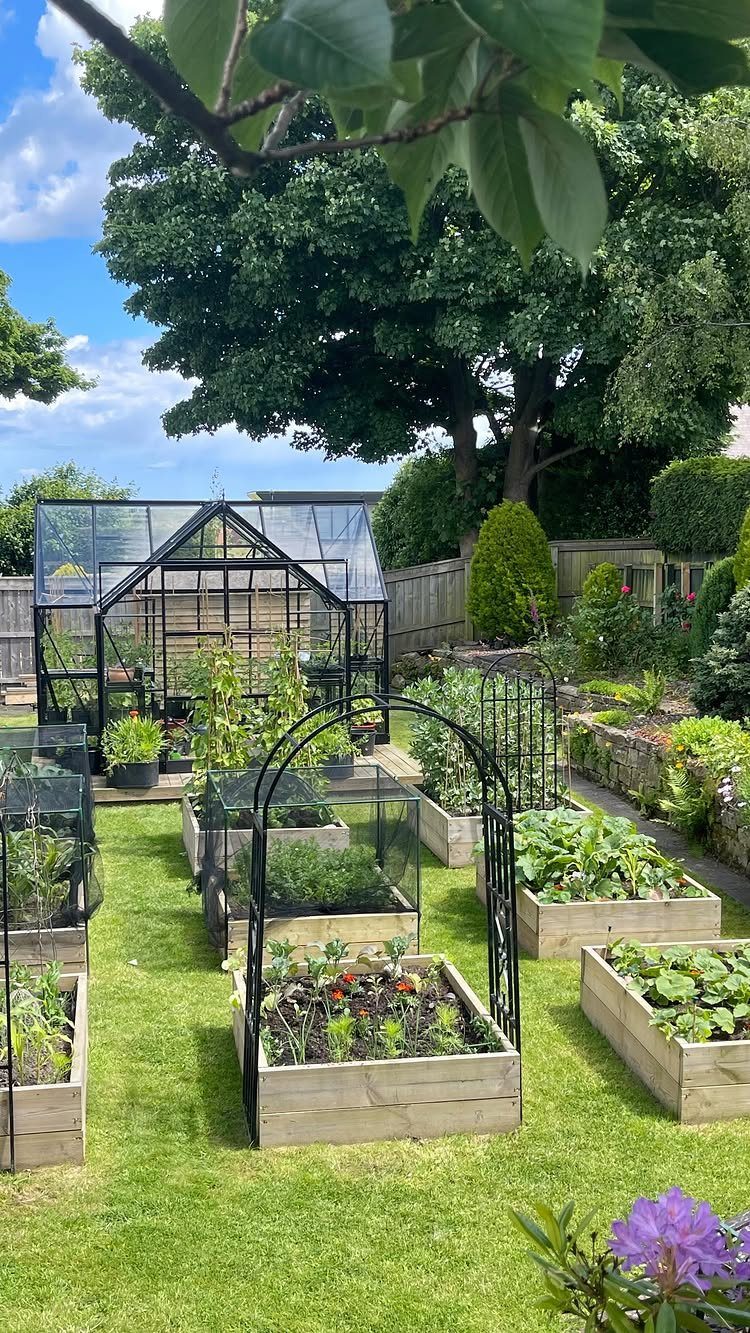
Wooden raised beds with metal arches beside a glass greenhouse give you two ways to grow in one yard.
Raising the soil brings the work up to a more comfortable height, so less bending, and it lets water drain more freely than flat ground.
The arches in this setup are a good addition. They can hold a cover or support climbing plants, so the beds keep working beyond the greenhouse walls.
2. Storage Area
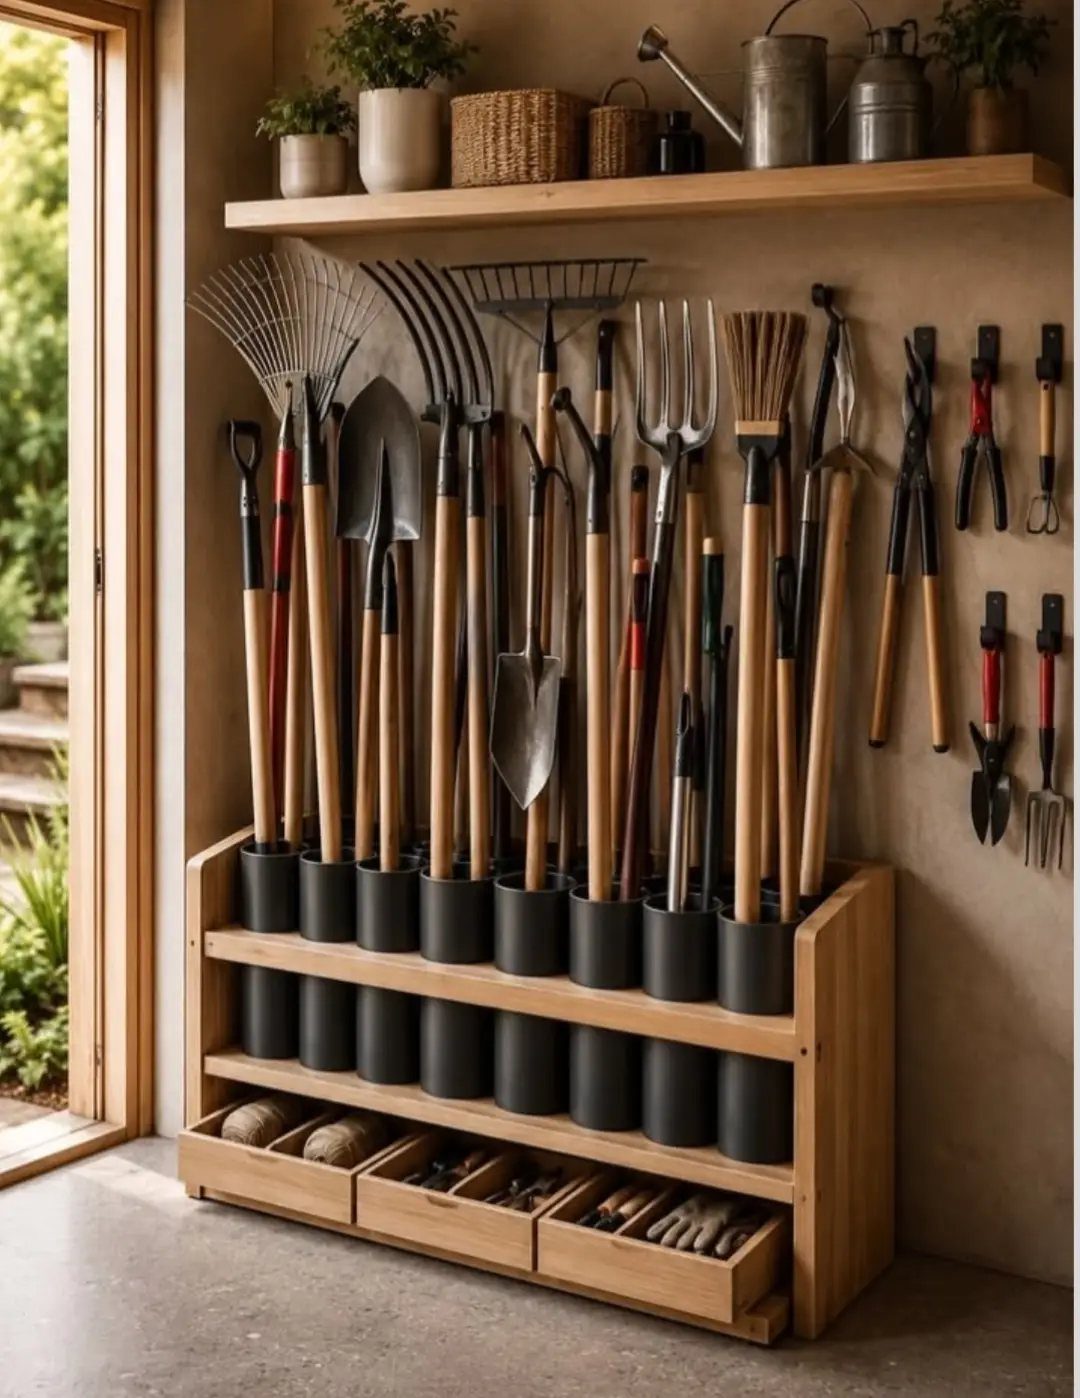
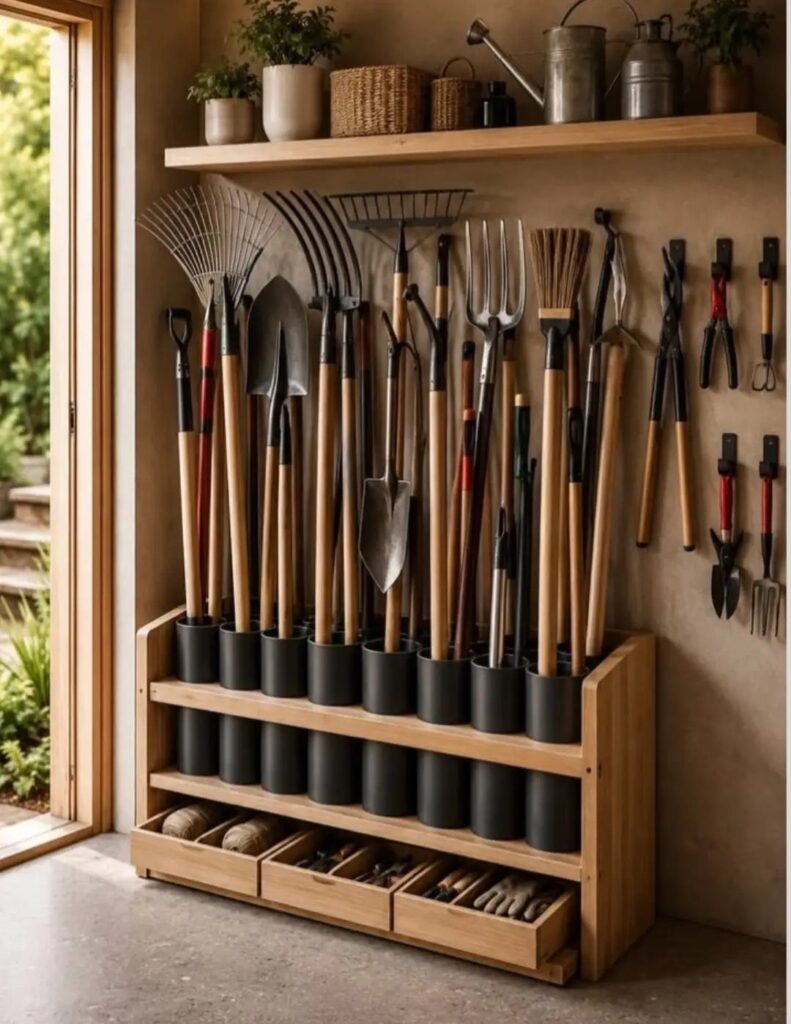
Tool storage is the layout piece most people add last and regret skipping.
Mount it near the door so you grab tools on the way in. Drawers handle the small stuff like twine and labels, and a shelf overhead keeps pots off the floor and growing space free.
3. Garden Bed Greenhouse
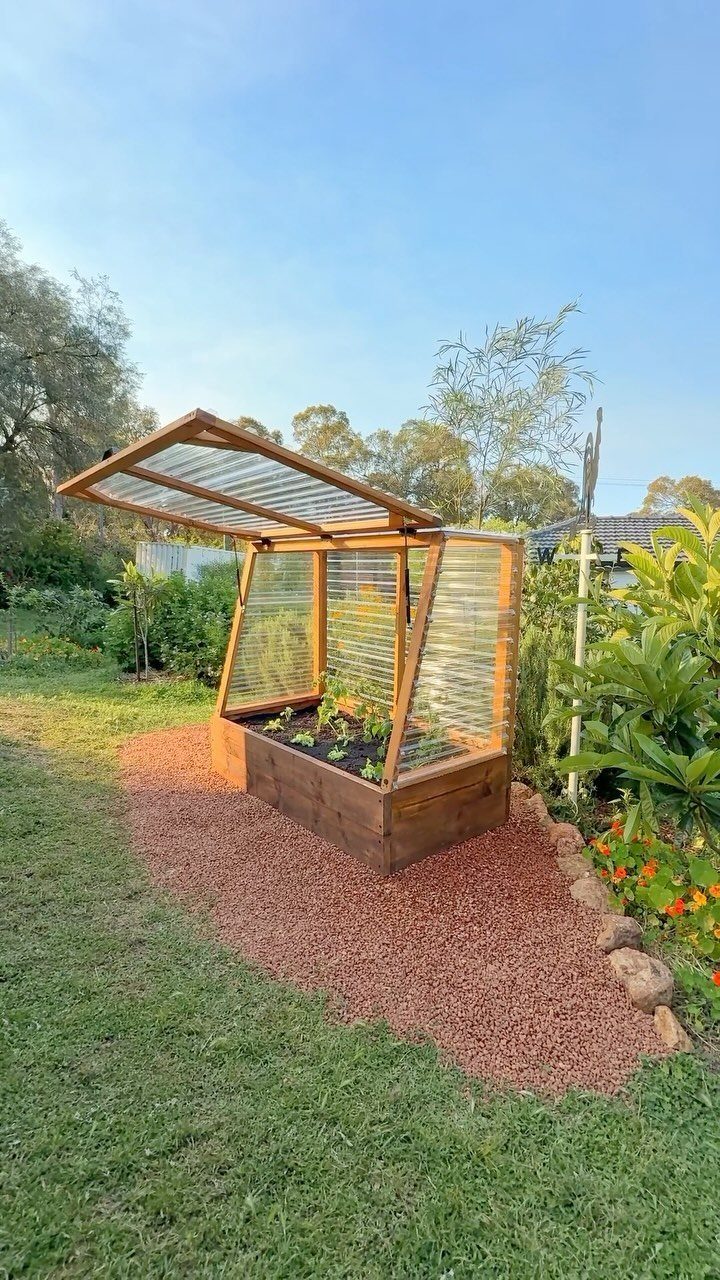
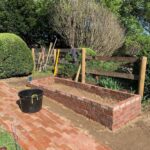
A raised bed with a hinged clear lid is the cheapest way I know to get a greenhouse into a small yard.
The builder of this one used 18V ONE+ battery-powered tools, which tells you a basic cordless kit is enough for the job.
The polycarbonate enclosure sits on a wooden bed, and the hinged roof lifts for watering and harvesting.
Set it on a gravel path like this one for dry footing. Height is the limit here: a low bed frame with a cover won’t clear tall crops like tomatoes, so stick to lettuce, spinach, radishes and herbs.
4. Benches and Shelving
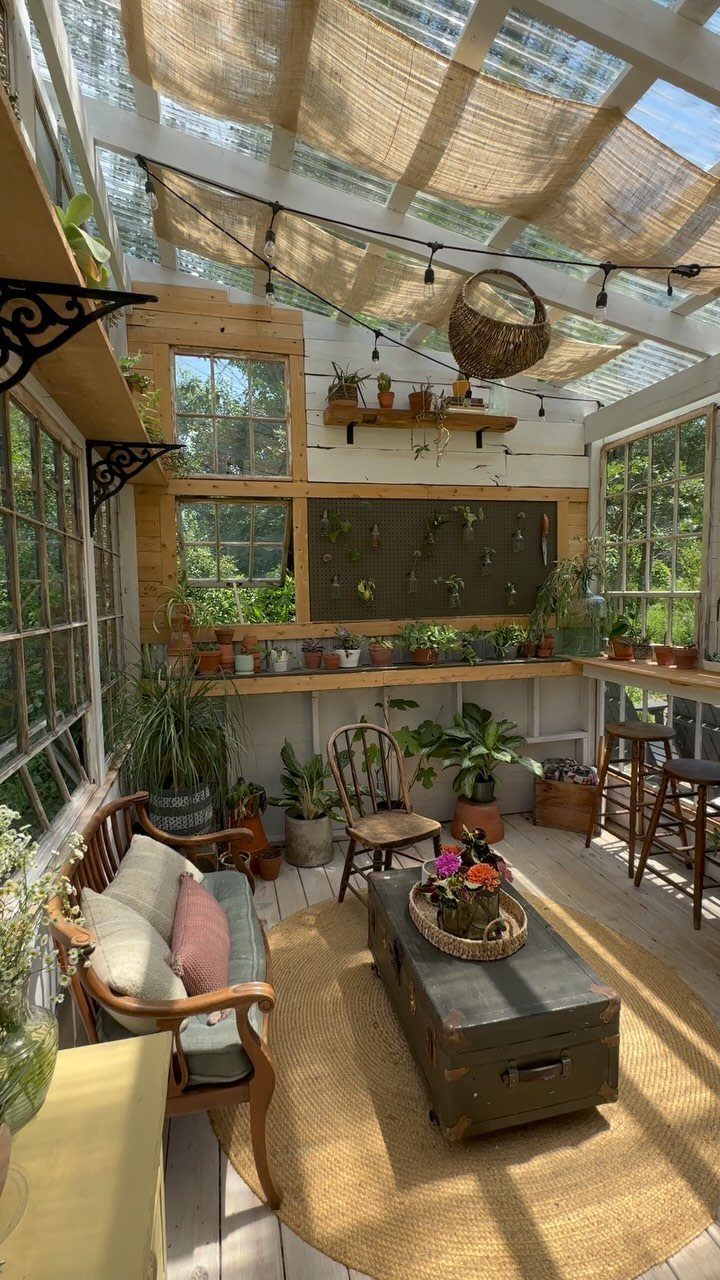
Plants do not all want the same height, and a layout built on benches and shelves respects that. Lower shelves suit shade-tolerant plants, while the top tiers catch the most light under a glass roof.
Wood works well here, and a pegboard lets you move hooks and small pots around as your collection changes. Leave a clear path between units so you can reach every pot without squeezing past.
5. Lean-To Greenhouse
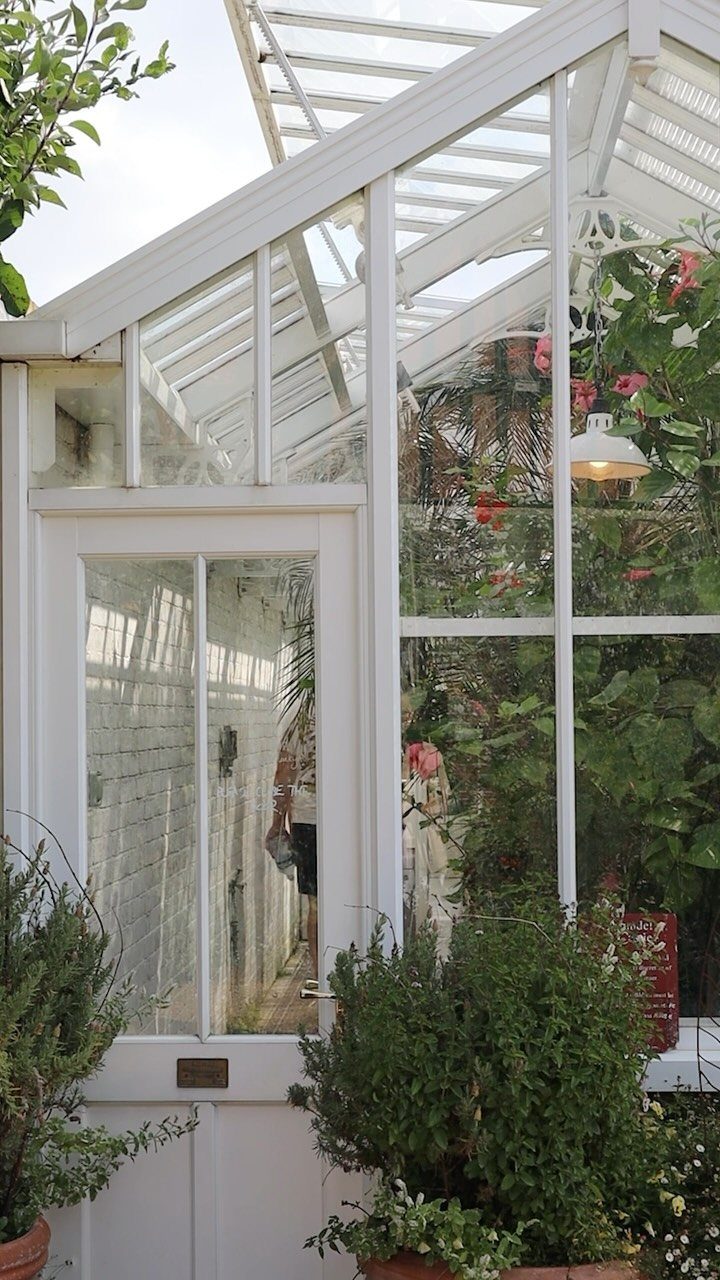
One wall already built is half the work, which is why a lean-to makes sense for tight lots.
Attaching the greenhouse to a house or garage, like this white-framed glass version against brick, gives you a shared wall and a compact footprint.
Choose the wall with care, since the plants will live against it. A door at the end keeps the entry simple, and a hanging lamp adds evening light for tending plants after work.
6. Pallet Wood Shelf
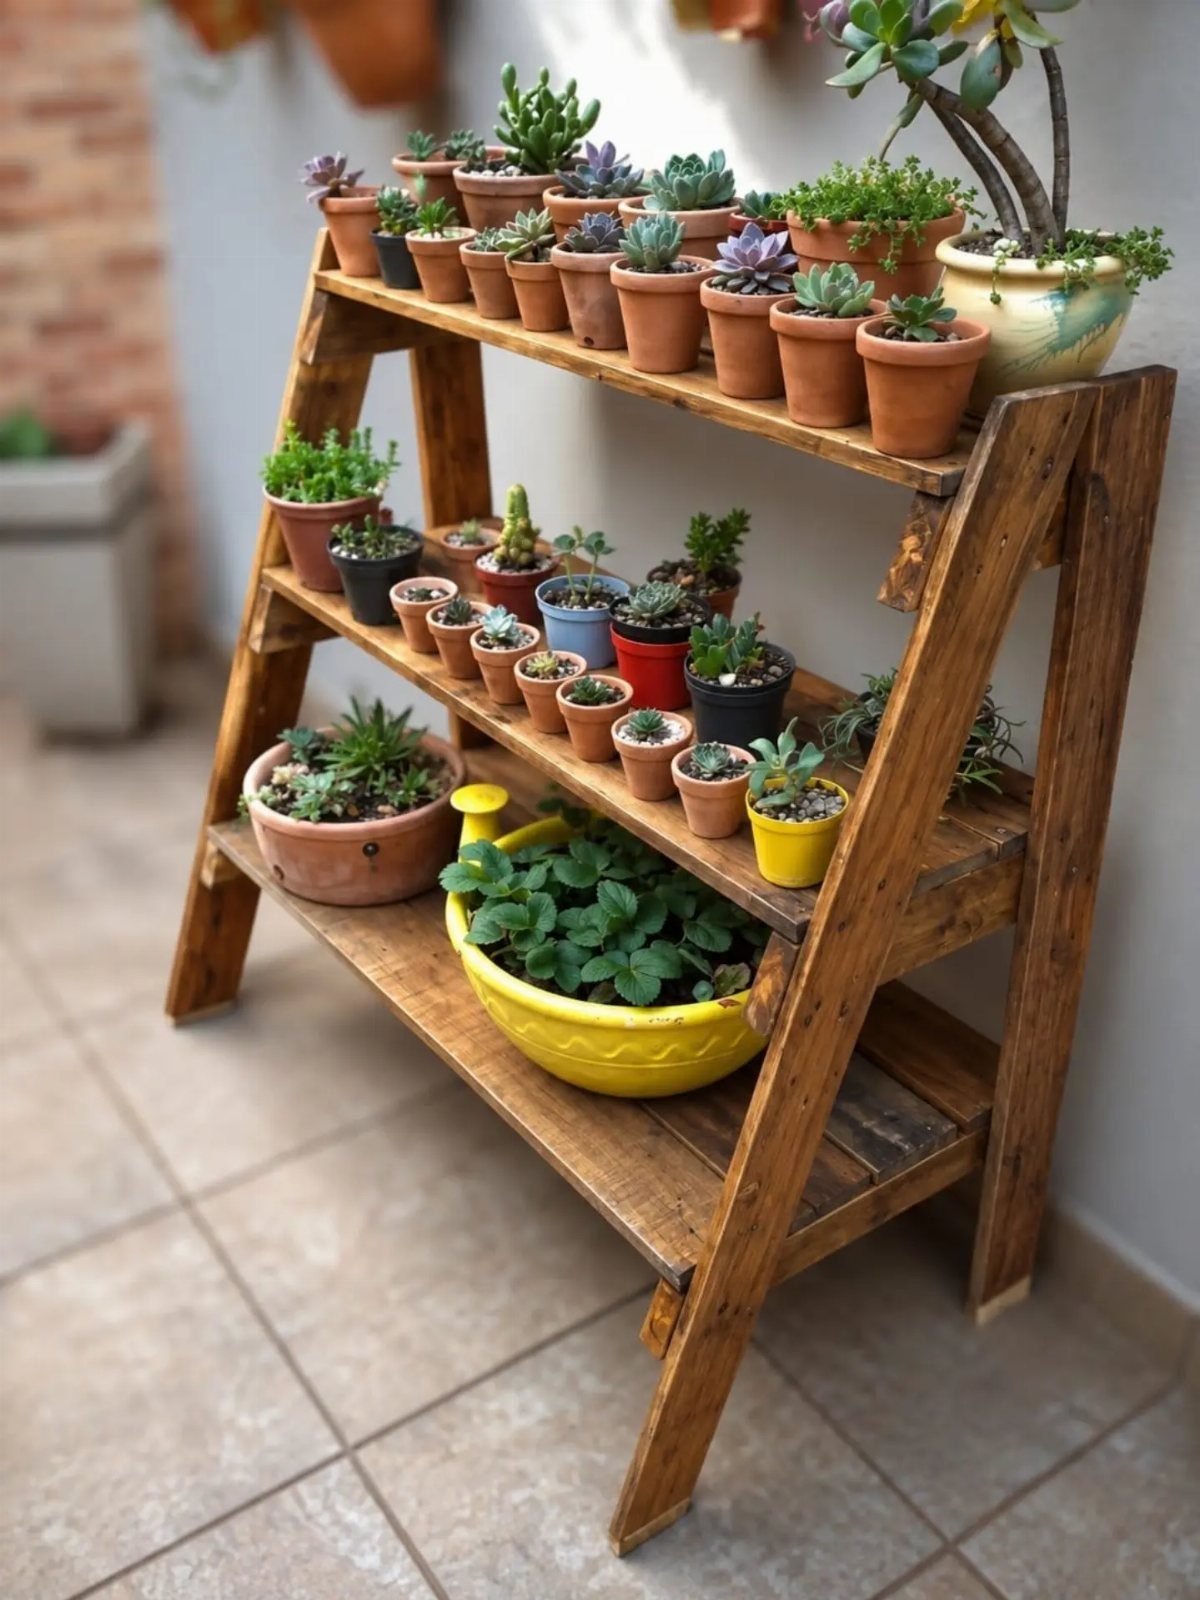
Pallet wood is about the cheapest shelf material you can find, often free, and it gives a rustic look that suits a greenhouse. A three-tier shelf like this one holds rows of small succulents and starts without taking much floor.
Sand the boards well before building so you do not get splinters when you handle plants.
Keep the tiers shallow and the pots small. Pallet wood is uneven, so check each shelf for level before loading it.
7. Center Aisle
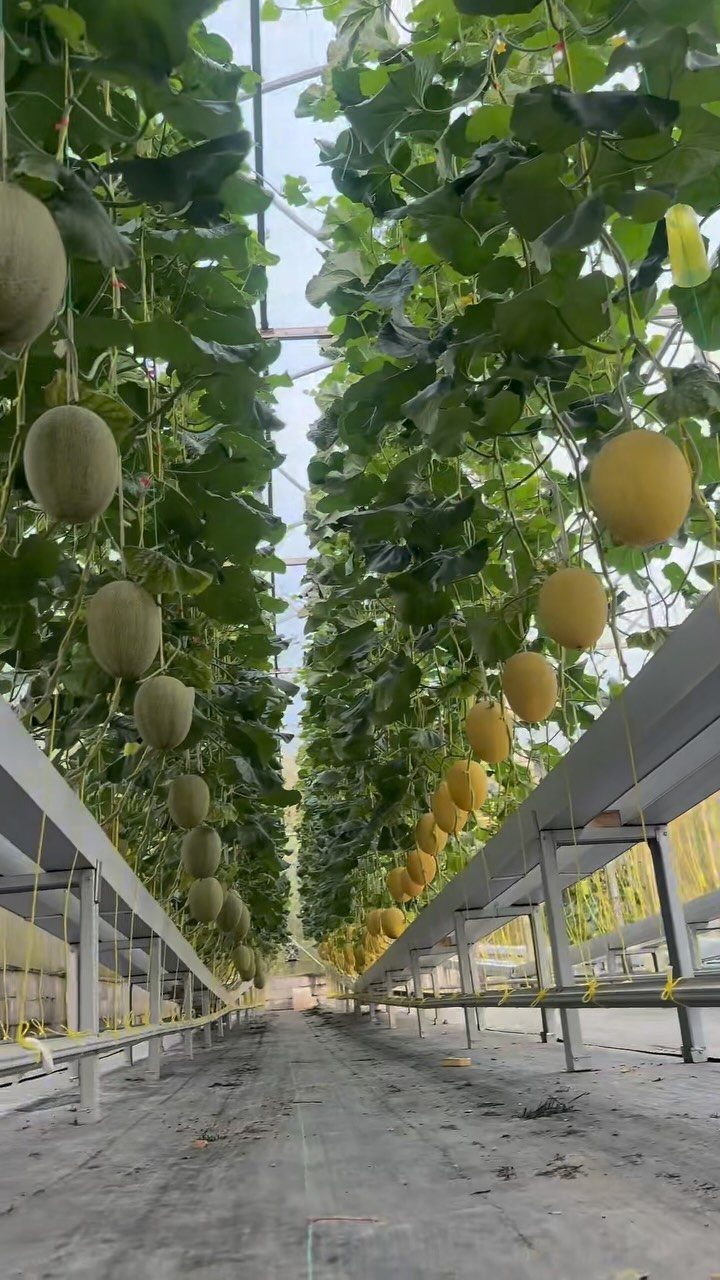
A dirt walkway straight down the middle gives every plant a side to lean on and every hand a short reach. With shelving on both sides, nothing sits more than one arm’s length from the path.
Keep the path wide enough to turn around in with a watering can or a wheelbarrow. Packed dirt is cheap, though it turns muddy when watered, so a layer of gravel is worth adding.
8. Hanging Baskets
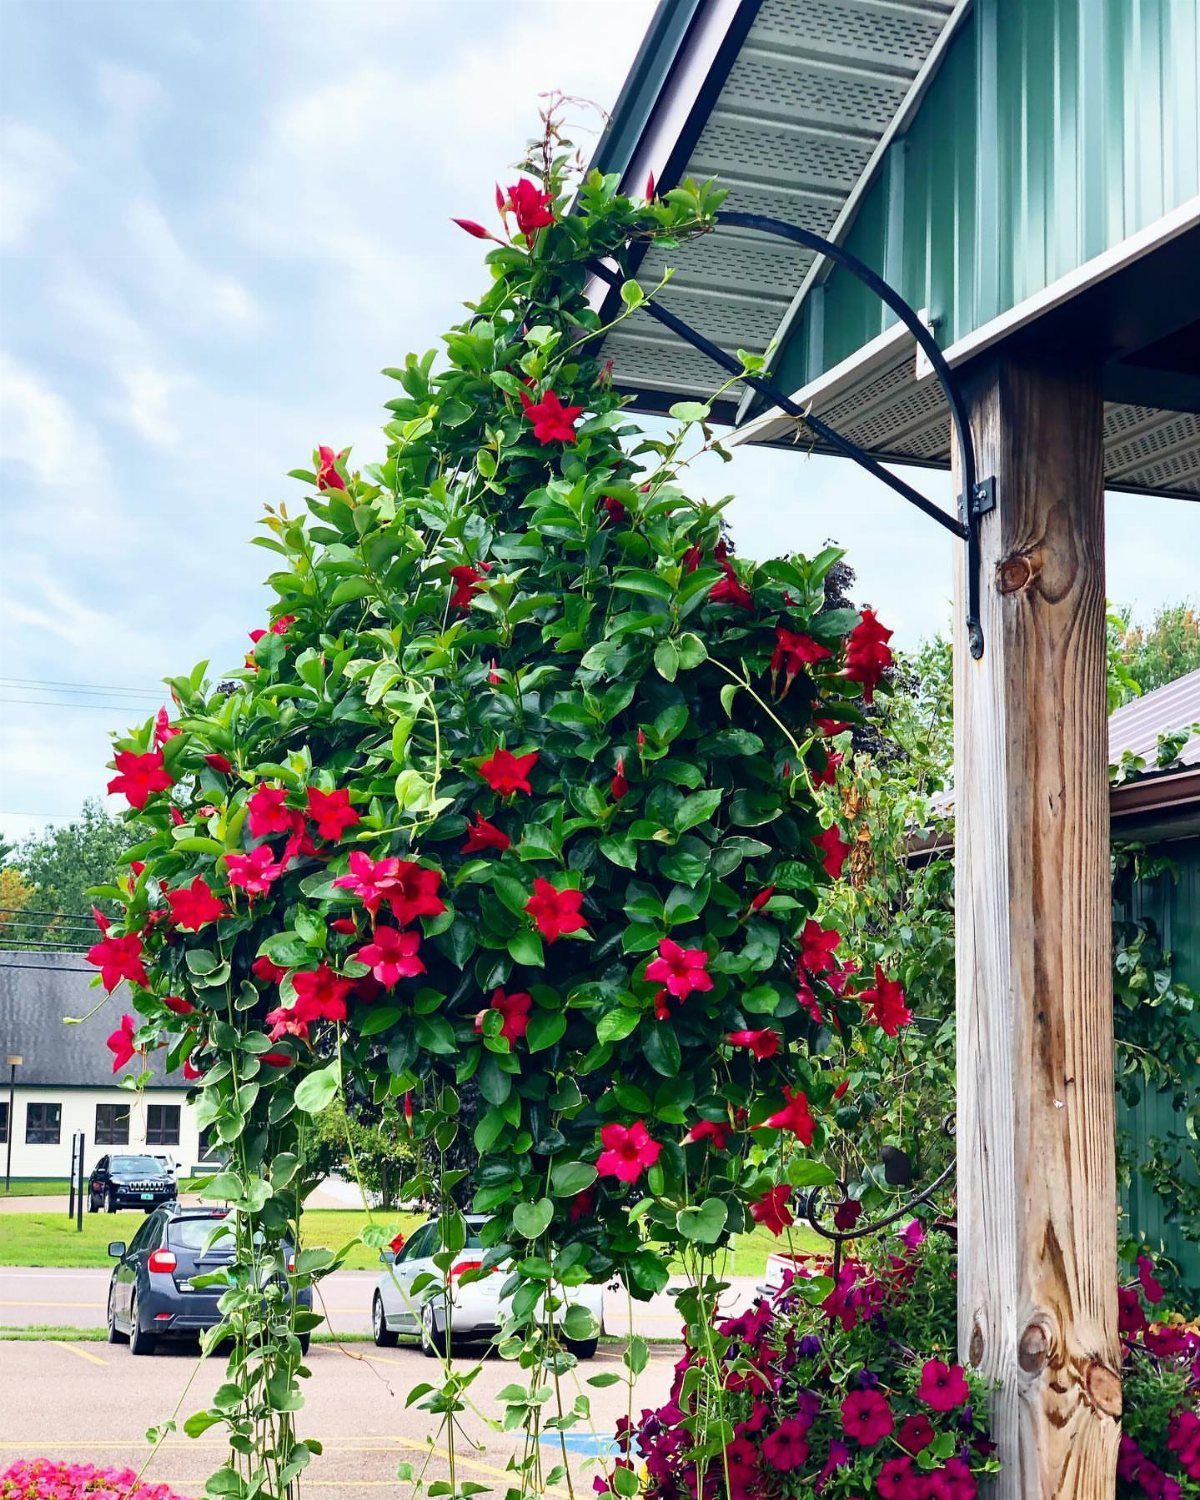
Anything hung overhead frees the bench below it, which matters most in a small greenhouse. Trailing flowers also show off better in the air than they do crammed on a shelf.
Pick a post or beam that can take the weight, because a wet basket gets heavy. Hang them above head height so nobody walks into one, and water them often, since baskets dry out faster than pots on the ground.
9. Trellises and Wall Systems
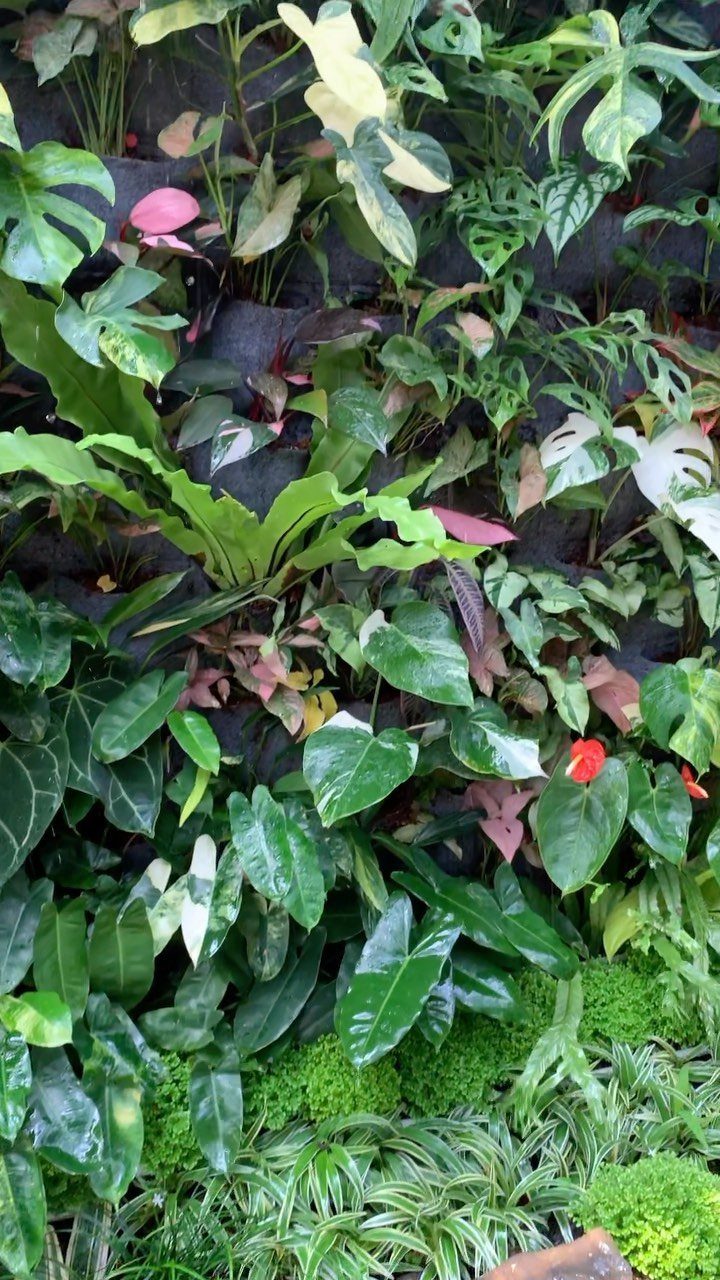
Going vertical is the best answer to a floor with no room left. A wall system with pockets, like the felt panels here, lets you pack in a lot of plants on a few square feet of wall.
Trellises do the same job for climbers such as beans or cucumbers, guiding the vines up instead of out.
I would put either one on the wall that gets the most light. Mix leaf colors, as in this wall, so the display looks full even when nothing is flowering.
10. Potting Bench
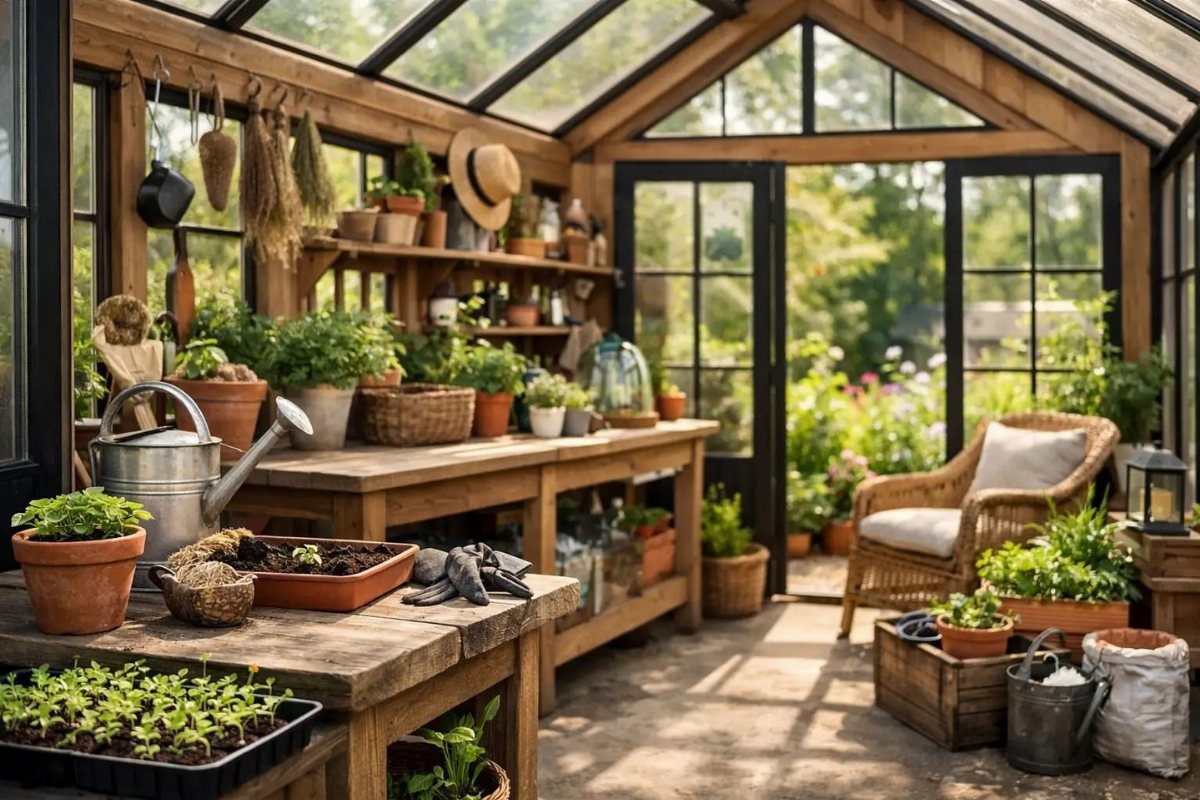
A dedicated potting bench keeps soil off everything else. Give it a solid wooden top at a comfortable working height, and the mess stays in one place.
Hang tools within reach and stack spare pots underneath or on a low shelf.
A wooden bench suits a greenhouse well and is easy to build yourself. If room allows, tuck a chair beside it, as in this layout, so repotting becomes a task you can settle into rather than rush.
11. Propagation Station
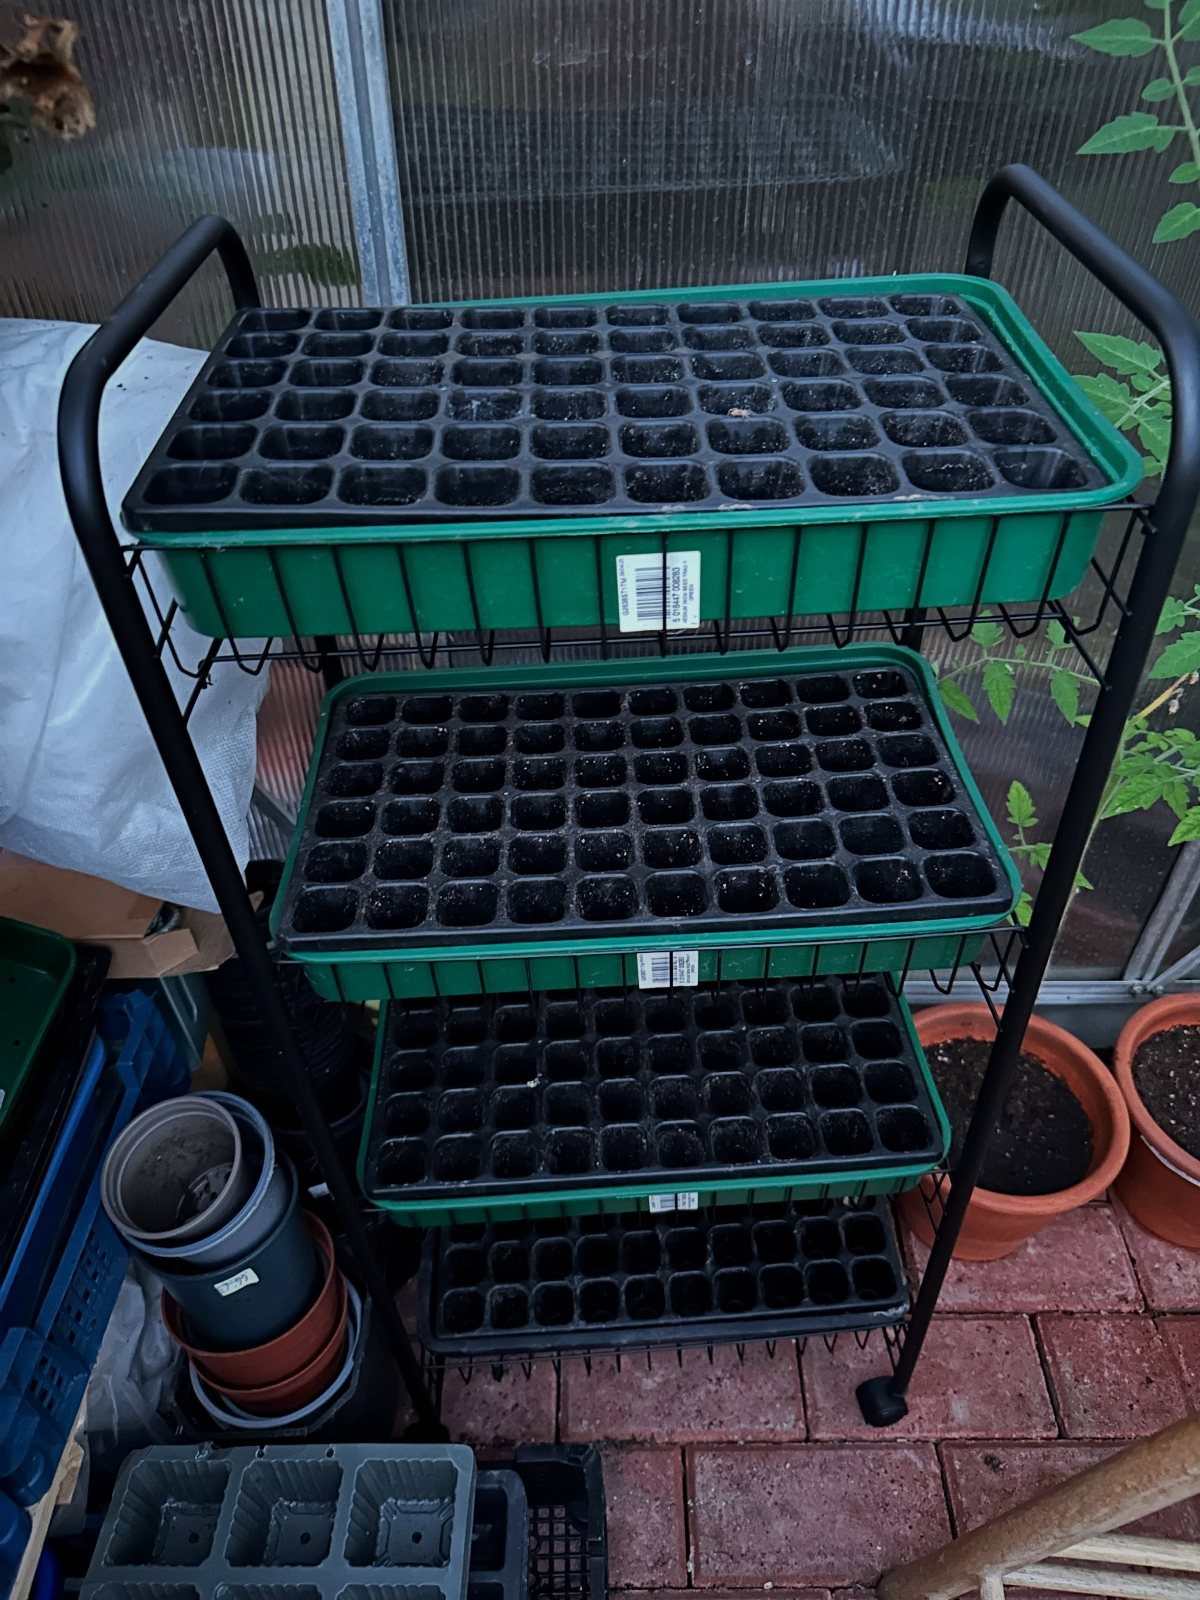
Seedlings do best when they have one spot of their own, away from the bigger plants. A tiered metal shelf fits that job, since each level holds a full tray and the stack takes only a small footprint.
Trays with individual soil cells keep roots separate, so transplanting is easy. Metal shelving shrugs off spilled water, and a brick floor drains it away.
Label each tray, because small seedlings look alike. Start with 2 or 3 trays before you build more.
12. Grow Lights
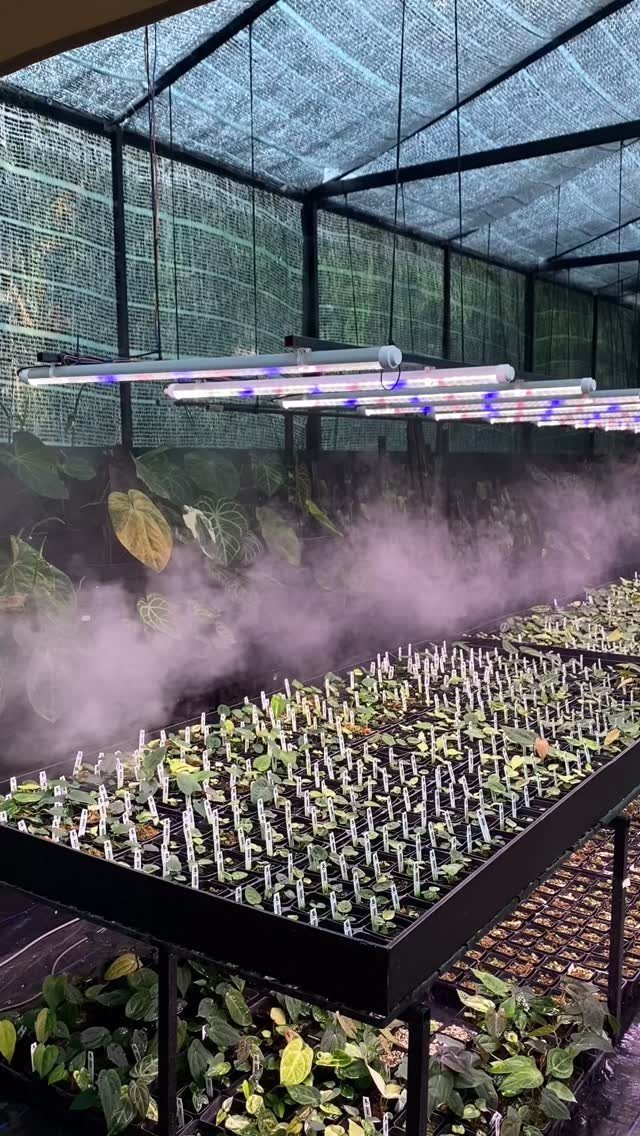
Grow lights fill the gap when a greenhouse gets too little natural light, such as in winter or in a shaded corner. Hung over a bench of small plants, they keep seedlings from stretching.
Keep wiring well away from the misting system, since water and electricity do not mix. I would light only the benches that need it, because running lights over everything adds to the electric bill fast.
13. Tubular Heaters Under Benches
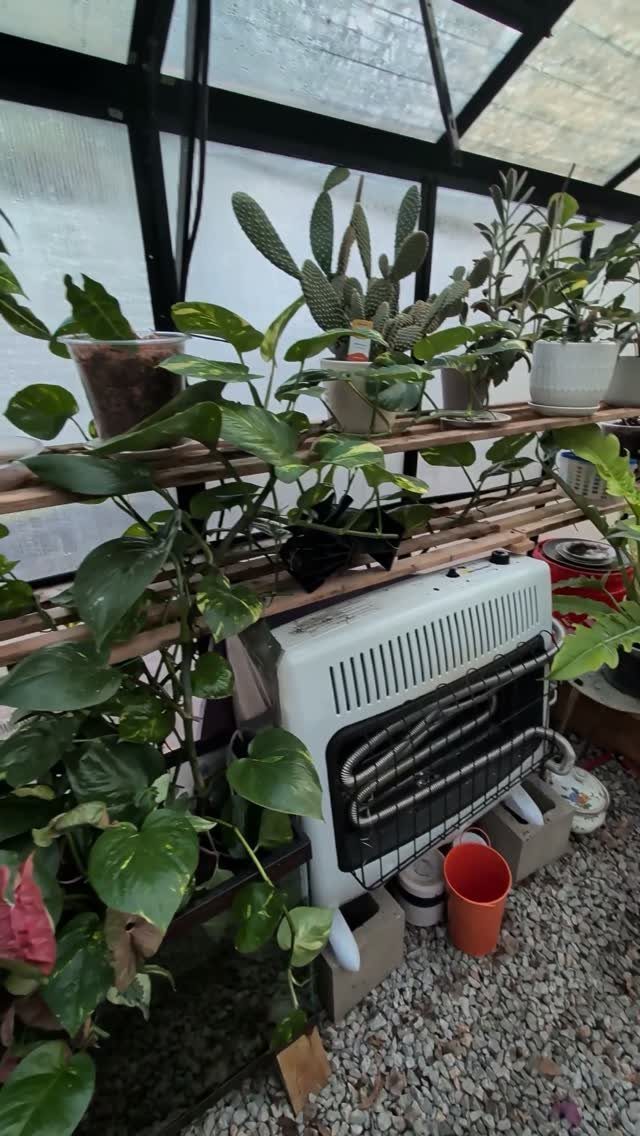
A tubular heater mounted under a slatted bench puts warmth right where the pots sit, and it keeps the heater off the floor and out of your walking path.
Leave a gap between the heater and the bench boards so nothing touches it.
Leave a few inches of open slat above each heater and route the cord away from wherever you water, because a drip near a plug is a real hazard.
14. Water Butt
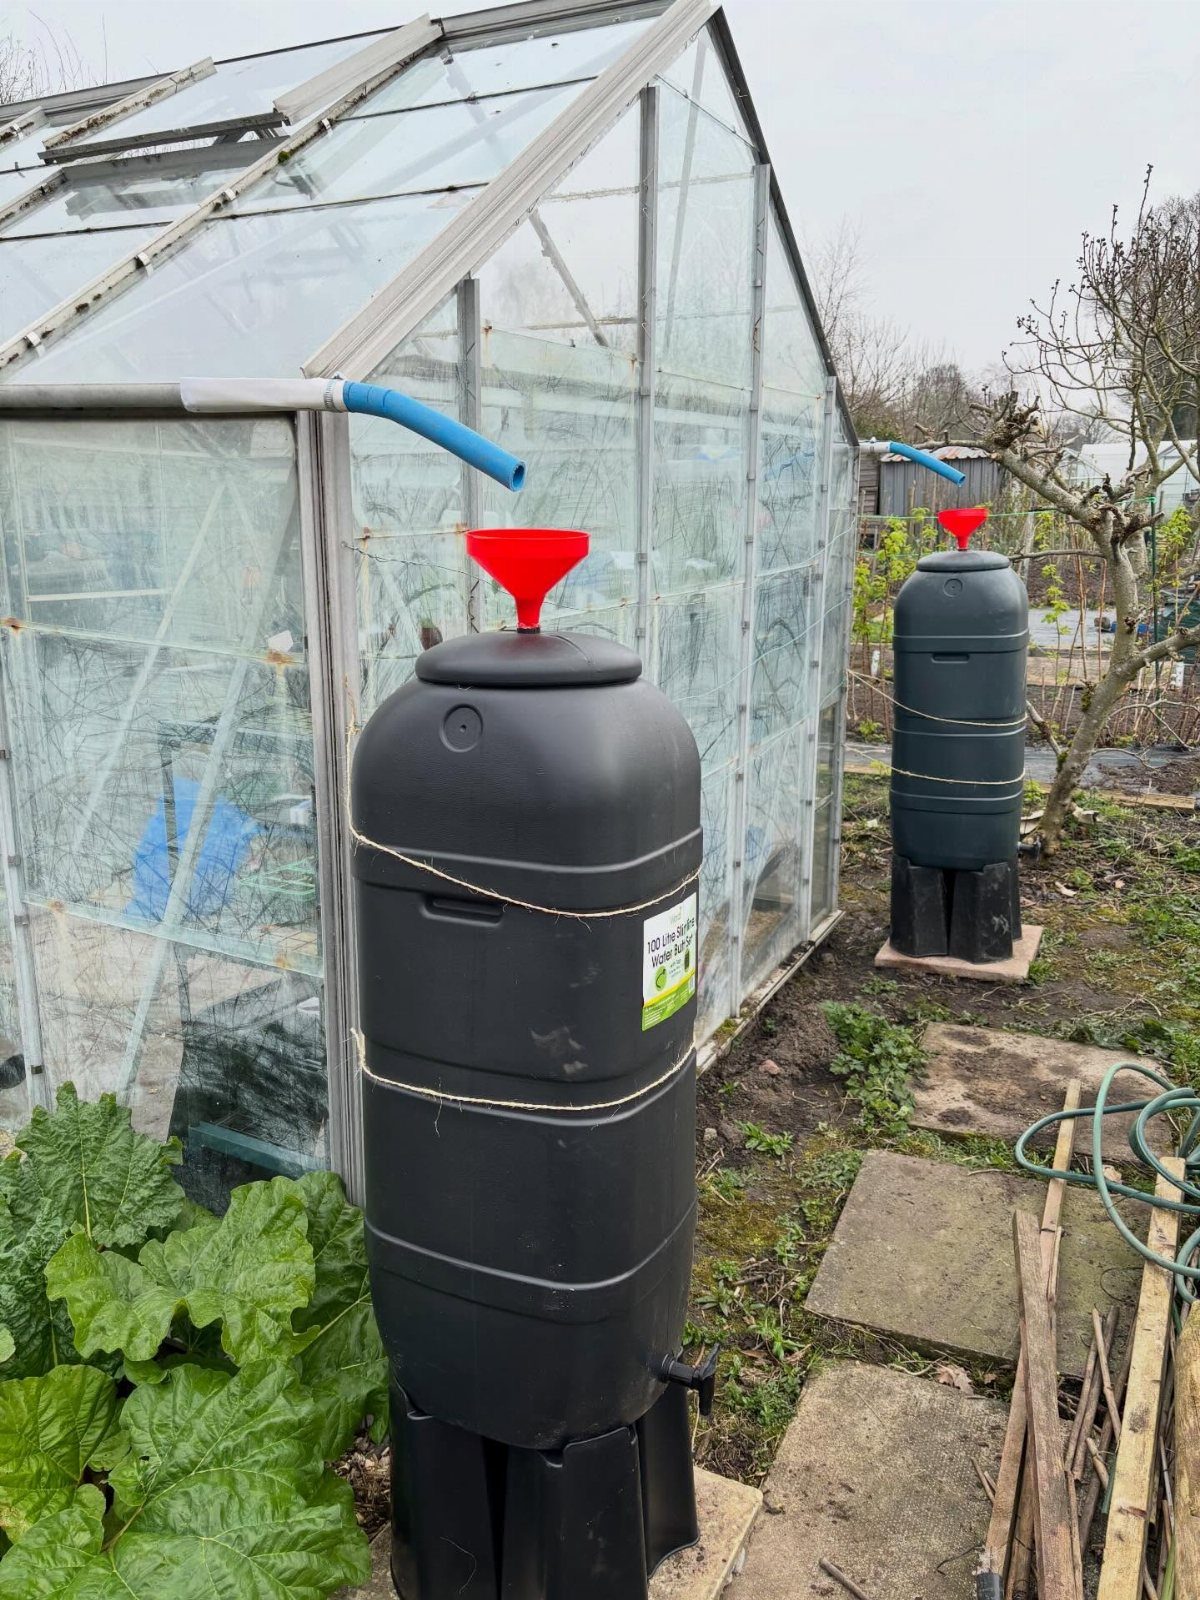
Gutters on the greenhouse roof can feed rainwater straight into a water butt, so watering costs you nothing once the barrels are set up. 2 butts, like the black ones here, double your supply for dry stretches.
Set each butt below the gutter outlet and on a firm, level base, because a full barrel is heavy.
A hose connected near the bottom makes filling a can easy. I would keep the lids on to keep debris out of the water.
15. Curved Stone Planting Beds
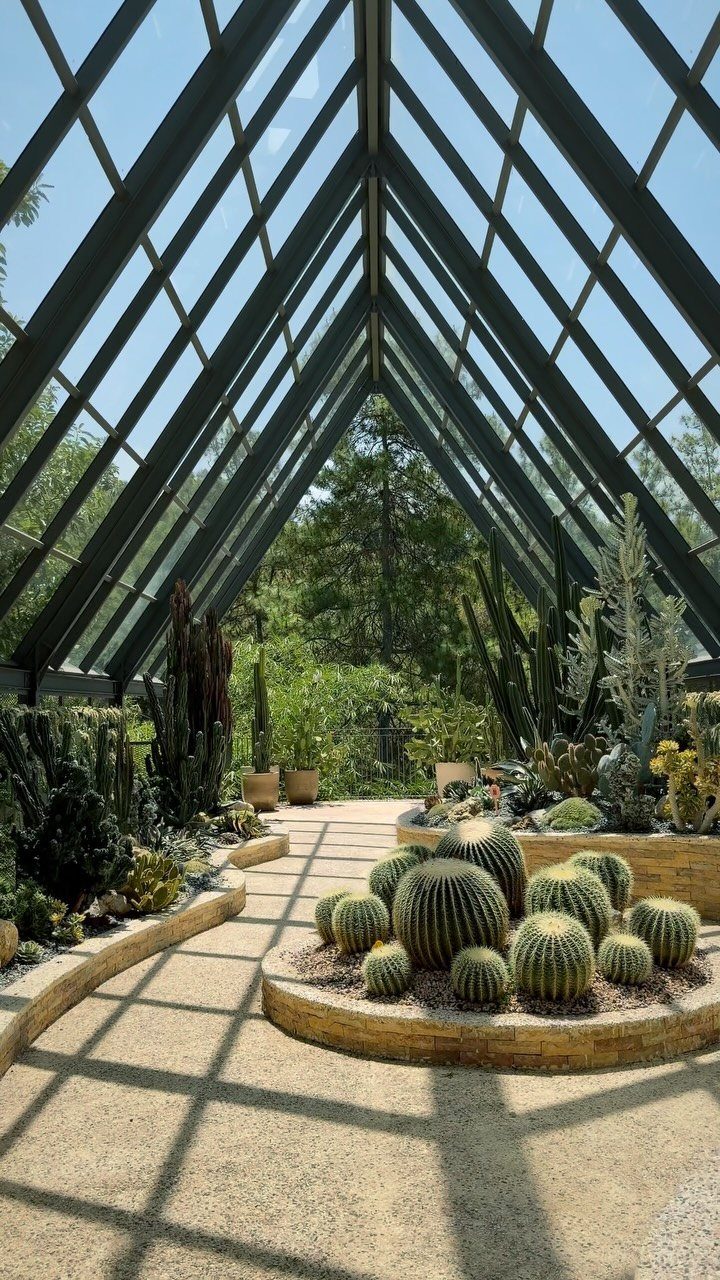
Low, curved stone walls give a cactus greenhouse a softer shape than straight benches ever do. A sandy walkway winding between the beds keeps your feet on dry ground and makes the space feel like a small desert garden.
Keep the walls low so every plant is within easy reach from the path.
Stone costs more than lumber, so I would build one bed first and add more as the collection grows. Sand and gritty soil suit succulents.
16. A-Frame Hydroponic System
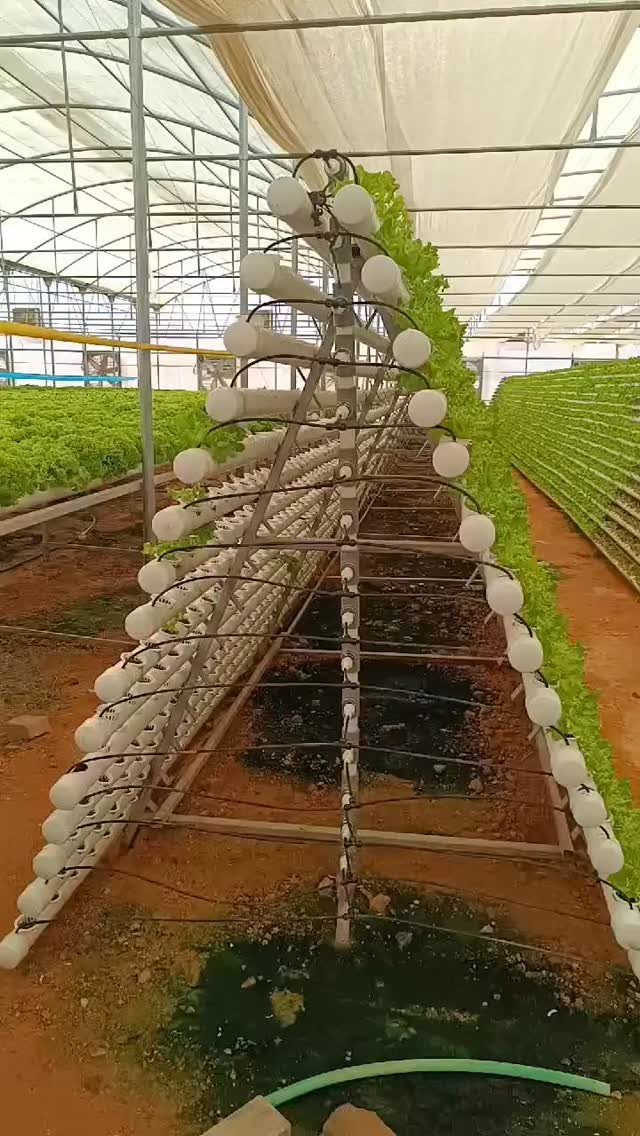
An A-frame hydroponic rack stacks rows of white pipe on 2 sloping sides, so a small patch of floor can carry far more plants than a flat bed.
An A-frame’s slope lets light reach both faces, so the lower tiers get sun they would miss on a flat, stacked rack.
Place it where the roof is brightest, and leave a walkway on each side so you can reach the upper pipes.
Plants here grow in pipes, not soil, so the dirt floor stays clean. Start with one frame before you commit to more.
17. Greenhouse Sitting Area
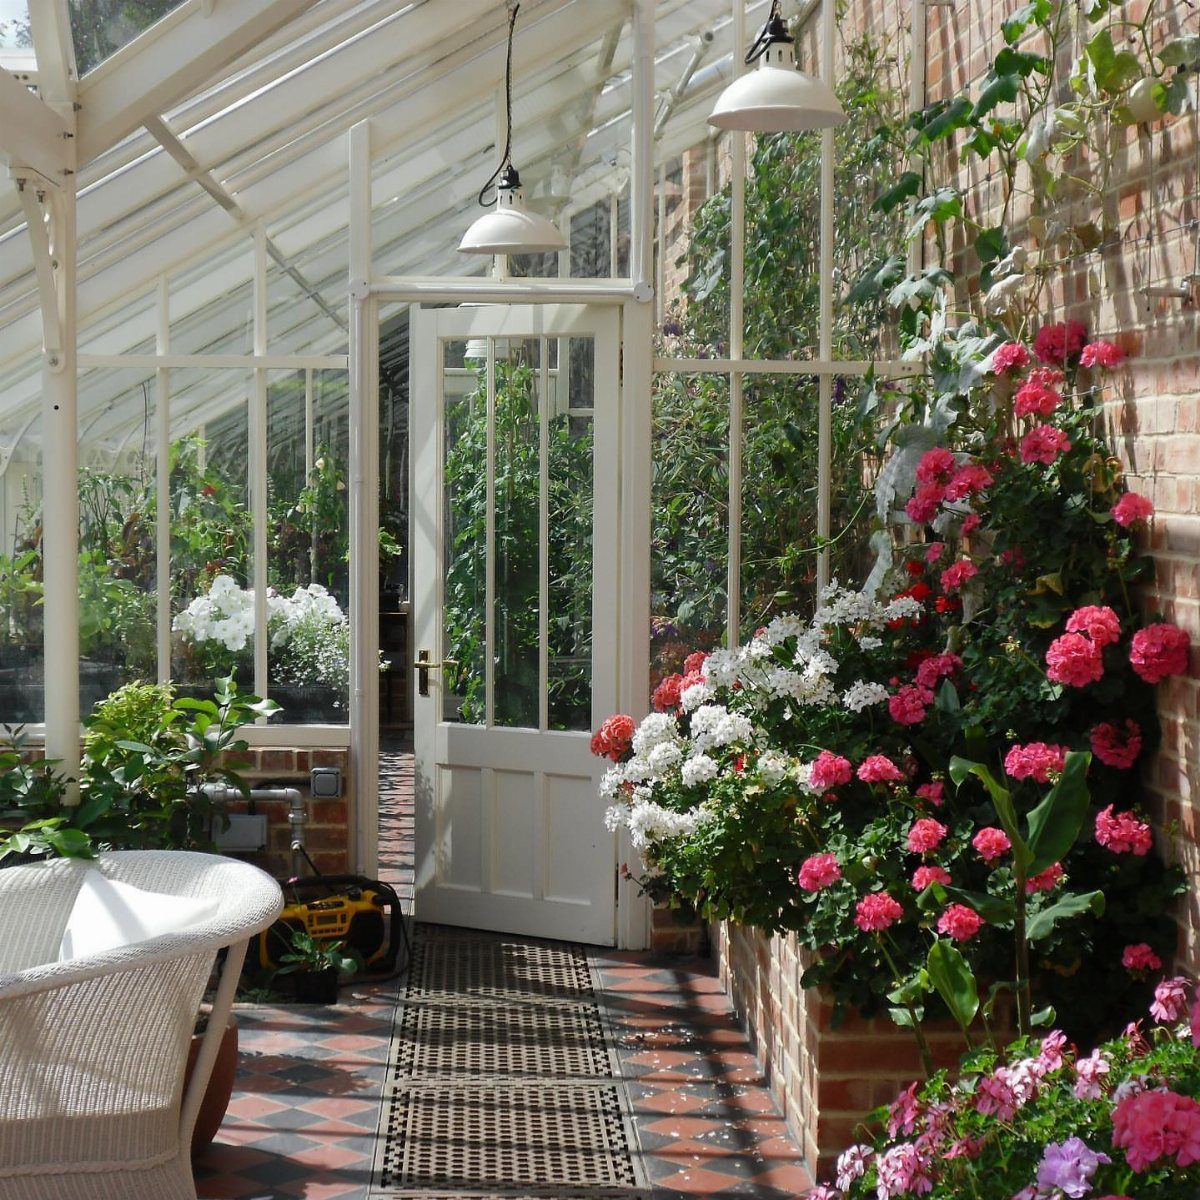
A single wicker armchair turns a working greenhouse into a place to sit. Hanging lamps give soft evening light, and brick planters along the edges keep flowers around you without eating floor space.
Pick a chair that tolerates humidity; wicker works well here.
Keep the seat away from the watering zone so it stays dry. A tile floor like this one wipes clean after a day of potting, and I like that it handles muddy boots without fuss.
Ideally, it should sit on an east-west axis so that it gets the most light, especially in winter. Discover the six essentials you need to consider when siting a greenhouse.
Planning for Plant Growth
Before any pots go in, get the interior dimensions down on paper: length, width and the height at the ridge and at the eaves.
Sketch the floor to scale on graph paper, and you can shuffle benches on paper instead of hauling them around later.
Put tall plants at the back or along the sides and short ones in front, so nothing shades the rest.
Leave gaps between plants, too. Crowded leaves trap damp air, and that invites pests and disease, while open space lets air move and helps fruit ripen.
If you grow vegetables in grow bags, count the footprint of each bag in your plan. They take more room than a pot does.
Space tight? Carrots, celery and romaine do best started in seed trays indoors, then set outside to harden off once the seedlings have some size to them.
Last, put a water source within easy reach of every growing area. Carrying cans across the whole greenhouse gets old fast.
Greenhouse Upkeep and Season Use
Plan on two full cleanings a year, one in spring before planting and one in fall after the season winds down.
Clean glass or panels let in the most light, which matters most in winter, and there are fewer places for pests and disease to hide.
For the fall clean, work from the top down:
- Wash every pot so pests can’t winter inside.
- Summer leaves algae on the floor and the ceiling panels, so sweep both down to clear it.
- Outside, pull the leaves and gunk out of the gutters so rain can drain.
- Empty water barrels and reservoirs, then refill them with fresh water so nothing sits and goes stale.
Mild dish soap works as a disinfectant. Rinse everything well afterward so no detergent residue stays behind.
For winter, line the walls with bubble wrap insulation to hold heat.
To keep harvests coming, plan crop rotations and stagger your sowings. Sowing a little at a time gives you a steady supply instead of one big glut.
Frequently Asked Questions
How do you make the best greenhouse layout?
Start by measuring the interior (length, width, and height at the ridge and the eaves) and sketching the floor to scale on graph paper.
Tall crops belong along the back or the sides, and I leave open gaps between benches for airflow and keep a hose bib or rain barrel within reach of every bed.
Planning on paper lets you shuffle benches before you haul anything, and open space keeps damp air from inviting pests and disease.
What are the basic styles of greenhouse design?
The center-aisle layout is the classic: one walkway runs down the middle with benches or beds on both sides.
A lean-to attaches to a house or garage and shares a wall, which suits tight lots. A center aisle is the layout I’d pick first, since every plant ends up within an arm’s length of the walkway.
Does a greenhouse need to be in the sun or shade?
Sun wins here: look for level ground with the most light, clear of cold air that pools in low spots and of harsh wind, and run the long side east to west if you can.
Most plants still need some shading in summer, except cacti and succulents, so internal shades or shade cloth help regulate heat. Good vents on the roof and sides cut down how much shading you need.
What is the ideal size for a greenhouse?
No single size is ideal, because it depends on what you want to grow and the room you have.
A lean-to suits a tight lot, and a hinged-lid raised bed works in a small yard if you stick to low crops like lettuce, spinach, radishes and herbs.
How do you use a greenhouse for beginners?
Decide how you will use it before picking a size and style: purely for growing, or for growing plus a place to sit.
Pick a spot that gets strong light in every season, stays shielded from cold wind, and sits close to a water supply.
Then grow only what you will actually use, since it is easy to get carried away. A center-aisle layout is the simplest to set up.
What can I grow in a greenhouse?
Tender vegetables, salads, herbs and ornamental plants that may not survive outdoors where you live.
Peppers, tomatoes and cucumbers do well, and sowing in late winter lets crops like beans start under glass before moving outside. Cacti and succulents also suit a greenhouse, and vertical walls or trellises add room for climbers.
Does a greenhouse need a permit?
It depends on your city and state. Local zoning can set how near a property line the structure may go and cap the number of accessory buildings, and a greenhouse attached to your house often triggers additional permits.
Call your city or county building office first, before you buy a kit or break ground.