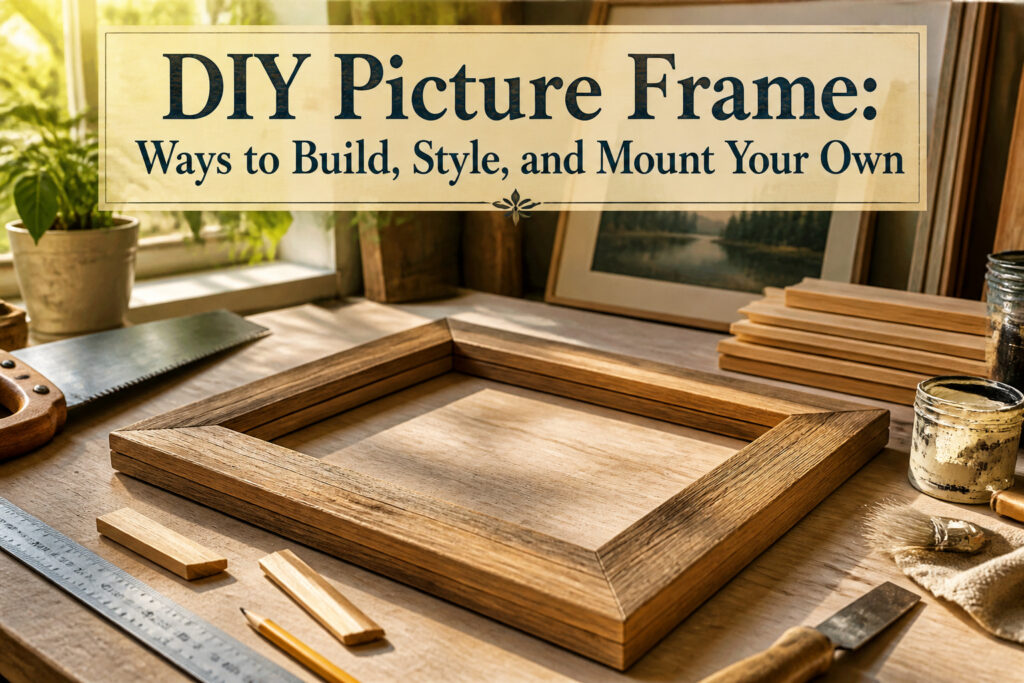
A DIY picture frame is a wooden rectangle you cut, join, and finish yourself to hold art or photos. The catch is that the inside opening must sit slightly smaller than your actual print, not flush with it, or the image slips through. For an 11-by-14 print, you cut 1-by-3 pine boards to 11 and 14 inches on the inner edges, then add lattice trim to form the lip that holds the glass and backing.
1. Measure and Cut the Wood
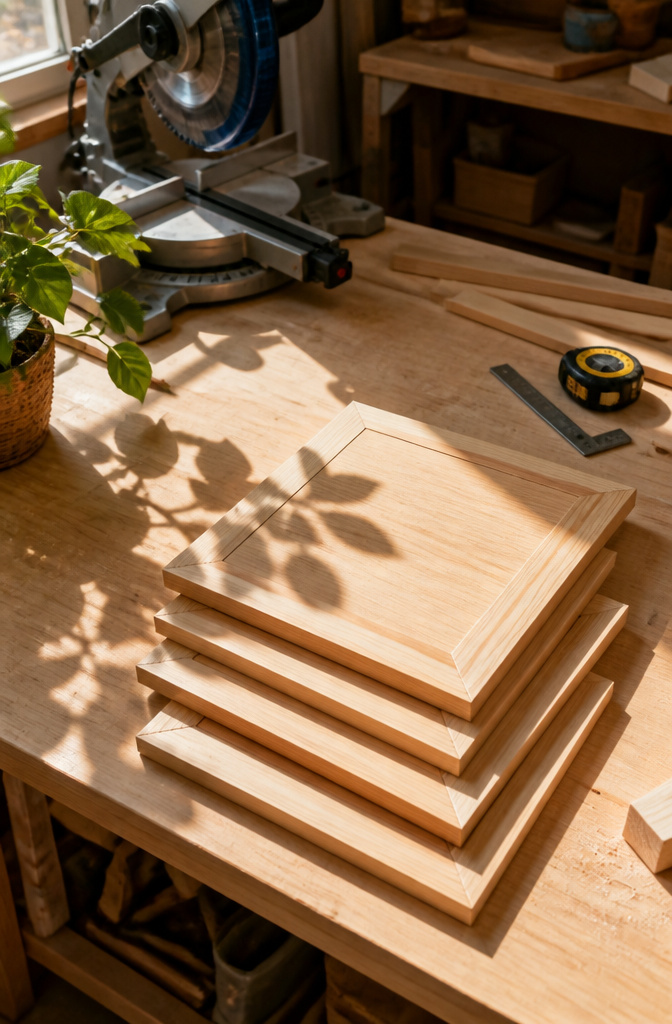
The first thing to know is that the frame opening should sit slightly under your actual picture size, not dead on it. For an 11-by-14 print, the inside edge of your 1-by-3 boards needs to measure exactly 11 inches on the short sides and 14 on the long ones, not counting any trim you add. That trim, like the lattice piece, rides to the inside and forms the lip the glass and backing rest against, so the miters get cut with the trimmed side as the shorter side.
Common frame sizes run 5-by-7, 8-by-10, 11-by-14, 16-by-20, and 24-by-36. Pine is the obvious choice here: cheap, soft enough to cut cleanly, and stocked everywhere. For one 11-by-14 frame, figure about six feet of 1-by-3 plus your trim stock. Go bigger and the math scales up; go smaller and you will have scraps.
Set your miter saw to 45 degrees and cut one end of each board. Flip to 45 the other direction for the opposite end so the pieces pair up. Dry-fit them before you commit. The backing board should drop inside the 1-by-3s and land on that inner trim lip. If it does not, trim now, not after glue.

【DIY Fun】: This 4" x 6" photo frame kit allows you to build your own creative picture frame using colorful building blocks and includes a cute dinosaur figurine decoration.
![V Nails for Hardwood Picture Frames - 15mm (9/16 Inch) - [400 V-Nail Pack, Loose] - Ultra Strong Vnail Wedges for Picture Framing - Joining Picture Frame Corners](https://m.media-amazon.com/images/I/31I3kQ+bzcL._SL500_.jpg)
PROFESSIONAL-GRADE V-NAILS -- V nails for picture frames are designed for seamless picture frame assembly, these v-shaped nails provide strong, gap-free corner joints. V nailer, v nailer for picture framing, picture frame corner fasteners, frame nails.
![FramePac V Nails for Picture Frames Hardwood 7mm (1/4 Inch) [400 V-Nail Pack, Loose] - (for use in Manual V Nailer for Picture Framing, Hand V Nailer for Picture Frames, Manual Picture Frame Joiner)](https://m.media-amazon.com/images/I/41odYsCQZ0L._SL500_.jpg)
PROFESSIONAL-GRADE V-NAILS -- V nails for picture frames are designed for seamless picture frame assembly, these v-shaped nails provide strong, gap-free corner joints. V nailer, v nailer for picture framing, picture frame corner fasteners, frame nails.
2. Assemble the Frame
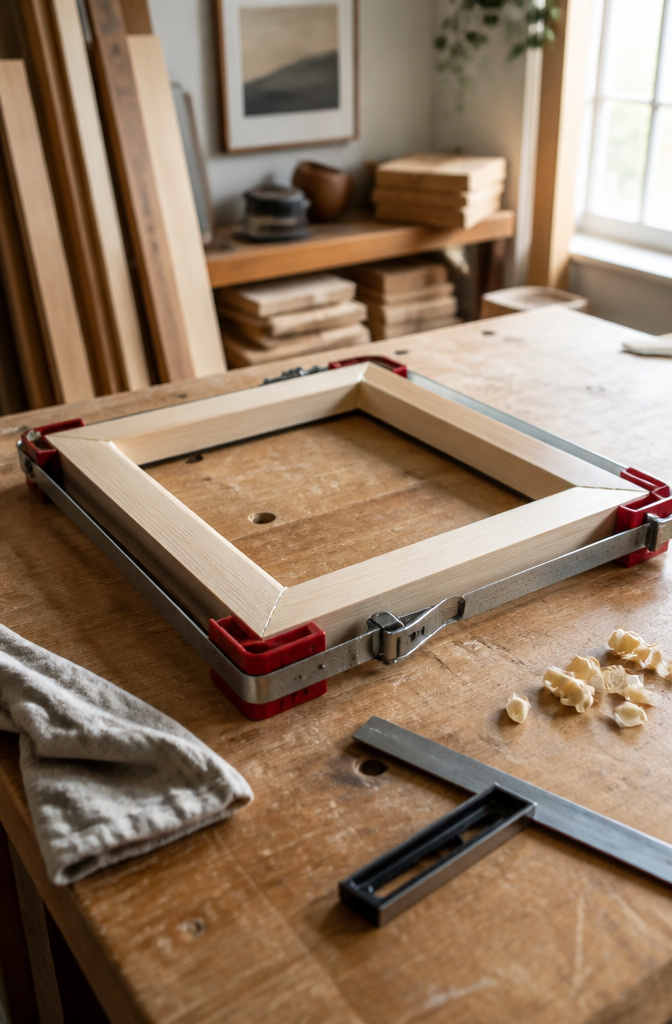
Wood glue on end grain is not strong on its own, which is why most builds pair it with something mechanical. A band clamp or ratchet strap pulled tight around the perimeter will draw the miters together while you check each corner with a framing square or by eye. If the back edges are not flush, the front gap will show even after stain, so I set the frame face-down on a flat surface and shim underneath any piece that sits low.
Glue squeeze-out is guaranteed. Wipe it immediately with a damp rag; dried glue blocks finish and looks like pale scars under paint or stain. For extra insurance, drive a finishing nail or wire brad through each miter after the glue sets, or install flat corner braces on the back once everything is dry. I have also seen builders paint extra glue into gaps from the back side after the first round dries, which saves a loose corner from becoming a lost corner.
A dry fit before any glue touches the wood is the step people skip and regret. Five minutes of unclamped assembly tells you which piece needs another shave before commitment.

Comes with Regular Glass and a sawtooth hanger for wall mounting!
Comes with Styrene and a wire hanging set for wall mounting!
Comes with Regular Glass and a sawtooth hanger for wall mounting!
3. Add Decorative Molding
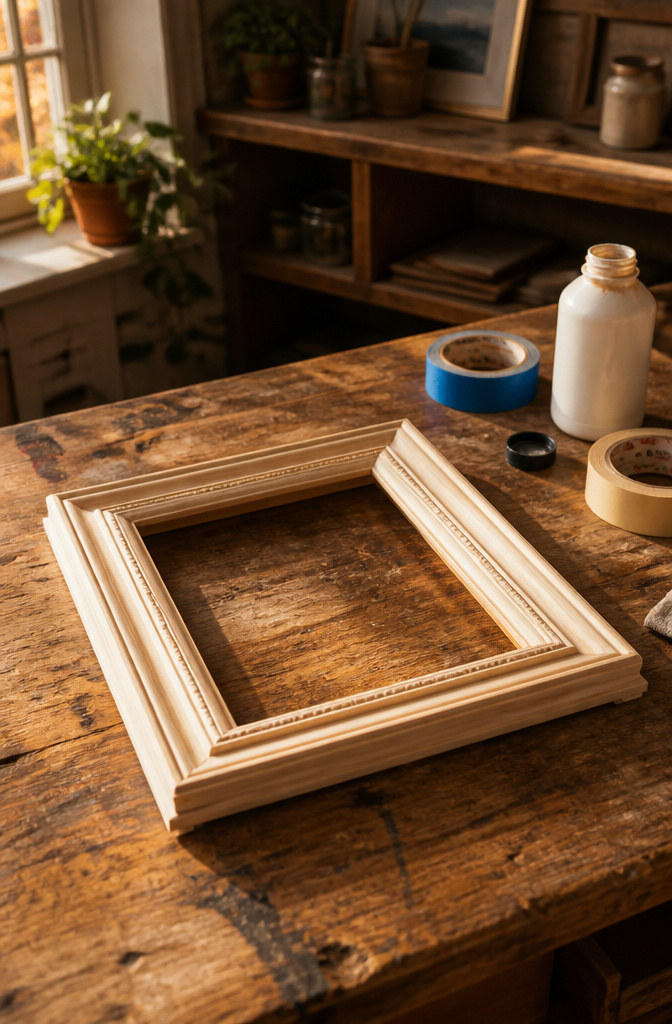
Small molding glued to the face of a frame turns a plain build into something that looks intentional. Cove, half round, or a slim chair rail profile all sit well on a 1×3 base without adding much bulk or cost. The lattice trim on the back edge does the actual work of holding the glass and mat in place, but the decorative strip on the front is what catches the eye from across the room.
Buy 10–15% extra molding length to cover miter waste at the corners. Measure your frame perimeter, add that buffer, and cut the pieces a little long even then. Glue the molding to the face of the 1×3 with a thin bead of wood glue, then painters tape will hold it flush while it sets. No clamps needed if the tape is tight. The lattice trim on the back gets glued and clamped inset from the rear edge, spaced by whatever scrap matches the thickness of your glass, mat, and backer stack.
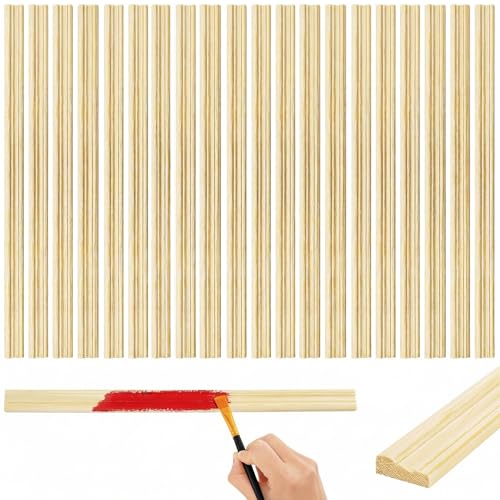
Ready to Use: The package includes 24 packs of unfinished wooden panels (15.7" L x 0.8" W x 0.3" H), providing ample pieces to create a stunning feature wall or accent multiple small areas in one go. It's the perfect DIY wall molding solution for home and offices to add instant character

Color and Size: our decorative line strips are made of non-traditional wood colors, which can easily blend into your decoration and add a touch of understated elegance; The size is 15.8 x 1.6 x 0.6 Inch (40 x 4 x 1.5cm), designed to an ideal proportion, easy to install, and will complement your wall
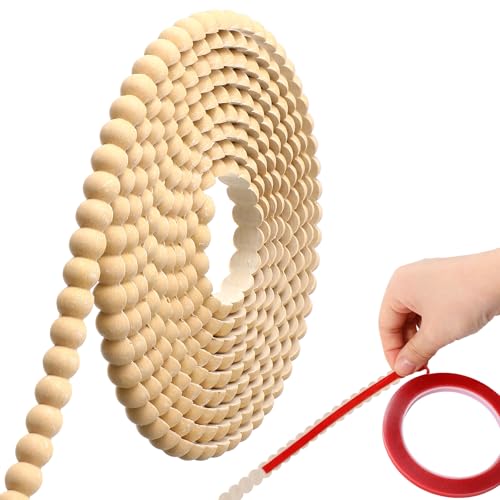
Elegant Semi-pearl Wall Molding Trim: this DIY peel and stick molding trim features a delicate 3D semi-pearl design made of flexible PVC, adding a touch of sophistication to any space; The white finish blends seamlessly with modern, classic interiors
4. Stain or Paint
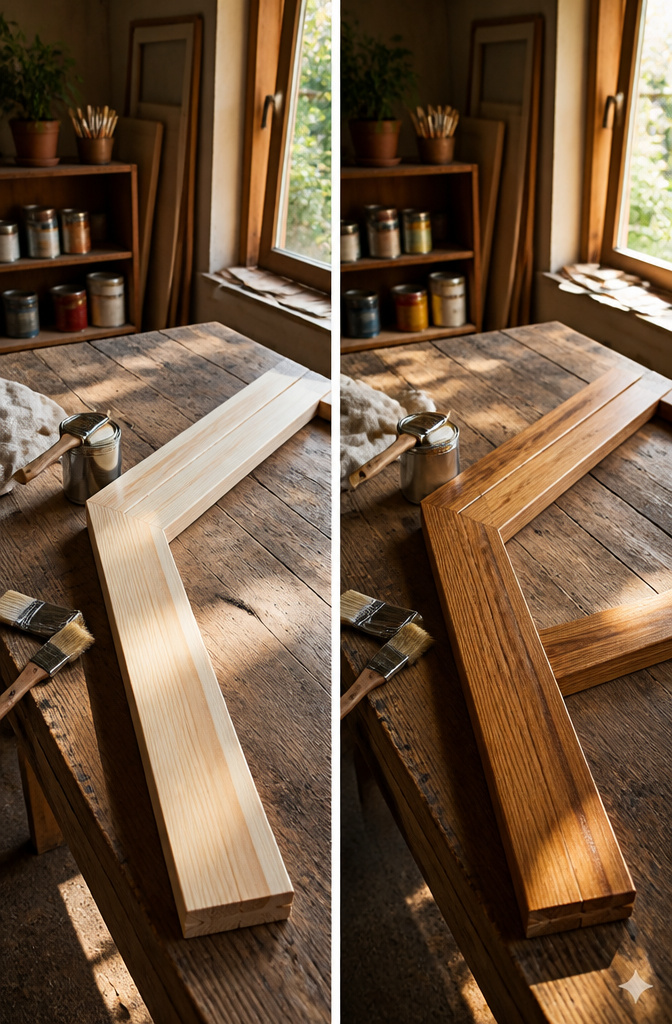
Minwax Water Based Solid Stain in Autumn Wheat gives a light tan that reads clean against white walls without going too yellow, while their Semi-Transparent Stain in Pecan lets the grain show through for a warmer, more traditional look. I stained my boards before cutting, mostly because brushing into corners after assembly is a pain and I knew I’d miss spots. You can assemble first if you prefer; the color lands the same either way.
Water-based stain dries faster than oil, which matters when the whole project clocks about 24 hours from first cut to hanging, with only 3-4 hours of real work. Most of that downtime is this stage. I gave each coat two hours before handling, then let the pieces sit overnight before assembly. Rushing it means fingerprinting the finish or locking damp stain behind glass later, and neither fixes without starting over.

Stylish & Versatile:Decorate any space with these 30 elegant brown cardboard frames, perfect for displaying your favorite 3x4 inch photos in homes,parties or offices,you can hang it on anywhere.

Handcrafted Artistry: Each frame is handcrafted, demonstrating unparalleled exquisite craftsmanship, ensuring each piece is truly one-of-a-kind.
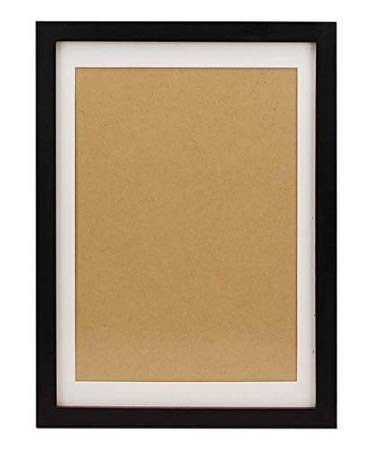
1.The FUNTRESS Pictures Frames Made of Solid Wood ,not glass cover but acrylic,more secure. In order to protectthe acrylic from damage,the Acrylic surface is covered with protective film.Please peel off the protective film on both sides beforeyou use it. Hang the Frames on the Wall of Living Room&Baby Room&Stair Case
5. Install Backing and Hanging Hardware
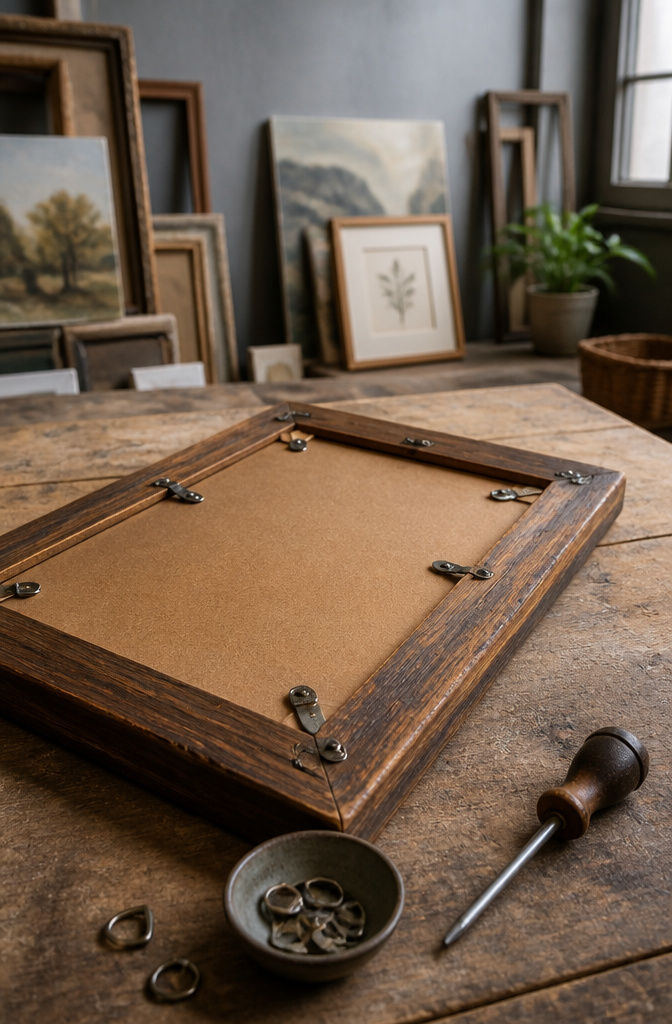
The backing is what keeps your artwork from sliding around or falling out the back of the frame. I usually use the original backer piece if the frame had one, popping off any old brackets with pliers since they won’t fit the new build. Turn buttons screwed into the rear rail work better than those old clips anyway; they rotate to lock everything in place once you’ve stacked your glass, mat, and image inside.
For hanging hardware, D-rings positioned at the back third of the frame height keep the piece level on the wall without visible wire above the frame. Anything over 8×10 inches gets wired between two D-rings so the weight distributes evenly. Sawtooth hangers are fine for small frames under five pounds, but the single nail point lets larger pieces tilt over time. Whatever kit you buy, check the weight rating on the package before you trust it with a weekend’s worth of work.
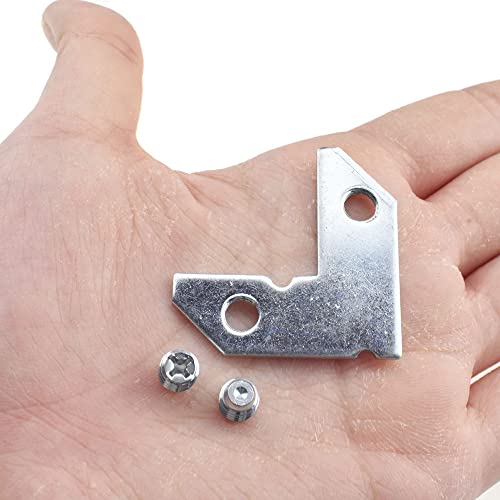
Unscratched.Easy to install.90 degree corner braces,you can use the unit on its side opposed to straight up.Sturdy enough to stabilize a wood junction.Great for building frames.

3D PRINTED DESIGN: This corner spline jig is produced via 3D printing

Strong material: The corner brace is made of iron, hard and reliable, and can be used for a long time
6. Final Touches
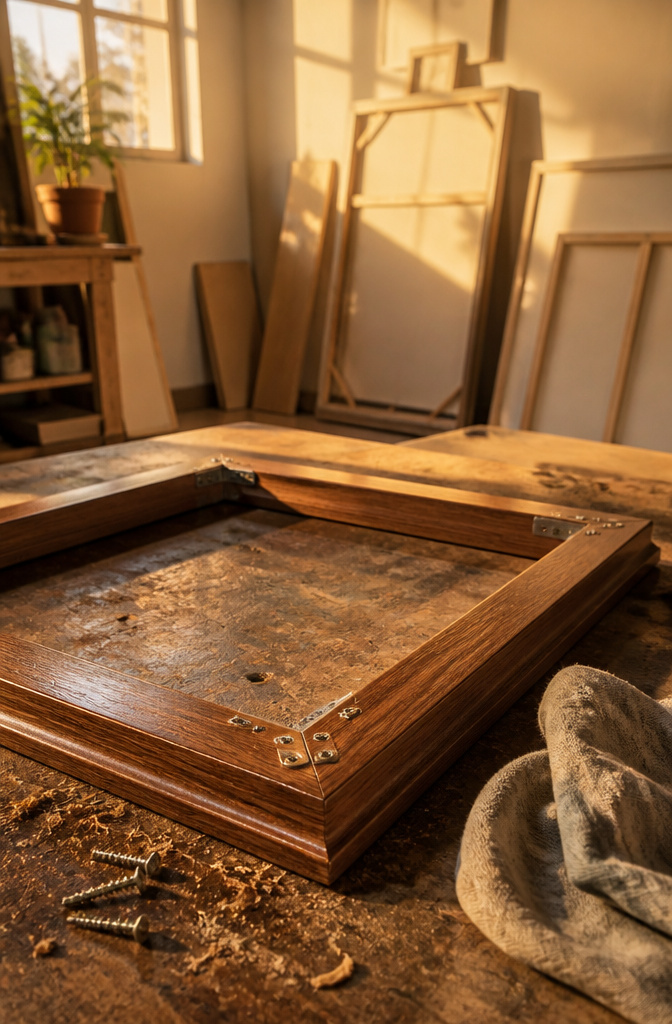
Wood glue squeezes out at every joint, and the five minutes after clamping are the only window to get it off cleanly. A damp rag run along each corner now saves an hour of scraping later, especially on stained wood where dried glue blocks the finish entirely. Let the clamp sit at least two hours before you touch it again, longer if the shop is cold.
Once the glue is dry, the real inspection starts. Rock the frame on a flat surface and look for daylight under any corner. A wobble means a gap that will show in the finished piece. Corner braces drilled into the back fix this if you caught it early, but a frame that does not sit flat against the wall will torque its joints over time.
Hanging hardware goes on last, after you have flipped the frame face-up and checked the front corners for glue spots you missed. The canvas or photo mounts from the back with longer nails driven through the stretchers, not the front face. That is the difference between a frame that looks built and one that looks bought.

Mosaic Picture Frame Craft Kit: this package includes everything you need to start crafting, 4 wooden picture frames, 2 tweezers, 10 glues, and a vibrant set of mosaic bead accessories; With these comprehensive tools at your disposal, the creative possibilities are endless

DIMENSIONS: Standard 4x6 inches photo frame with vibrant multi-colored flower border design, perfect for displaying cherished memories

🎨 CRAFT YOUR OWN STYLE: Unleash your creativity with these unfinished solid pine wood picture frames, perfect for arts & crafts, DIY painting projects, and custom designs.
7. Recessed, Float, and Flush Mounts
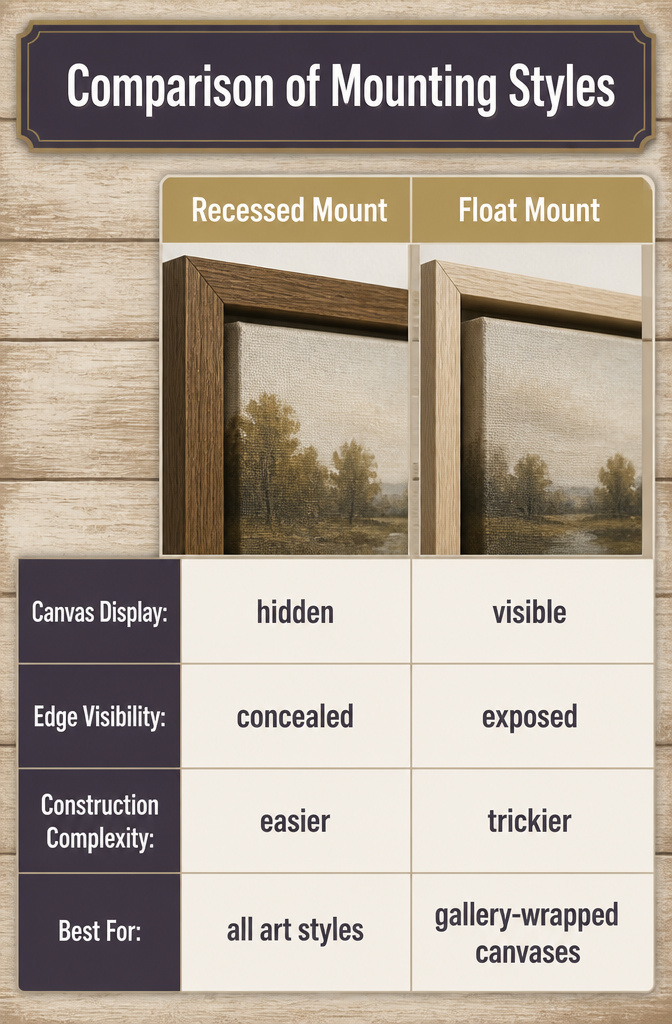
A recessed mount keeps the canvas behind the frame lip, the traditional look that hides the raw edge and works for any stretched piece you want fully contained. The frame adds about one-eighth inch to each side of the artwork dimension, snug enough that the lip just overlaps without swallowing the image.
Float mounts leave a deliberate gap between canvas edge and frame, usually around one-quarter inch, which shows off gallery-wrapped sides and gives thin, inexpensive canvases more physical presence. This is the trickiest build; the sources note that a half-inch square dowel makes canvas attachment miserable afterward, and a half-by-one-inch piece of lumber saves that headache. The dimensional gap reads as intentional, almost gallery-like, but the tolerances matter.
Flush mounts attach the frame directly to the stretcher bar edge, no front lip, no back lip, nothing overlapping the face. You see this on larger canvases where a recessed lip would look oversized or where the clean edge itself is the point. The frame becomes a narrow border rather than a window.
For a weekend build with standard lumber, recessed is the forgiving starting point. Float rewards the extra fuss if the wrapped edge is worth showing. Flush suits the piece that needs restraint, not frame, to do the talking.
Comes with Styrene and a wire hanging set for wall mounting!
Comes with Regular Glass and a sawtooth hanger for wall mounting!

8. Open Back and Ornate Frames
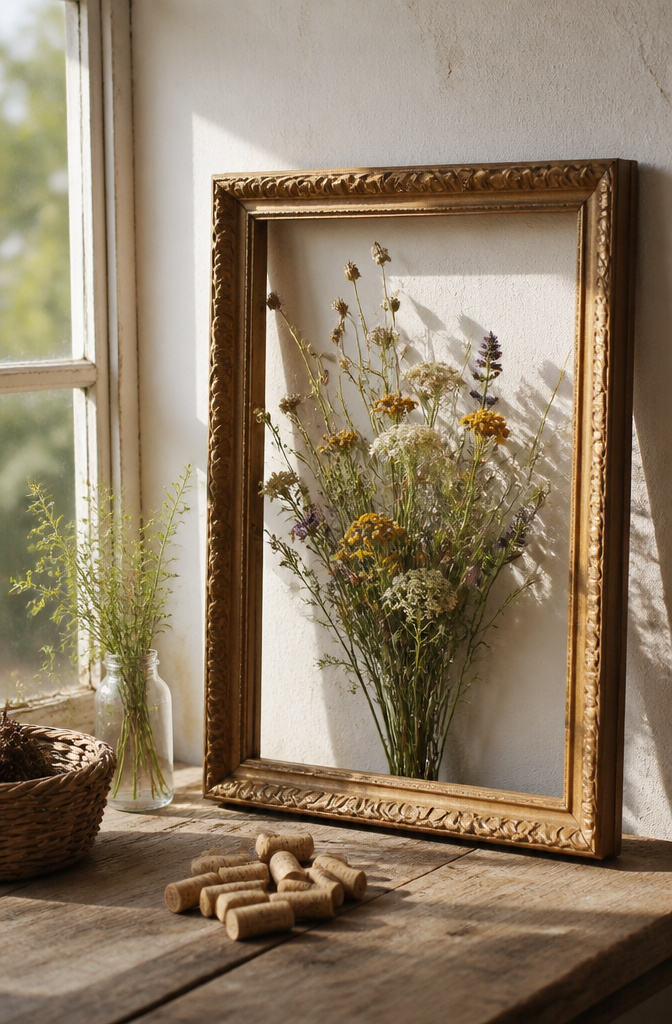
Open back picture frame shells turn a standard build into something you can change out weekly. A wine cork message board or a wildflower wall display sits inside the same frame without glass or backing getting in the way. The front keeps the shape; the emptiness behind it is the point. For renters, this matters because the piece weighs less and hangs on a single nail, and the contents shift with the season instead of the whole frame coming down.
Ornate frames look expensive because of the molding, not the labor. A 1–2 inch piece of decorative molding from the hardware store, cut and glued onto a simple frame base, reads as custom work from across the room. I tried raw picture frame molding once, spent about $50, and threw the whole batch away after the cuts went wrong. Baseboard molding with simpler joints worked better and cost less grief. The trick is picking molding thick enough to catch light but not so heavy it needs reinforced corners. Paint it gold and antique it with a rag, and it passes for the kind of frame that came with the art.
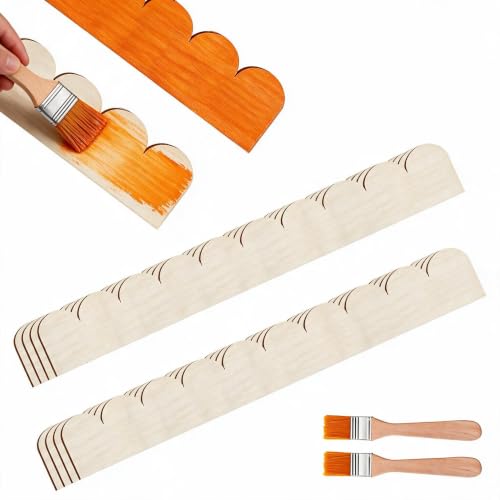
【What You Get】: The package includes 8 pieces of unfinished DIY scallop trim, each 1.57 inches/4 cm wide, 15.75 inches/40 cm long, and 3 mm thick. These delicate Unfinished Scalloped Edge Wooden Molding trims are perfect for customizing crafts and home upgrades

Classic Beaded Design: It features a modern beaded design with a refined, raised 3D bead texture. It adds depth, elegance, and a touch of traditional sophistication to mirrors, doors, headboards, furniture, and walls
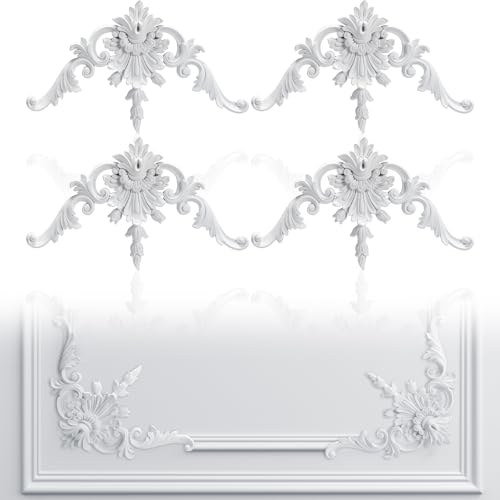
Decorative Corner Molding Set: you will receive 4 pcs French style corner wall molding panel, offering various pairing options to suit your home decor needs; These easy-to-install decorations add a refined touch to any door or wall
Tools and Materials
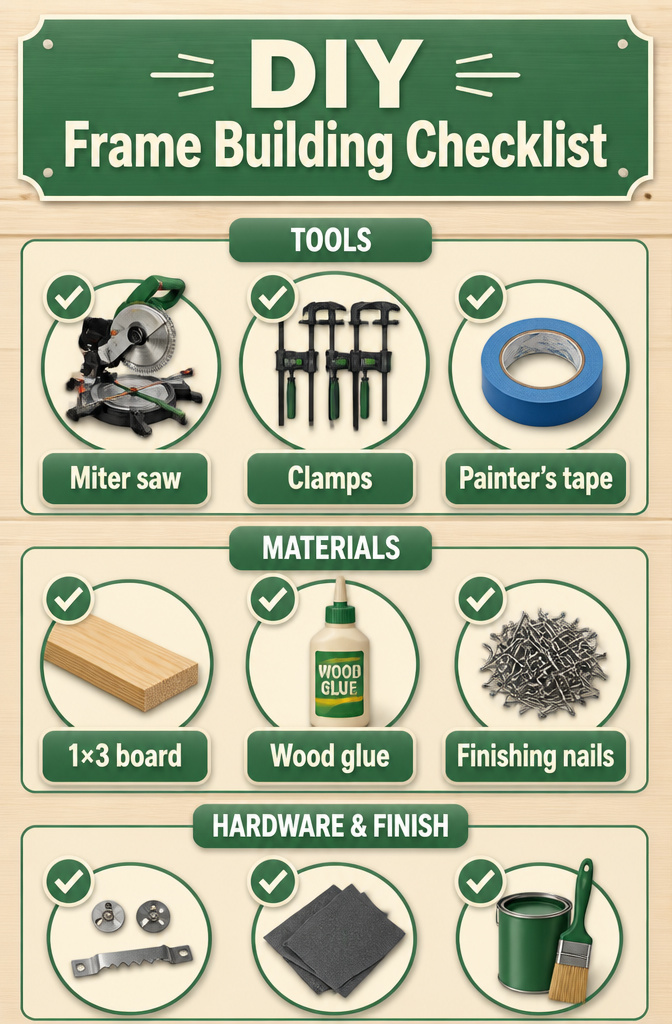
A miter saw makes the cleanest corners, but a miter box and handsaw will get you there if that is what you already own. Clamps matter more than the saw: four bar clamps, or a ratchet strap wrapped around the whole frame, hold the joints square while the glue dries.
For wood, a 1×3 board from the home center is the standard starting point. Lattice trim, ¼ inch by ¾ inch, adds a raised lip or detail without the cost of real molding. Any small profile, cove or half round, works if you want something fancier.
Wood glue is non-negotiable. Finishing nails or wire brads add mechanical hold, though the size has to match your board depth. Painter’s tape works as a clamp substitute in a pinch, and turn buttons with a sawtooth hanger finish the back. Paint or stain, fine-grit sandpaper, and you are set for under the cost of a single store-bought frame in the same size.
Skip the hardwood unless you are staining clear. Softwood takes paint fine and saves half the material budget.

3-in-1 Multi-Function Board: Combines a fabric bulletin board, magnetic whiteboard, and cork board (16" x 24"). Works as a memo board, pin board, or memory board for notes, plans, and photos

PERFECT SIZE: This 12x17 inch photo board holds 12 2x3 inch photos (comes with double-sided tape and a hanging rope). It allows parents to beautifully record baby’s precious first-year milestones from month one to twelve.

Detailed Size: The wooden photo frame is 4.5" x 3.5" in outer size and 3.31" x 2.28" in inner size, suitable for photos or cards with a length of 1.65" to 2.28" and a width of 2.64" to 3.31"
What It Costs
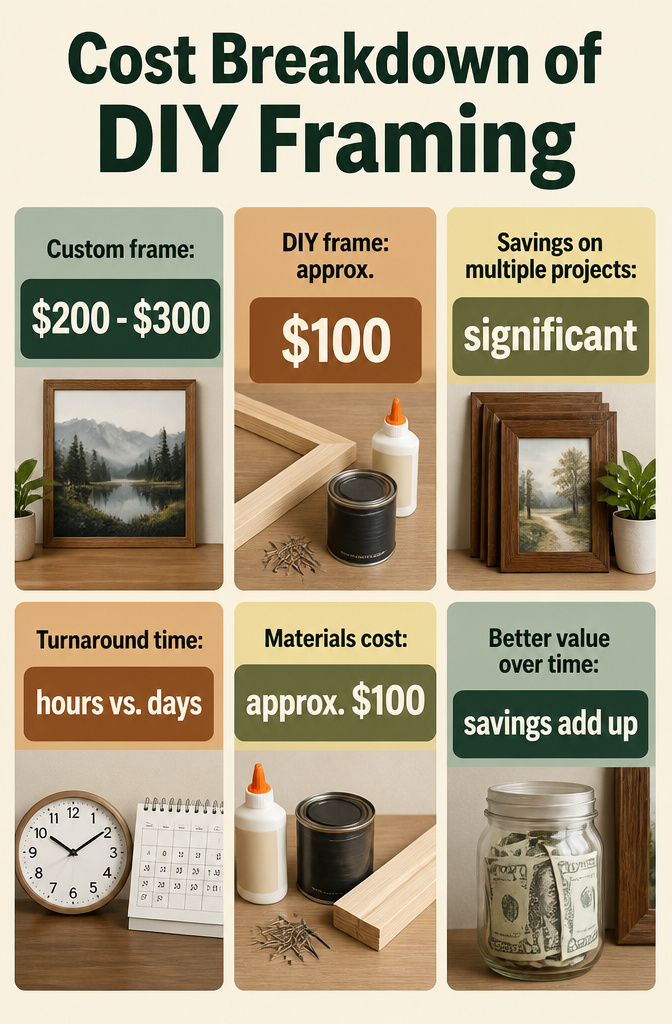
Custom framing for a large canvas can run $200 to $300. The wood, glue, nails, and finish for a DIY version of the same size came to about $100 in the builds I looked at, and smaller pieces drop that number even lower. It is absolutely cheaper to make your own custom picture frame. The gap widens fast once you are doing more than one, since leftover stain and a half tube of wood glue carry straight into the next project. A few hours of measuring and gluing beats waiting on a shop turnaround too. The savings are real enough that paying retail starts to feel like a choice, not a necessity, once you have seen the numbers side by side.

【Size Reference】Length: 38mm/1.50"; Width: 38mm/1.50".

Top-Notch Quality - As part of our picture hanging kit, these corner braces are manufactured in our wholly-owned facility for consistently high quality. They'll secure your projects.

The package contained: 40 pieces of small silver metal l-shape corner brace brackets, screws are included
Customization Options
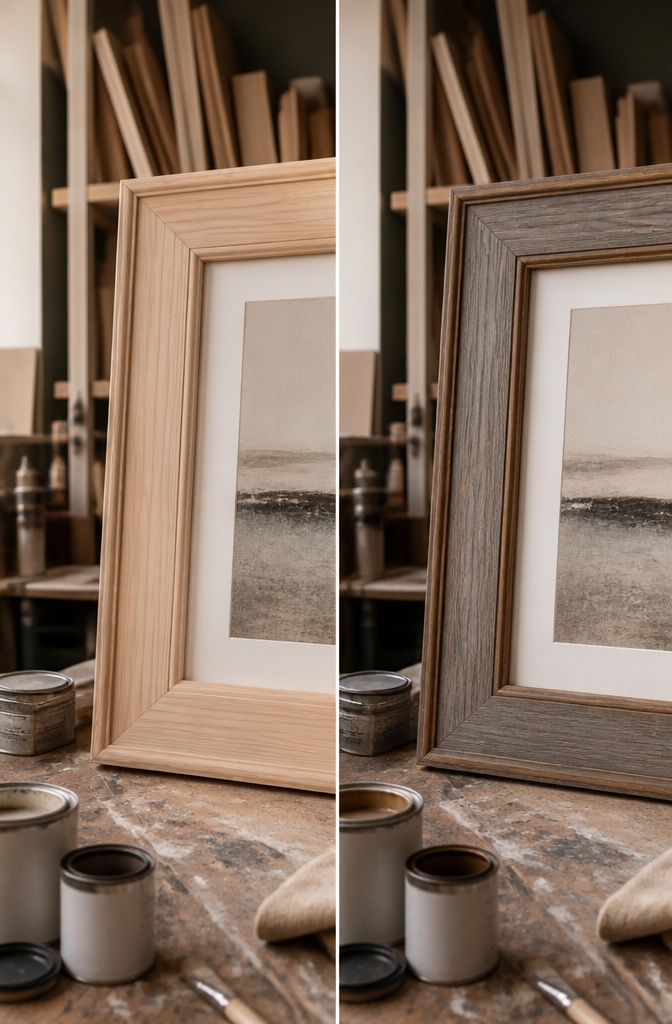
Pine takes stain unevenly, so a pre-stain conditioner is worth the extra ten minutes if you want the grain to read as texture rather than blotch. For the gray wash I ended up liking, I mixed Rust-Oleum Driftwood with their Willow and a touch of Minwax Golden Oak until it read neutral against the wall. The mix matters more than the brand: two of the same three stains in different ratios can pull green or purple depending on the wood.
Chair rail molding on the outer edge gives the frame a shadow line that photographs well, though half round or cove sit flatter against the wall if your space is already busy. Lattice trim inside the rabbet adds depth without the cost of a thicker board. I have built these with 1×3s for standard prints and 1×6s when the art needed more presence; the lumber yard will let you stack samples to check the profile before you buy.
Paint is the cheaper pivot if the room’s palette shifts. A sanded scuff with 220-grit and a shellac-based primer keeps latex from lifting on old varnish. The finish you get after an hour of prep beats the finish you get from two coats of "paint and primer in one" on a glossy surface.
Using Existing Frames
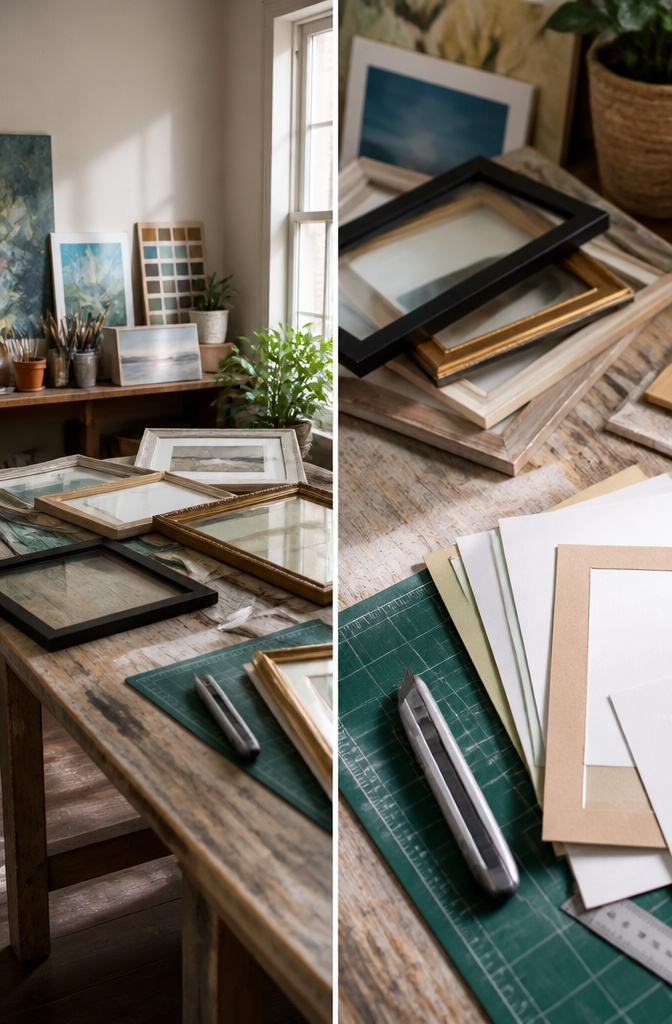
The cheapest way to get the glass, mat, and backing for a new frame is to pull them from a ready-made frame you already own. A five-pack of inexpensive 11×14 frames, matted to 8×10, runs less than buying those three parts separately, and the backer already has hangers installed. That saves you both the cost of hardware and the step of mounting your own. The plastic or composite frame itself gets tossed, which feels wasteful until you price out cut-to-size plexiglass at a hardware store. Sizes vary, so match the inner dimensions to whatever you’re building rather than forcing your artwork to fit the recycled set. If the mat opening is wrong, you can always flip it and cut a new one from the blank side, or skip the mat and let the glass sit directly on the print.
Frequently Asked Questions
Is it cheaper to make a picture frame?
It is absolutely cheaper to make your own custom picture frame. A large custom frame from a shop can run $200 to $300, while the wood, glue, nails, and finish for a DIY version of the same size costs about $100. The savings grow fast if you build more than one, since leftover stain and glue carry straight into the next project.
How long does it take to make a picture frame?
The whole project clocks about 24 hours from first cut to hanging, with only 3 to 4 hours of real work. Most of that downtime is waiting for stain or paint to dry, usually about two hours per coat. Rushing it risks fingerprinting the finish or trapping damp stain behind glass.
Can I add plexiglass or glass to my frame?
You can definitely add plexiglass or glass to the front of your picture frame. You will need to have it cut to the exact dimensions of your canvas or photo, without rounding up. The cheapest way to get glass, mat, and backing is often to pull them from a ready-made frame you already own.