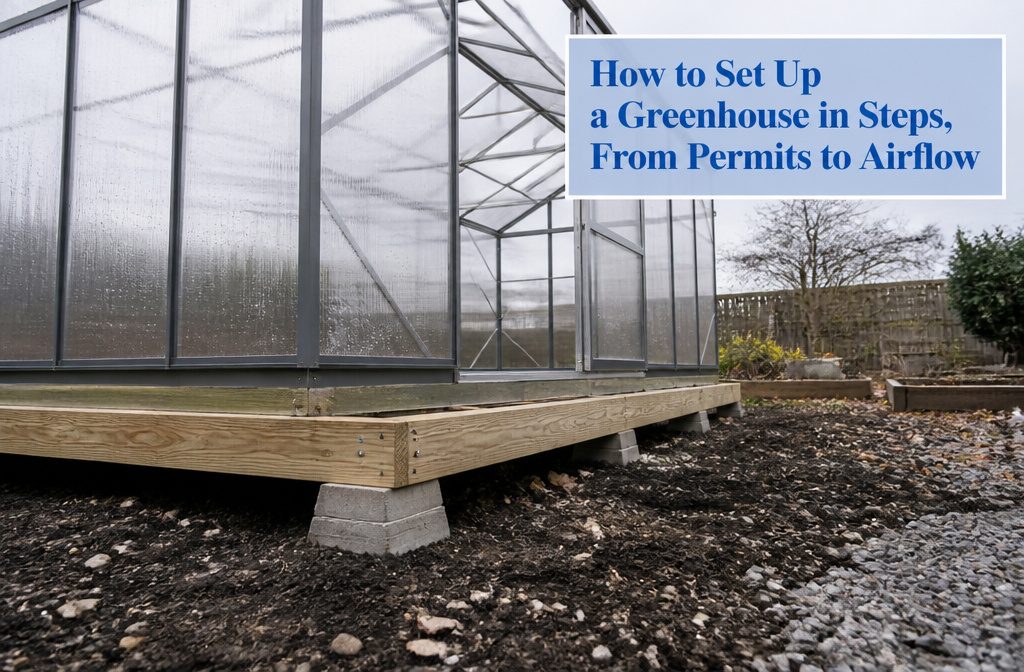
You end up with a working greenhouse, but plan on weeks of effort, not a weekend: the Rimol kit build took about two months.
People most often get site prep and the base wrong. Rushed leveling shows up in every later step, and deck blocks set on top of the ground leave the floor higher and less steady.
1. Check Local Rules First
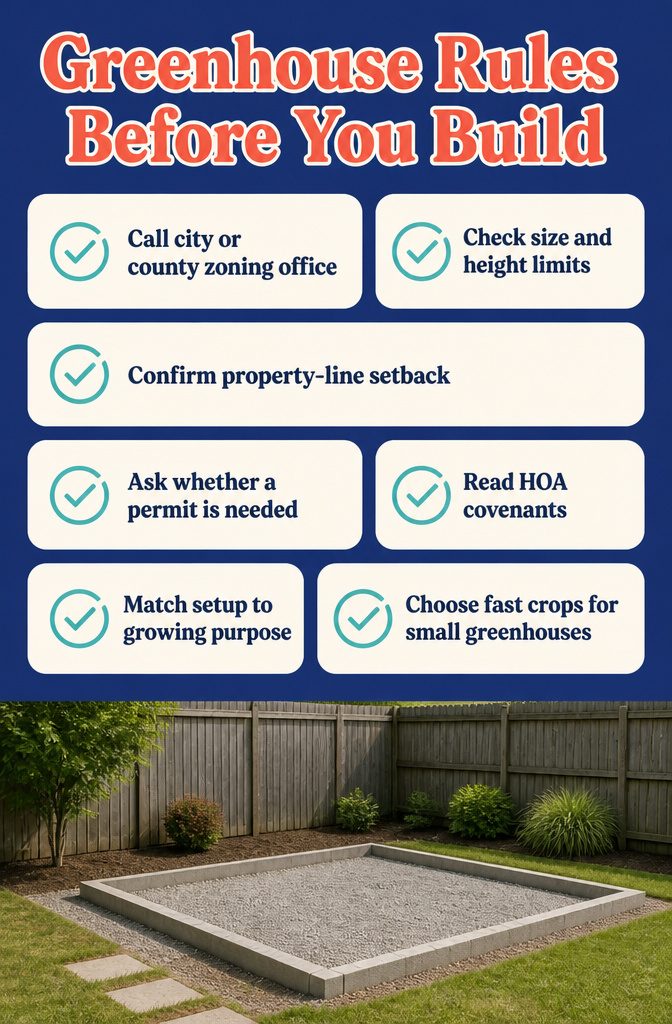
A greenhouse counts as a structure, so call your city or county zoning office before you buy anything.
Ask about size and height limits, how far it must sit from the property line, and whether a small hobby build needs a permit.
Larger ones often do, and rules vary by location. If you have an HOA, read the covenants too, because many don’t allow a greenhouse even in a backyard.
Next, decide the job. Propagation, seasonal crops and overwintering tender plants call for different setups, and timing should drive your crop list.
Cauliflower ties up space for about 4 months, while arugula and radishes go from seed to table in 2–3 weeks. For a small greenhouse, I’d lean on the fast crops.
2. Choose Type, Size and Materials
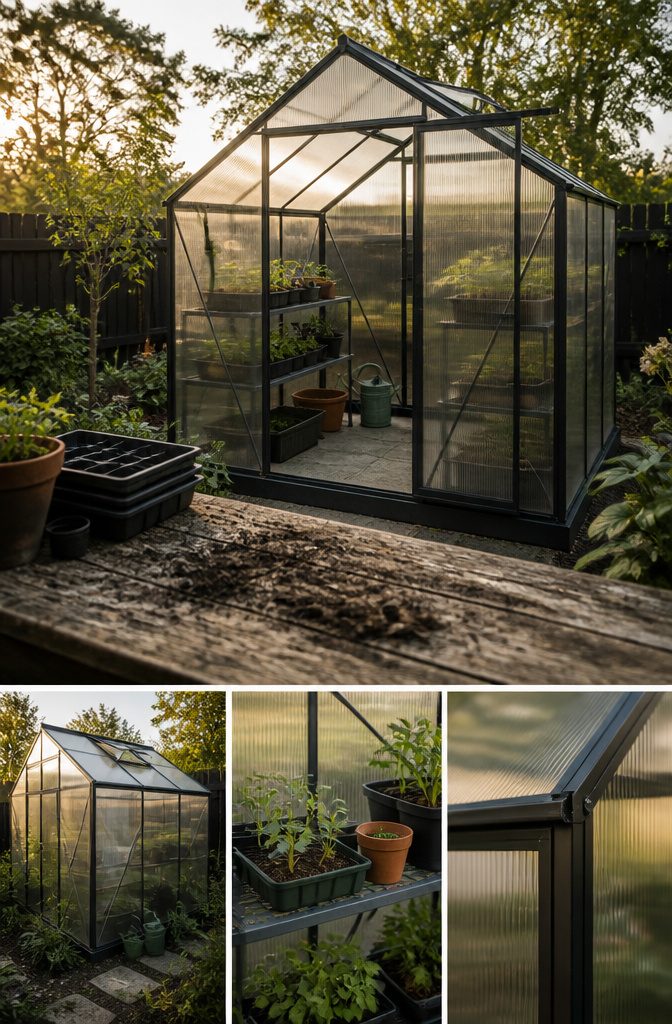
Plan on 20 to 25 square feet of growing space per person, then go one size up.
A 6×8 is 48 square feet, which fits one grower with shelves and a little elbow room; two people sowing and potting up in it will bump elbows.
An 8×10 gives a couple room to work, and 12×20 or larger suits a family growing vegetables or overwintering big containers. Leave floor for a watering can, pots and seedling trays, because supplies eat space fast.
For the frame, match the weather: pitched roofs shed snow, while a cheaper hoop shape works in mild climates.
Rigid polycarbonate panels handle wind better than thin plastic film, though you’ll replace them every 5–10 years. A kit like the Palram Mythos 6×8 is easier than building from scratch, and it held up to gusts of 40 to 50 mph.
3. Pick and Prepare the Site
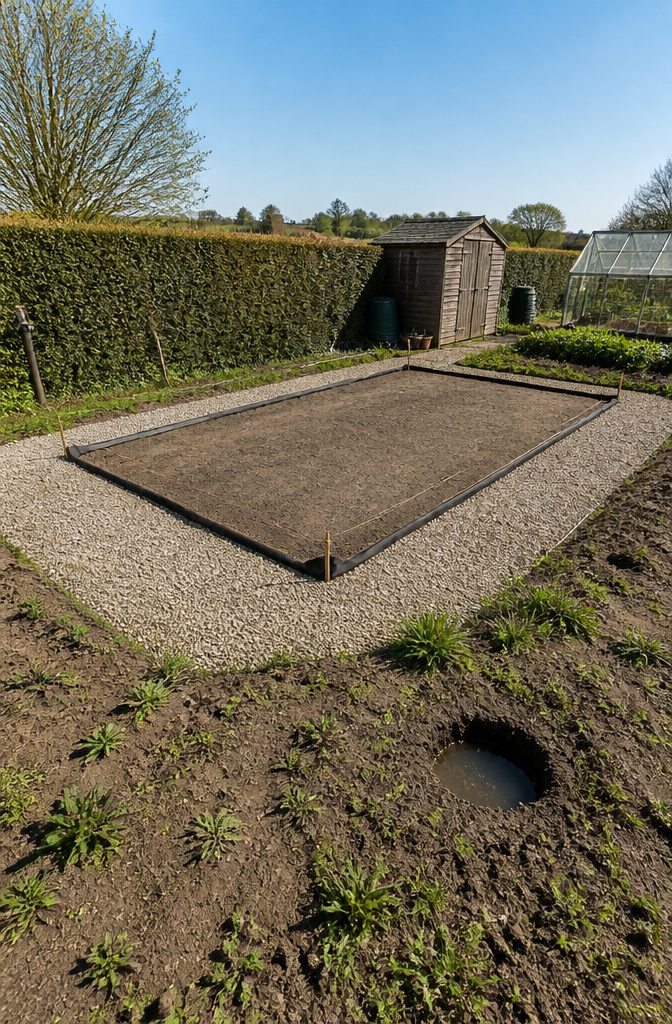
Aim the long side of the greenhouse at the south or southeast, and confirm the spot gets at least 6 hours of direct sun a day.
Tuck it on the quiet side of a building, fence, or hedge row, because wind strips plastic sheathing fast. Cut back any tree limbs that could drop onto the roof.
A 2–5% slope drains well. Dig a hole, fill it with water, and watch how quickly it empties.
Then stake and string the footprint, level it, and tamp it flat. Rushed prep shows up later in every part of the build.
Test the soil at each candidate spot; poor soil can be fixed with compost or raised beds.
Lay landscape fabric before gravel to block weeds. Keep a 3-foot path around the frame and stay close to water and power.
4. Build a Stable Base
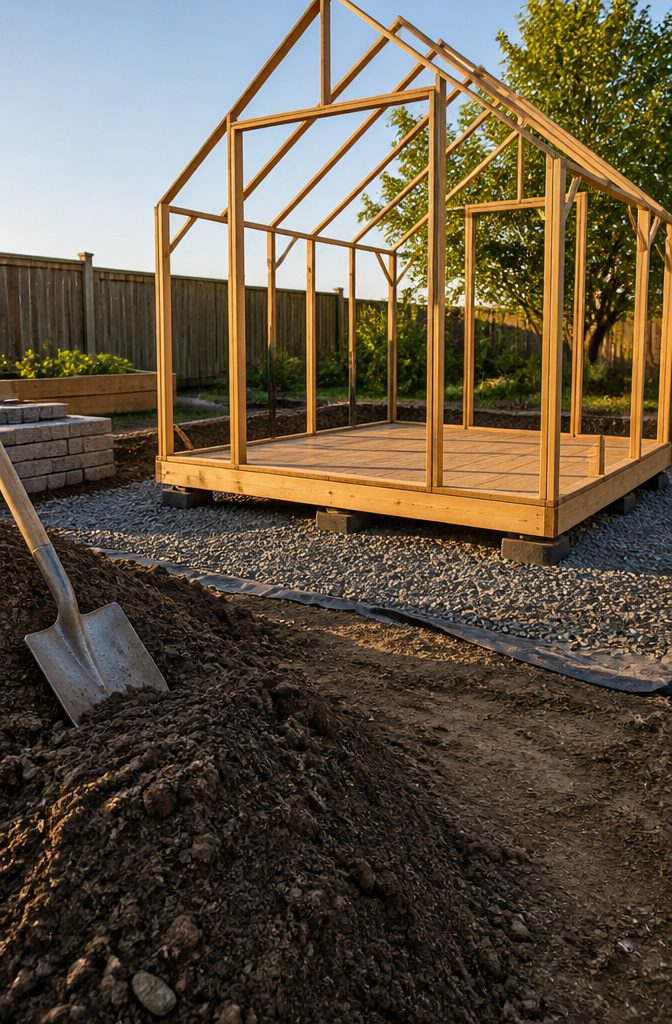
A greenhouse sitting straight on the ground invites pests and drafts, so give it a base. Wood is the cheapest and easiest to work with; choose cedar or redwood, or pressure-treated 4×4 or 4×6 lumber for anything under 120 square feet.
Concrete slabs last longest but cost more and can’t be undone. Gravel gives a mud-free pad, though not if you plan to grow in the ground.
For an 8×12 raised wood floor, I’d level and tamp the footprint, then lay landscape fabric so weeds can’t push through. Six deck blocks hold 4×4 posts that carry the frame.
Recess the blocks into the soil. Setting them on top of the ground is the step I’d regret skipping, since it leaves the whole floor higher and less steady.
Anchor with footings driven at least 2 feet deep. With no footings, use anchors and weights.
5. Assemble the Frame and Cover
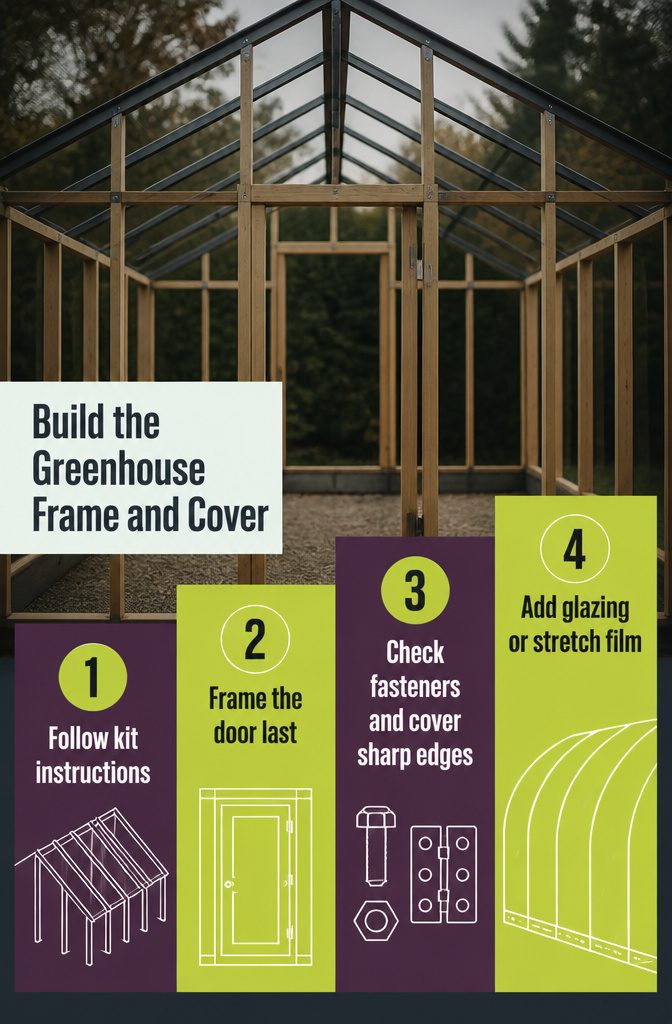
- Follow the kit instructions if you bought one. For a wood build, set rafters 24 inches on center and give the roof a 3-foot peak. The Rimol kit build took about two months, so don’t plan this around one weekend.
- Frame the door last. Measure the door, add ½ inch to the height, and leave ¼–½ inch of width clearance so it swings without dragging.
- Recruit a couple of helpers for anything overhead. Check every screw, bolt and hinge once the frame is up, then tape over sharp edges that could rip plastic.
- Add glazing or film. Rigid panels need framing or drilled fasteners. For film, pick a calm day and stretch it tight, pressing down with your forearm instead of your fingers to avoid punctures and stretch marks.
6. Plan Zones and Equipment
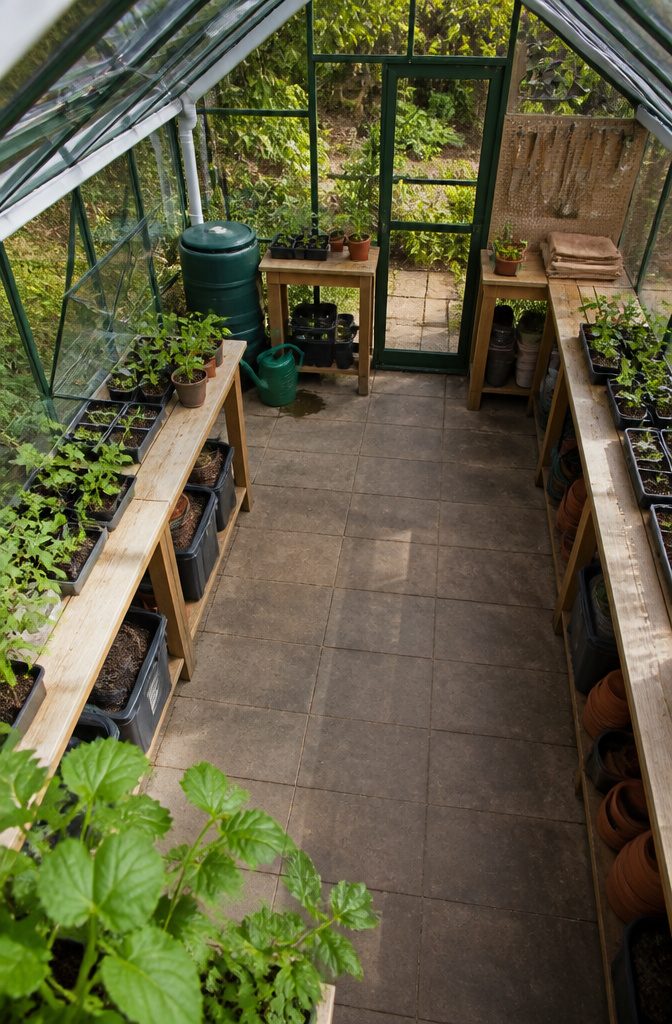
Benches along three walls in a U around the door and work area is a layout that holds up: seedlings and pots go on the benches, and the floor stays open for beds or large containers.
Keep the space under the benches for storage, and hang tools on a pegboard.
Catching rain is the cheapest upgrade here.
Fitting guttering and installing a water butt to catch the rain not only saves water, it means that you can easily fill your watering can for your thirsty crops in summer.
A plastic guttering kit from a DIY store handles the plumbing.
Fit a wax vent arm that opens the roof vent about halfway near 80°F and fully at 90°F.
Add 2 to 5 fans by size, and keep a thermometer and a 30% or 50% shade cloth on hand. Most plants like 60–75°F, but tomatoes and tropicals want warmer air, so match the heater to the plants.
Soil Mix and Drainage
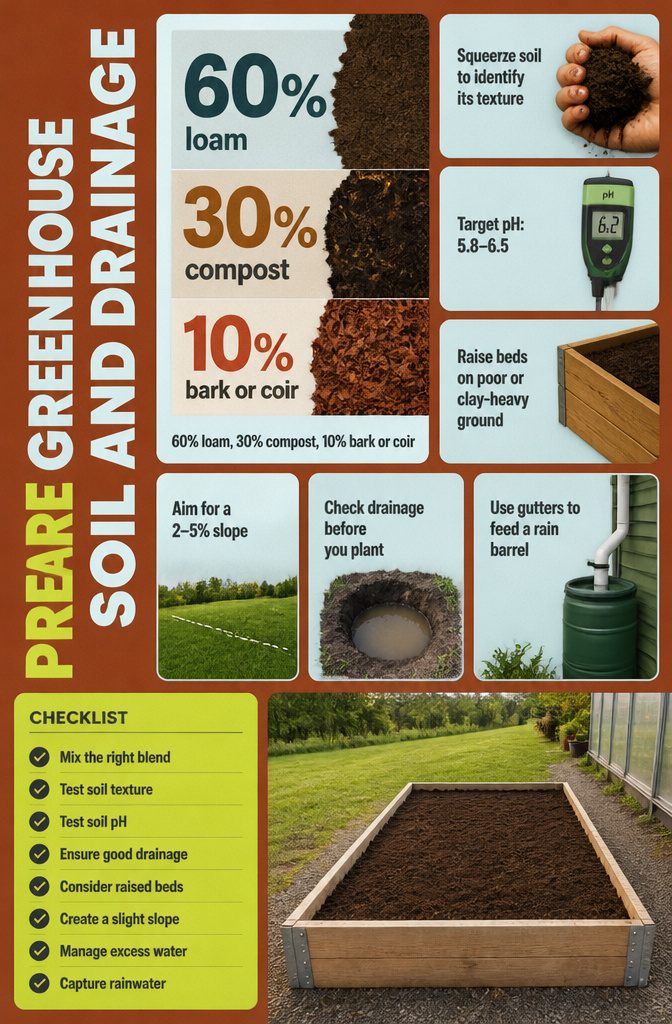
Native soil rarely needs replacing, only improving, and these are the moves that matter:
- Mix 60% loam, 30% finished compost and 10% bark mulch or coconut coir for a bed that suits most vegetables.
- Squeeze a handful to learn whether your soil leans sand, silt, clay or loam. Loam is the base you want.
- Test pH with a kit or digital meter and aim for 5.8–6.5. Lime raises it; sulfur lowers it.
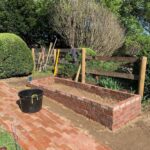
- Poor or clay-heavy ground is a good reason to build raised beds and fill them with the mix above.
- Check drainage before you plant: dig a hole, fill it with water and time how fast it empties. A slight slope of 2–5% helps.
- If water lingers, raise the floor or run drainage pipes around the outside.
- Plastic guttering kits from a DIY store feed a rain barrel, which saves water and fills a watering can easily.
Airflow and Climate Control
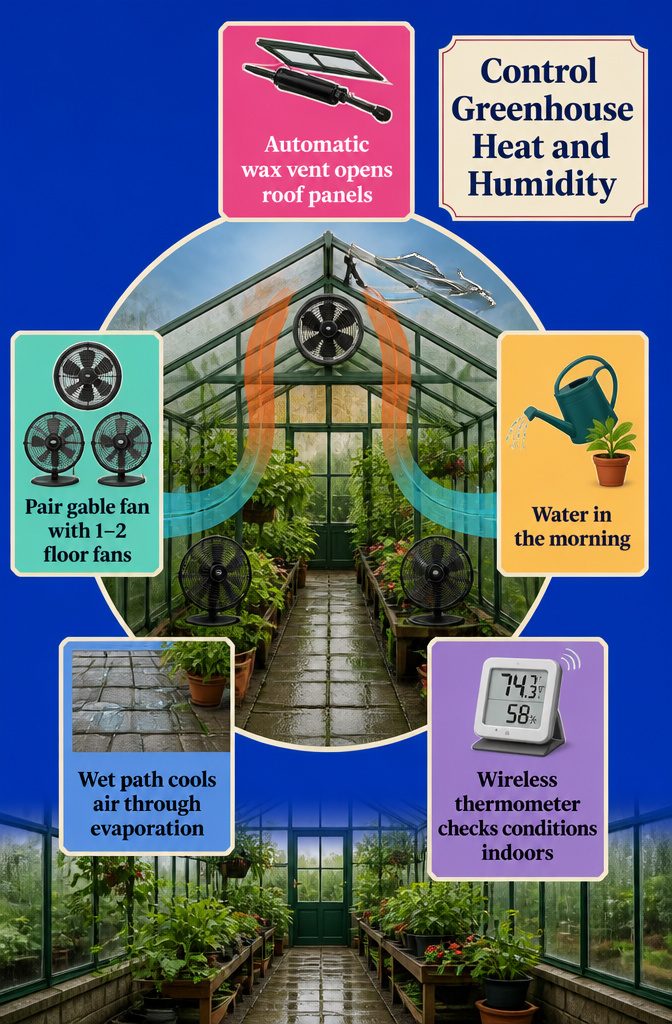
A closed greenhouse traps sunlight as heat and plant moisture as humidity, so without controls it ends up too hot, too damp or too stuffy.
Fit an automatic wax-filled vent opener on the roof panels, because manual opening fails the first busy day you forget, and temperatures climb fast.
Pair it with a gable-mounted fan and one or two oscillating floor fans. Every greenhouse has hot and cool pockets, and moving air evens them out and discourages fungus.
Water in the morning so foliage is dry by night.
A wet paved path cools hot air as it evaporates, a cheap trick I’d try before buying a cooler. A wireless thermometer with its display indoors lets you check conditions without opening the door.
Keep It Clean
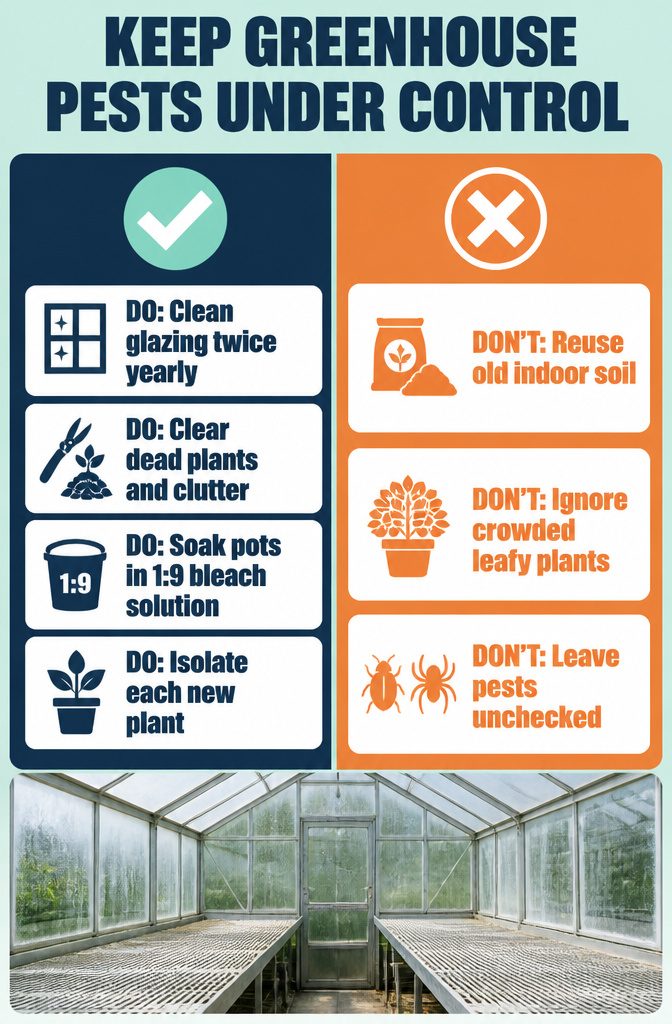
Pests multiply fast in a warm, enclosed space, and once they’re in, they are hard to get out. Prevention is cheaper than any cure:
- Clean twice a year, in spring and autumn, before and after the main growing season. Scrub the glazing too, since algae and mold cut winter light.
- Clear dead plants, leaf litter, old pots and rags. They shelter pests and spores through the cold months.
- Soak reused pots and trays in 1 part bleach to 9 parts water before they go back in.
- Use fresh soil inside. Old soil belongs in outdoor beds.
- Isolate every new plant for several days and watch it closely. Whiteflies hiding on one borrowed plant can infest a whole greenhouse.
- Check crowded, leafy plants often for spider mites and aphids, and hand pick early.
Frequently Asked Questions
How big should a greenhouse be?
Plan on 20 to 25 square feet of growing space per person, then go one size up.
A 6×8 (48 square feet) suits one grower, an 8×10 gives a couple room to work, and 12×20 or larger fits a family growing vegetables. Most people regret buying too small, and supplies like pots and trays take up floor space fast.
Should a greenhouse be in full sun or shade?
Full sun, with at least 6 hours of direct light a day.
Face the long side toward the south or southeast, and place it on the quiet side of a building, fence, or hedge to cut wind. Trim any tree limbs that could fall on the roof.
What is the best soil for greenhouse growing?
A mix of 60% loam, 30% finished compost, and 10% bark mulch or coconut coir suits most vegetables.
Aim for a pH of 5.8–6.5, using lime to raise it or sulfur to lower it. If your ground is poor or heavy clay, raised beds filled with this mix work well.
What do you put in the bottom of a greenhouse?
Lay landscape fabric over the leveled, tamped ground to stop weeds, then add your base material.
Gravel gives a mud-free pad, a wood floor is the cheapest and easiest to build, and a concrete slab lasts longest but can’t be undone. Skip gravel if you plan to grow in the ground.
Should a greenhouse have a raised floor?
It’s a personal choice. A raised wood floor, a concrete slab, or bare ground can all work, but the ground must be prepared so weeds can’t push through.
If you build a wood floor, recess the deck blocks into the soil so the floor stays steadier.
What is the best way to lay out a greenhouse?
Run benches along three walls in a U around the door and work area, and keep the floor open for beds or large containers.
Put seedlings and pots on the benches, store supplies underneath, and hang tools on a pegboard. Sketching zones for watering, potting, storage, and plants helps before you build.
How often should you water a greenhouse?
Water seedlings daily, since their shallow roots can’t reach deeper moisture.
Established plants usually need water a few times a week, depending on the plant. Water in the morning so foliage is dry by night.
What’s the best way to control greenhouse humidity?
Ventilate well and keep foliage dry overnight.
An automatic wax-filled vent opener, a gable fan, and one or two oscillating floor fans keep air moving and discourage fungus. Watering in the morning helps, and a humidity meter lets you monitor problem spots.
How do you decide what to grow in your greenhouse?
Start with the job: propagation, seasonal crops, or overwintering tender plants each call for a different setup.
Let timing drive the crop list, since cauliflower occupies space for about 4 months while arugula and radishes go from seed to table in 2–3 weeks. In a small greenhouse, favor the fast crops.
How do you create a sustainable greenhouse?
Collect rainwater with guttering and a water butt or rain barrel, which saves water and makes filling a watering can easy.
Choose a sunny site, use recycled or renewable materials where you can, and cut energy use, for example with solar panels. Careful pest control and low-till growing also help.