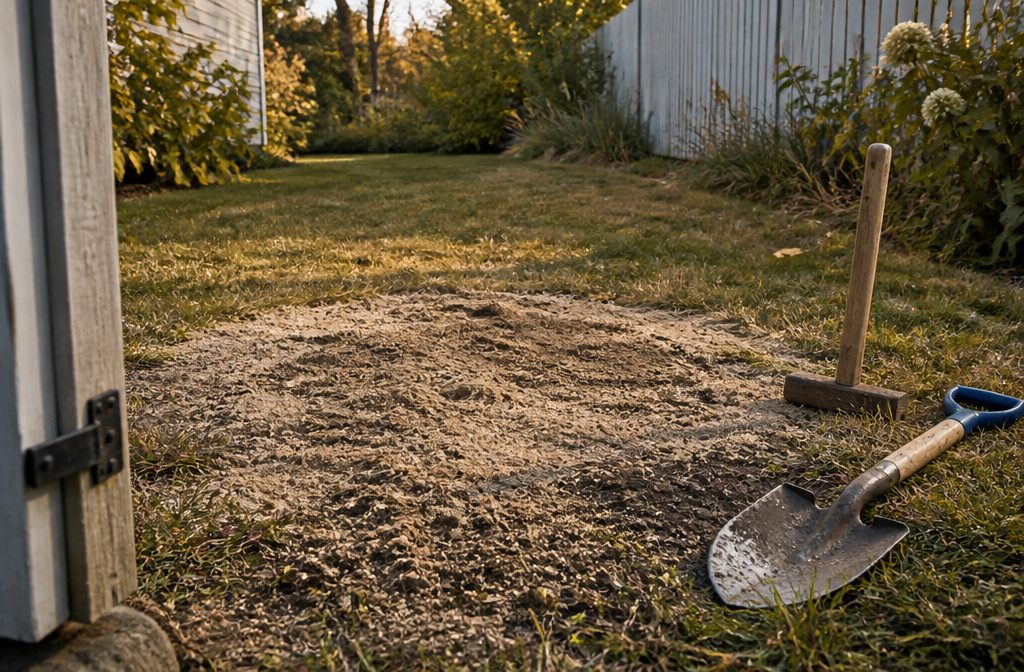
A smooth lawn takes a weekend, a shovel, and a sand-and-topsoil mix in equal parts, and most people ruin it at compaction.
Skip the roller or tamper and the filled dips sink again weeks after the grass is down. Wet soil also clumps under tines, so wait for dry ground before you start.
1. Measure the Yard
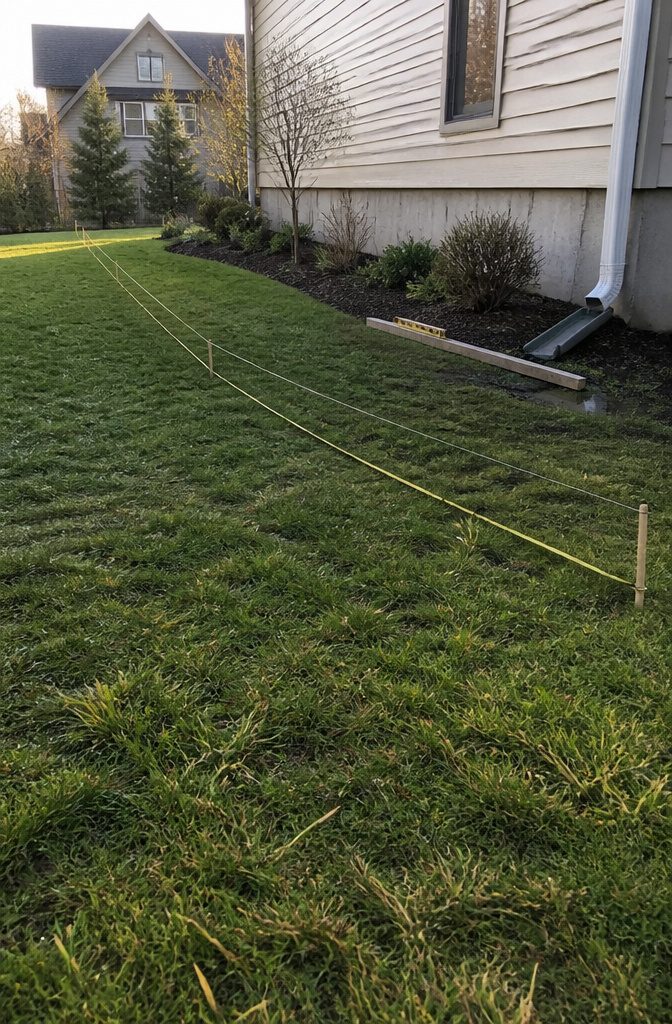
Walk the whole yard before you touch a shovel, and stake a tape measure and a length of thread across any patch that looks off.
Pulled tight, the thread shows which spots are dips to fill and which are bumps to cut down.
Before digging, ask why the ground is uneven, since settling or a drainage problem will bring the dips back. Call your local utility locator and check local rules so you don’t hit a buried line.
Slope matters as much as smoothness, and a perfectly flat yard can still flood a foundation.
Aim for a drop of roughly 1 inch every 4 feet. Use a long board and a level to double-check your work.
— VEVOR
Lay the board from the house outward, and water should always flow away from the house.
2. Clear the Marked Areas
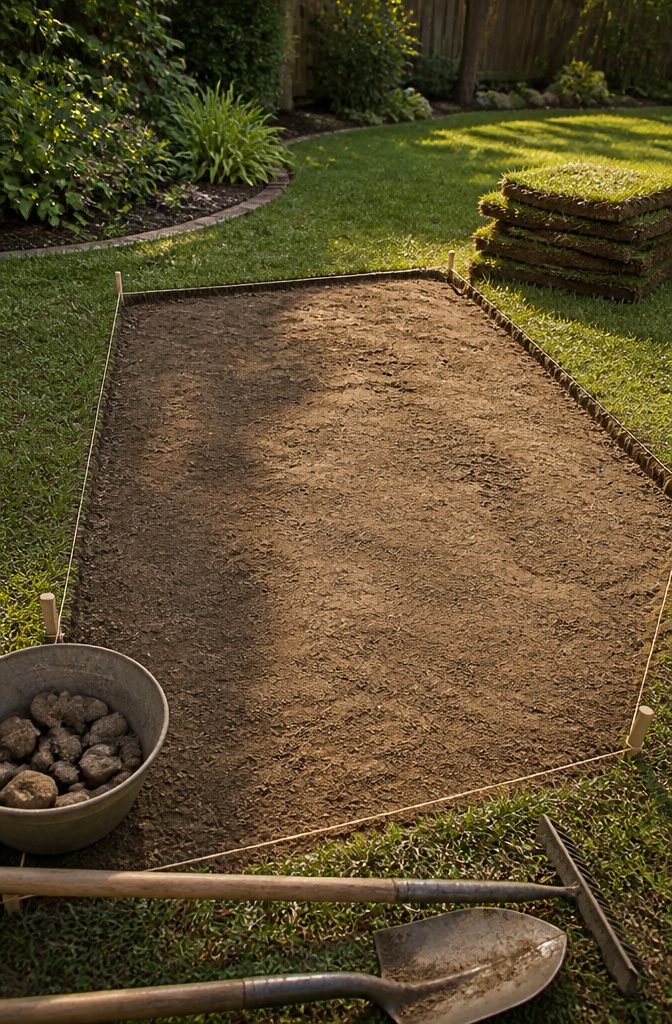
Work only inside the marked outlines. A garden rake pulls loose thatch and surface debris, and a shovel does the real removal: slide the blade under the grass at a shallow angle and lift it off in sections.
Stack the pieces to the side, since healthy turf can go back later.
Rocks and roots are what you’re really clearing for. Pull out anything you hit, then rake the bare patch and collect every scrap of trash, stones and old root ends.
The bare ground should be clean enough that nothing sits between the old soil and the new fill. Leftover debris rots or shifts, and that is how a dip reappears a season later.
If a patch of landscaping sits in the marked area, treat it the same way: dig it out, then rake the ground bare.
3. Loosen the Soil
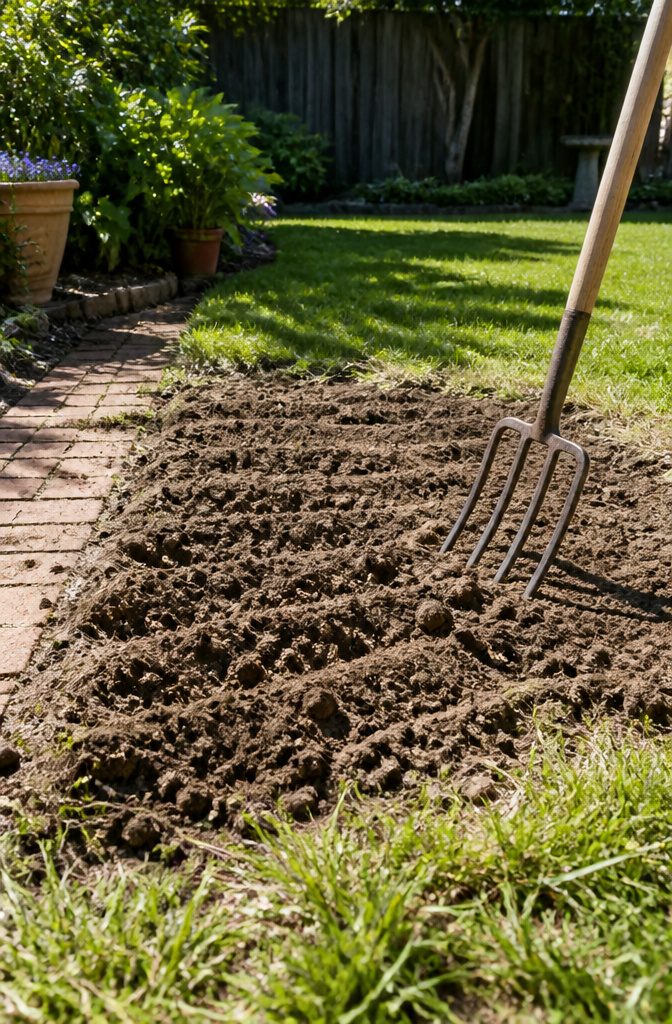
Hard, compacted dirt won’t move under a rake, so it has to be broken up before any soil mix goes down.
A rototiller does it fastest on a big yard, and a garden fork is enough for a small patch or a few bad spots.
With the fork, push the tines in, rock the handle back, and repeat across the area in rows.
Loosened soil is what lets you shift high ground into low ground, and it helps the new mix settle in rather than sit on a crust.
Check the weather first.
Wet soil is heavy and hard to move, and it clumps under tines. Wait until the ground dries; the work goes easier and the finished surface comes out better.
4. Fill Low Areas With Soil Mix
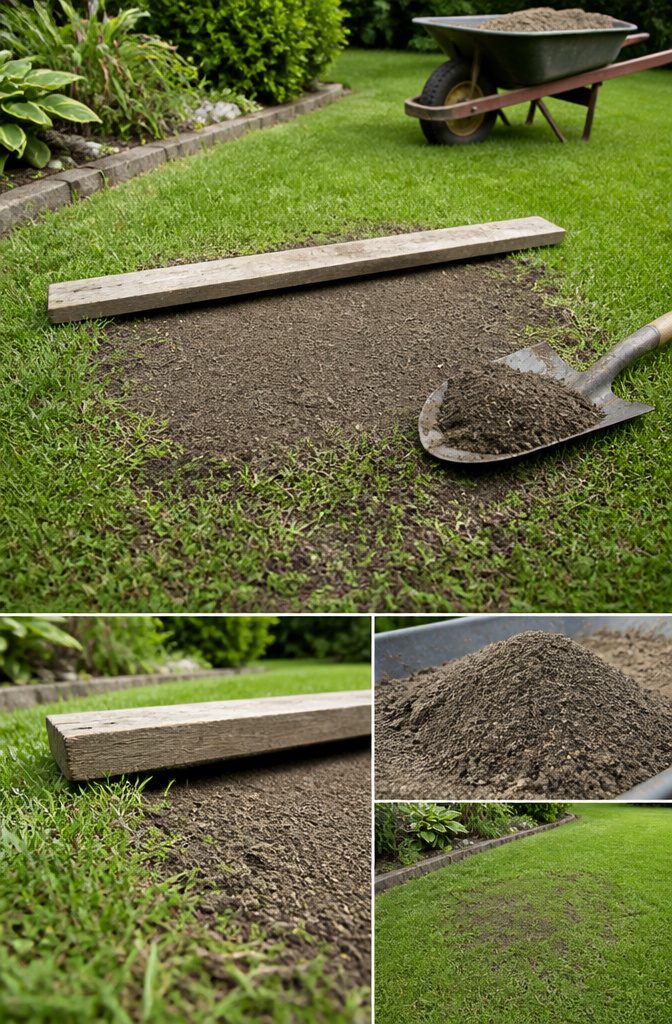
Mix equal parts sand and topsoil, then work in compost if your lawn is hungry for nutrients.
Sand alone drains fast but feeds nothing, so grass struggles to root in it. The topsoil gives roots something to hold, and the sand keeps the patch even.
Shovel the mix into each dip in stages rather than dumping it all at once.
Add a thin layer, check the grade, then add more. Piling it on in one go buries the grass blades and leaves a hump you have to dig back out.
Lay a straight board across the dip after each pass and look for gaps between the board and the ground. I’d rather make four quick checks than one big correction.
5. Rake the Mix Even
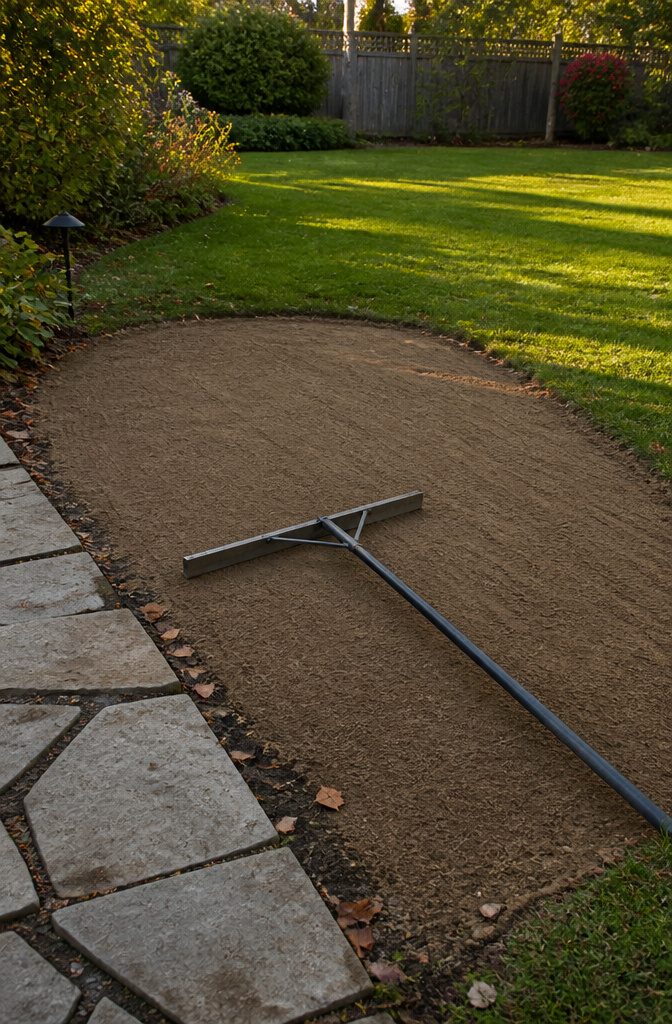
Work the mix across the whole patch with a rake, pushing it from the high edges toward the lowest spot until the bumps and dips disappear.
A lawn-leveling rake, the wide flat-headed kind, does this faster than a leaf rake because its broad head drags material across the surface and works it into the low spots instead of piling it on top.
Pull the rake in two directions, once across the patch and once at a right angle to that.
The second pass catches the ridges the first one leaves behind. Keep the finished surface flat and blended into the surrounding lawn, with no mounds left standing, because a mound stays a bump once the grass grows over it.
6. Compact the Soil
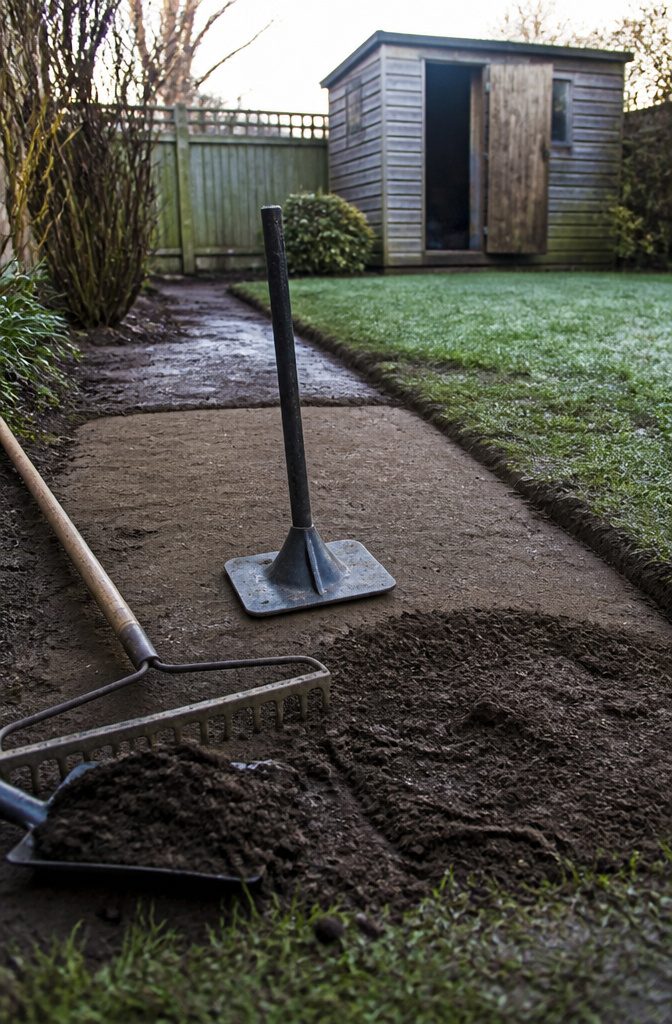
Loose soil settles the first time it rains or someone walks across it, and that is how a freshly filled dip turns back into a dip.
Roll or tamp every filled area before you think about seed or sod. A lawn roller covers a big yard fast; a hand tamper is the better pick for small patches and tight corners.
Go over the whole area once, then look at it with fresh eyes.
Compaction often exposes new lumps or low spots that the raking hid. Add soil to any dip that shows up, rake it flat, and compact that spot again before moving on.
Skipping this step is the mistake I would warn you about most, because the sinking shows up weeks later, after the grass is down.
7. Replant Grass or Lay Sod
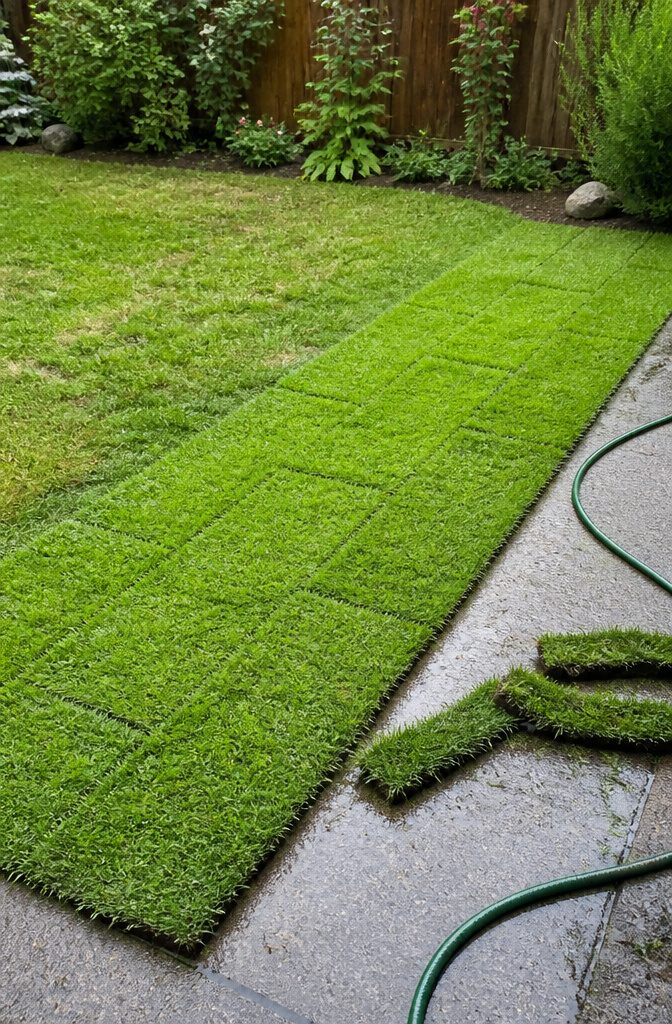
Water is what finishes the job, and skipping it is the mistake that undoes the whole weekend.
Whether you seed or lay sod over the filled spots, give the area a good soaking right away, then keep it moist so the new grass can root.
Sod wins if you want a smooth look fast; seed costs less but leaves bare soil exposed while it comes in.
Check the yard again over the following weeks. Settling can open fresh dips, and a few bumps may show up once the grass grows.
Fix them early with more of the sand and topsoil mix, raked into the grass, and water it in. Small corrections stay easy; ignored ones turn into another full leveling day.
Top Dressing for Shallow Dips
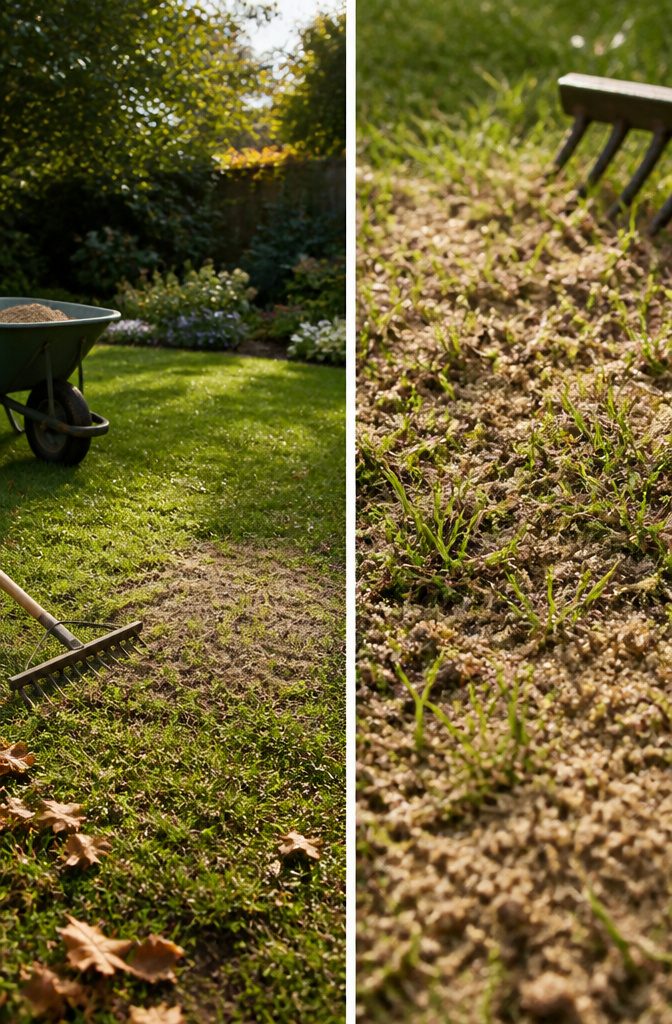
Top dressing is the one leveling method that keeps your existing grass alive, so it’s the first thing I’d try on a lawn with shallow dips or small bumps.
Fill a wheelbarrow with equal parts sand and topsoil, shovel the mix onto the low patches, and work it down into the blades with a rake.
Water the area afterward so the mix settles. The grass grows up through it and hides the repair.
Dry materials spread far more easily, because wet sand and soil clump and resist raking. Spring and early fall are the best windows, since the grass is growing fast enough to push through the new layer.
Deep holes and big bumps are a different job that calls for digging. A small yard fits in one weekend, while larger yards or stubborn spots can take a few extra days.
Build a Leveling Tool
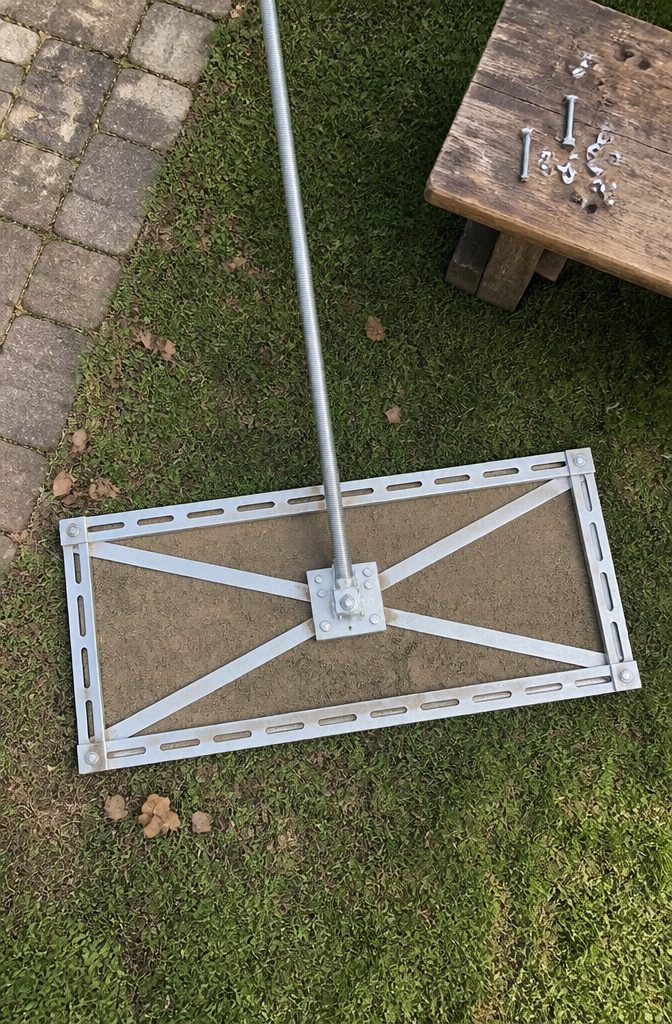
A rigid, flat base with nothing sticking out underneath is the whole job. This build follows Don’s Lawns:
- Base: cut 18-gauge slotted angle metal and bolt the pieces into a frame about 36 inches wide. The slots replace most of the drilling.
- Fasteners: nuts, bolts and lock washers hold it together, so no welding is needed.
- Bracing: the frame will have more play than you want. Add flat bars set diagonally to stiffen it.
- Handle: skip PVC, which is too flimsy. An 18-inch threaded utility handle, mounted at the center with a metal bracket and bolt, works better.
- Hardware: make sure nothing on the underside reaches low enough to dig into the soil as you drag it.
- Substitutes: other sturdy metal bars work if you can cut and drill them, and an old broom or rake handle saves buying one.
Frequently Asked Questions
How do I level my yard myself?
Measure the yard with a string and tape to find the dips and bumps, then strip the grass from the marked spots and clear out rocks and roots.
Loosen the soil, fill the low areas in thin layers with a sand and topsoil mix, rake it flat, and compact it.
Finish with sod or seed and keep it watered. Shallow dips can skip the digging and be top dressed instead.
Is it better to level a yard with sand or dirt?
Use both, mixed in equal parts sand and topsoil. Sand alone drains quickly but feeds nothing, so grass struggles to root in it.
The topsoil gives roots something to hold, and the sand helps keep the patch even. Add compost if the lawn needs more nutrients.
How long does it take to level a yard?
A small yard usually fits in one weekend.
Larger yards or stubborn spots can take a few extra days. Plan on checking the lawn again over the following weeks, since settling can open new dips.
Can I level my yard when the ground is wet?
No, wait until the ground dries.
Wet soil is heavy and hard to move, and it clumps under a fork or tines. Dry soil is easier to work and gives a smoother finished surface.
What is the best time of year to level a lawn?
Spring and early fall work best. Grass grows fast in those seasons, so it recovers quickly and pushes up through any soil mix you spread over it.
How much slope should a leveled yard have?
Aim for a drop of roughly 1 inch every 4 feet, running away from the house.
A perfectly flat yard can still send water toward the foundation. Lay a long board and a level on the ground to check your work.